
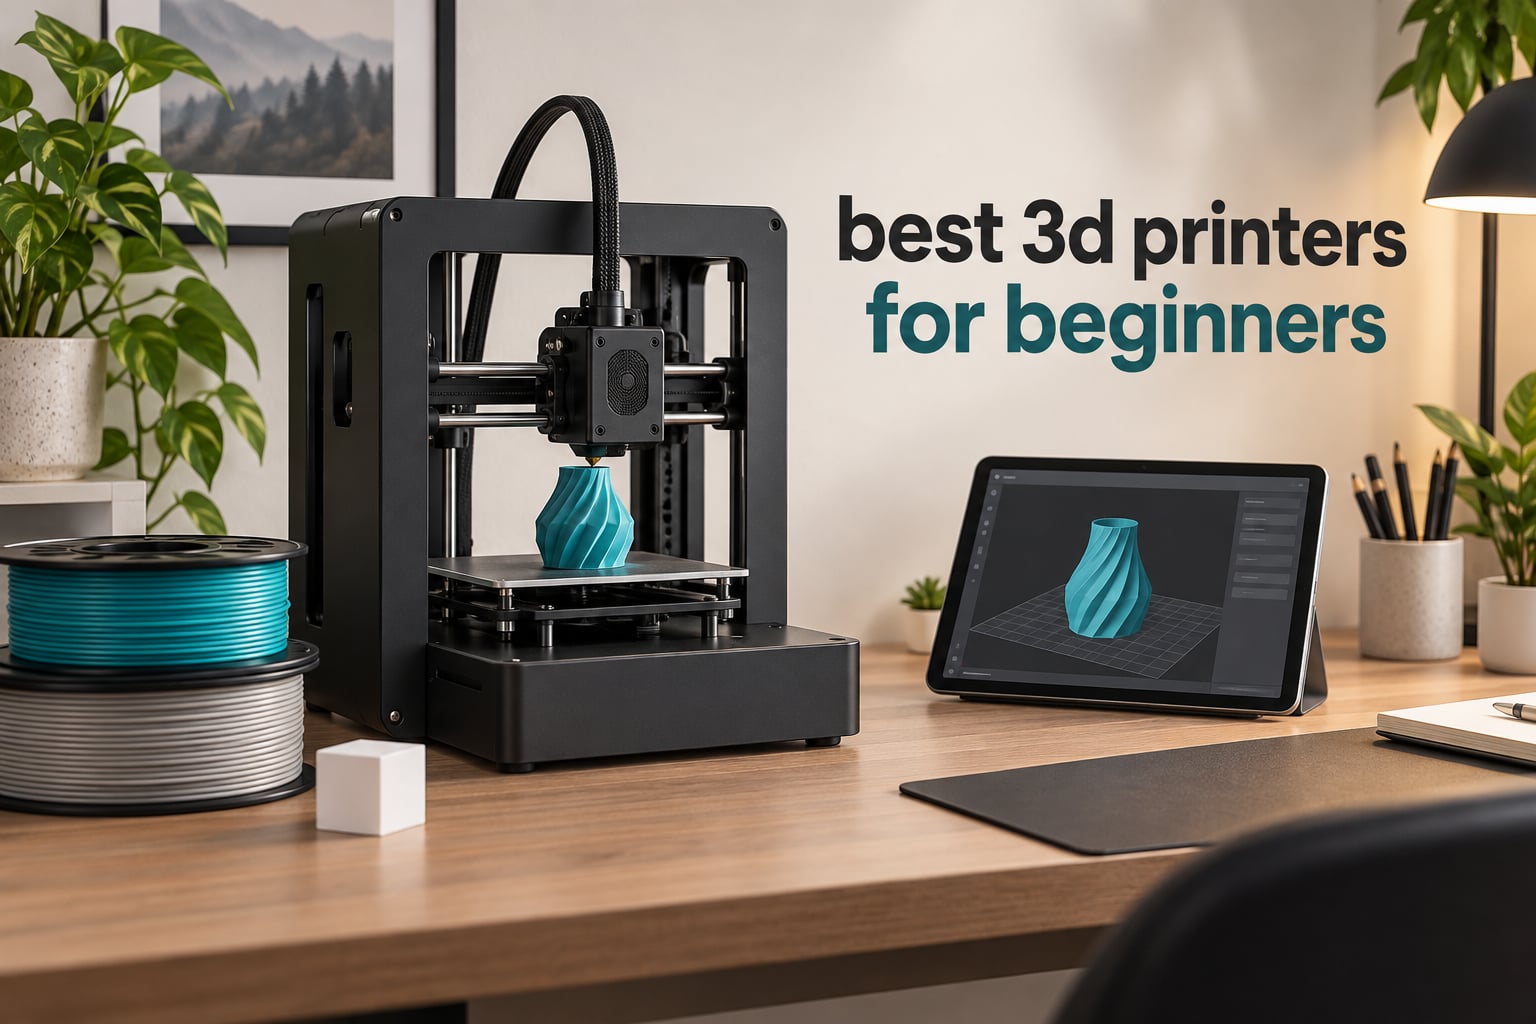
Nobody warns you that the hard part of buying a first 3D printer is not the money. It is the six hours you can lose to a warped bed, a failed first layer, and a troubleshooting thread that ends in “try a different slicer.” I have watched friends do it. I have done it. The machine itself is usually fine; the setup experience decides whether you keep printing or quietly move the box to the garage.
That is what this guide optimizes for. Among the best 3D printers for beginners, the difference between a good machine and a great one is how much of the fiddly work the printer does for you. Auto bed leveling, automatic Z-offset calibration, a guided setup wizard, and a manufacturer that still answers support tickets in year two matter far more to a newcomer than raw speed numbers. We compared nine machines across build volume, calibration depth, enclosure design, filament range, and the complaint patterns in thousands of owner reviews.
You will also find the parts competitors skip: how loud a printer is in a small apartment, what a resin setup actually costs in gloves and wash-and-cure supplies, and which accessories you need on day one. If you are still deciding how to plan your workspace, our 3D home design software guide is a useful companion for turning your own measurements into printable parts. We updated every pick for 2026, and the reasoning below is ours, not a spec sheet copy.
Who this guide is for: someone buying their first machine, or their second, who is uneasy about picking wrong. That means we weight setup automation, failure recovery, and support quality above raw speed, and we are honest about the machines we would not buy first. If you have already printed for years and want a specific capability like large format or carbon fiber, this list will feel conservative. That is deliberate.
One more framing note. Every rating and review count below is the current figure on the product listing, not a score we invented, and every complaint in the “will frustrate you” sections is drawn from patterns in real owner reviews rather than from a spec sheet. Where a machine has a notable share of one-star reviews, we say so and give the number.
Top 3 Beginner 3D Printers in 2026
Three machines stood out once we sorted out the ones that need you to know what you are doing. The Bambu Lab A1 is the one we would hand a friend with no hobby background. The Flashforge Adventurer 5M is the value pick, and the Creality K1C is the quietest room-mate option here.

Bambu Lab A1
- 10000 mm/s2 acceleration
- Full-auto bed leveling and Z-offset
- 1-clip quick swap nozzle
- Active motor noise cancellation

Flashforge Adventurer 5M
- 600mm/s CoreXY
- One-click auto leveling
- 32mm3/s direct extruder
- PEI spring steel plate

Creality K1C
- 600mm/s CoreXY
- AI camera monitoring
- Tri-metal nozzle for carbon fiber
- Activated carbon filtration at 45dB
All 9 Picks at a Glance for 2026
Every machine below earned its place on owner-review consistency and beginner fit, not on spec-sheet excitement. The Key Features column is the short version of why each one is here.
| Product | Specifications | Action |
|---|---|---|
| Bambu Lab A1 |
|
Check Latest Price |
 Bambu Lab P1S Bambu Lab P1S |
|
Check Latest Price |
| Flashforge Adventurer 5M |
|
Check Latest Price |
| Creality K1C |
|
Check Latest Price |
 Anycubic Photon Mono 4 Anycubic Photon Mono 4 |
|
Check Latest Price |
 Anycubic Kobra X Anycubic Kobra X |
|
Check Latest Price |
 Creality Ender 3 V3 SE Creality Ender 3 V3 SE |
|
Check Latest Price |
 Asani TINA2S Asani TINA2S |
|
Check Latest Price |
 Entina Tina2C Entina Tina2C |
|
Check Latest Price |
1. Bambu Lab A1 – The Easiest First Printer for Almost Anyone
Bambu Lab A1 3D Printer, Ready-to-Use FDM 3D Printer for Beginners and Kids
- Automatic calibration removes manual leveling and Z-offset setup
- Fast acceleration and flow compensation deliver consistent results
- Quiet operation with active motor noise cancellation
- One-clip quick swap nozzle simplifies maintenance
- Highest rated 4.7 star machine in this lineup
- Multicolor printing needs the AMS lite bought separately
- Flow rate compensation still takes a few prints to dial in
My first print on the A1 was a calibration cube I did not ask it to make. The printer was already leveled, already measured its flow, and already told me the bed was clean enough to print on. I did not open a toolbox once. That is the whole pitch, and it is the reason this is our first pick for the best 3D printers for beginners.
The A1 handles the exact steps that stall newcomers. Full-auto calibration covers bed leveling and Z-offset in one pass, and Active Flow Rate Compensation makes the extruder measure what it is actually laying down rather than trusting a table of numbers. The 1-clip quick swap nozzle means a fresh nozzle takes seconds instead of a teardown, and the touchscreen gives you a short list of things to do instead of a firmware menu.
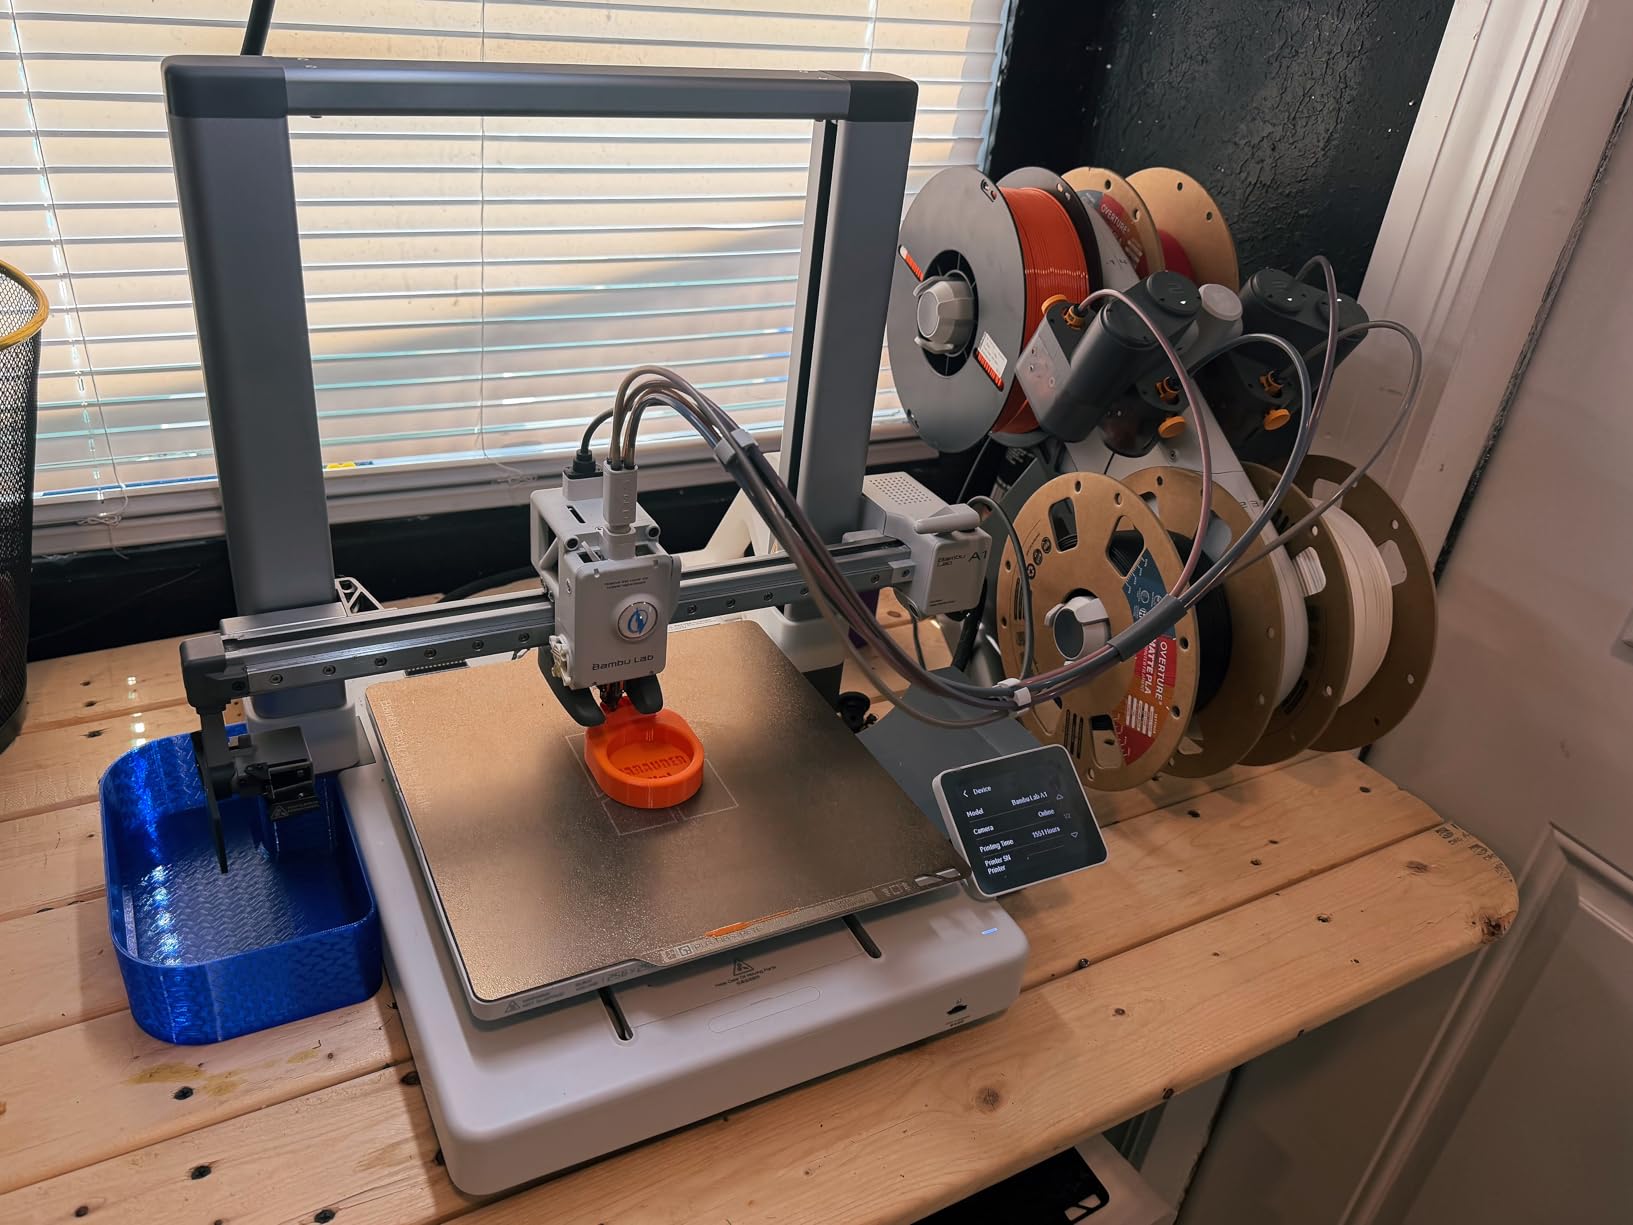
Speed is the headline spec at 10,000 mm/s2 acceleration, but beginners rarely feel it directly. What you feel is that a 6 inch calibration model finishes fast enough that you are not tempted to walk away. Owners describe results as consistent across the plate, with the flow compensation quietly preventing the under-extruded look that usually makes a new user think something is broken.
Noise is the sleeper feature for shared spaces. Active motor noise cancellation is not marketing here; reviewers in apartments and shared offices single it out as the reason the machine is usable in a room where someone else is trying to work. At 22 pounds it is also light enough to move to a shelf when you want the desk back.
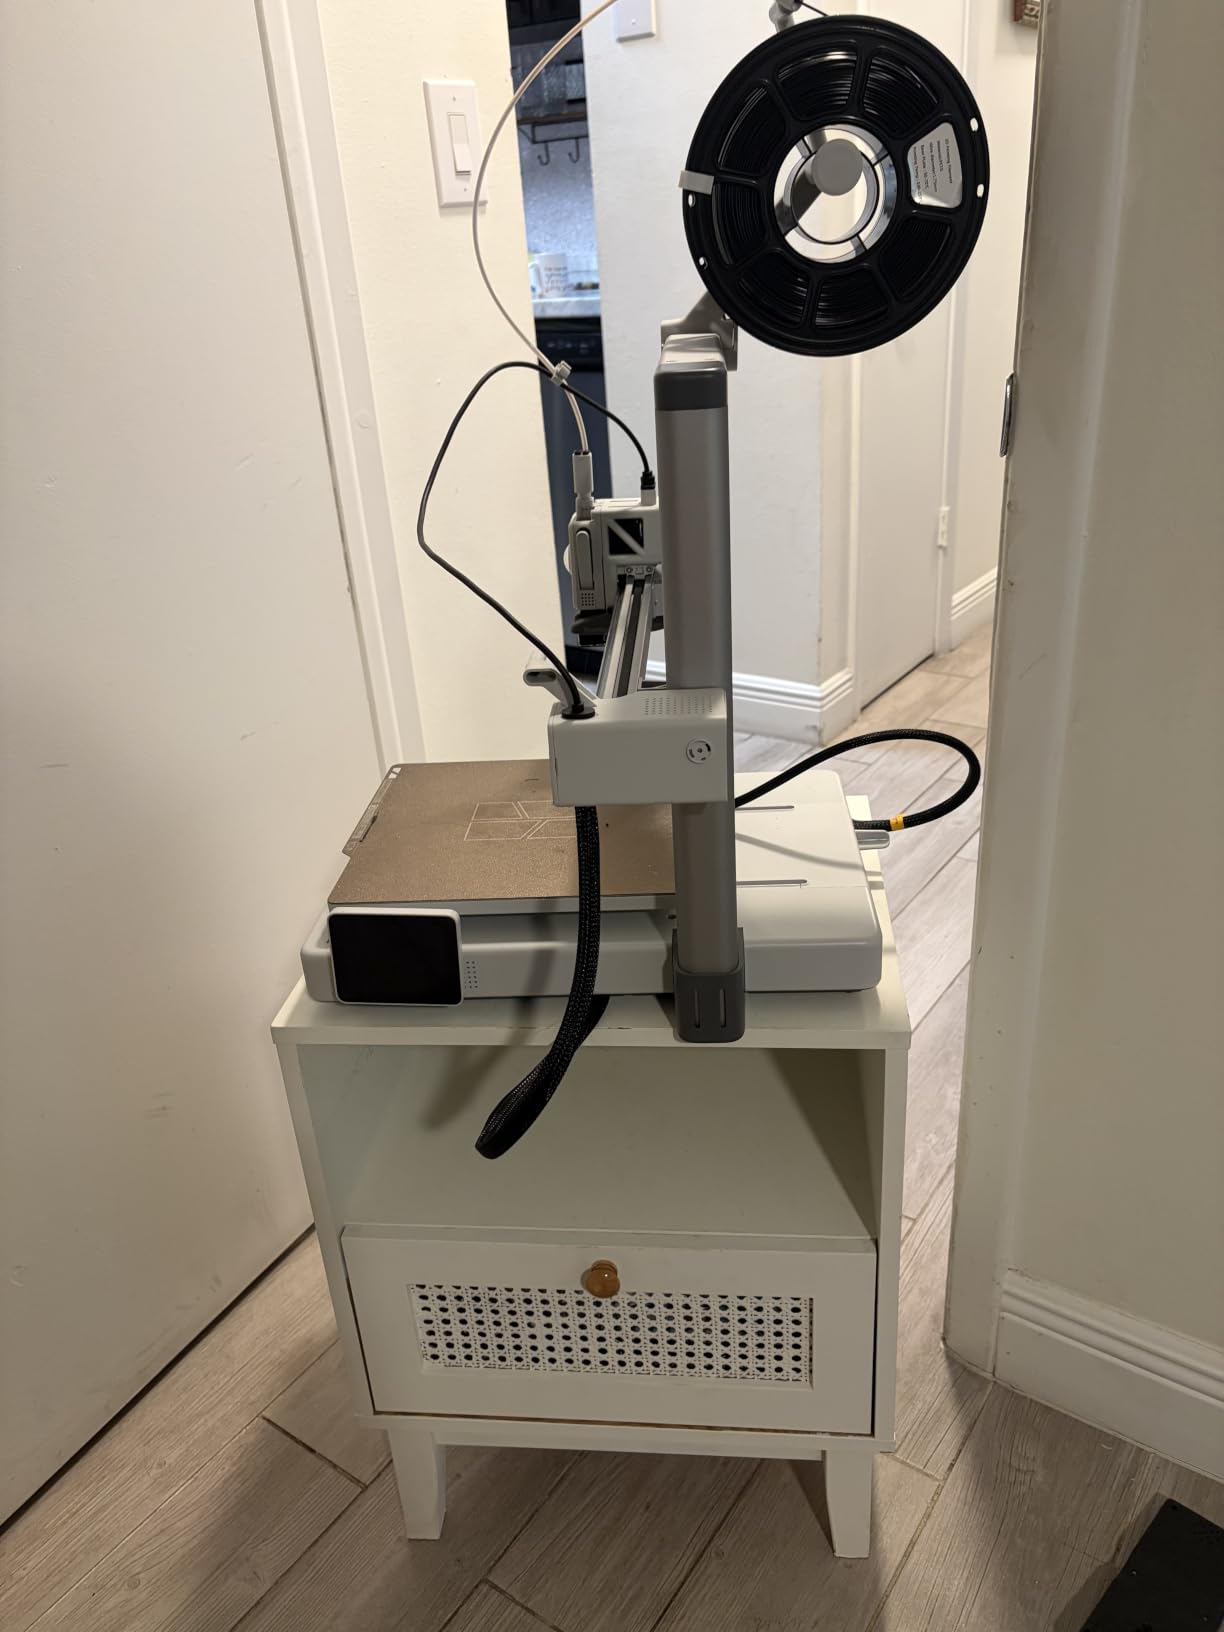
Who the A1 suits best
It suits someone who wants results on the first evening, not someone who enjoys tuning firmware. If your goal is a replacement bracket, an organizer, a set of table game minis, or a gift for a teenager, the automation removes the two things that kill first attempts.
It also suits anyone planning to grow into multicolor. The A1 is AMS lite compatible, and community consensus is that this kind of system can be added later rather than forcing a second machine. Just plan for that add-on separately, since the base printer does not include it.
Where the A1 will frustrate you
The learning curve does not disappear; it moves. The slicer workflow is more capable than a simple app, so if you want zero software involvement, a kid-oriented mini machine is a better fit. The auto-calibration also does not mean every filament is perfect on the first try, and different brands still need their own temperature and retraction settings.
One more expectation to set correctly: the A1 is open-frame. ABS and ASA are not its comfort zone. If engineering-grade materials and a closed chamber matter to you, the P1S is the sibling to look at instead.
2. Bambu Lab P1S – The Enclosed Option for ABS, ASA and PC
- Enclosed chamber handles ABS ASA and PC properly
- 500mm/s CoreXY motion with input shaping
- Automatic leveling and 15-minute setup
- 16-color capability with the AMS
- AMS sold separately for multicolor work
- Carbon and glass fiber filaments are not recommended
- 38.9 lb weight makes it a fixed station
The first thing I check on any new printer is whether it can hold heat, because heat decides whether ABS is usable. An open frame cannot, and the A1 is open-frame. The P1S is the answer for anyone who lives somewhere cold, prints car parts in winter, or simply wants the option to move up in materials later.
Everything else is familiar territory for a Bambu owner. Automatic bed leveling, a setup the company claims takes about 15 minutes, and CoreXY motion rated at 500mm/s with 20,000 mm/s2 acceleration. It is not the fastest machine here, but in an enclosed chamber, high speed without a hardened hotend is a liability. This one is built for the temperature.
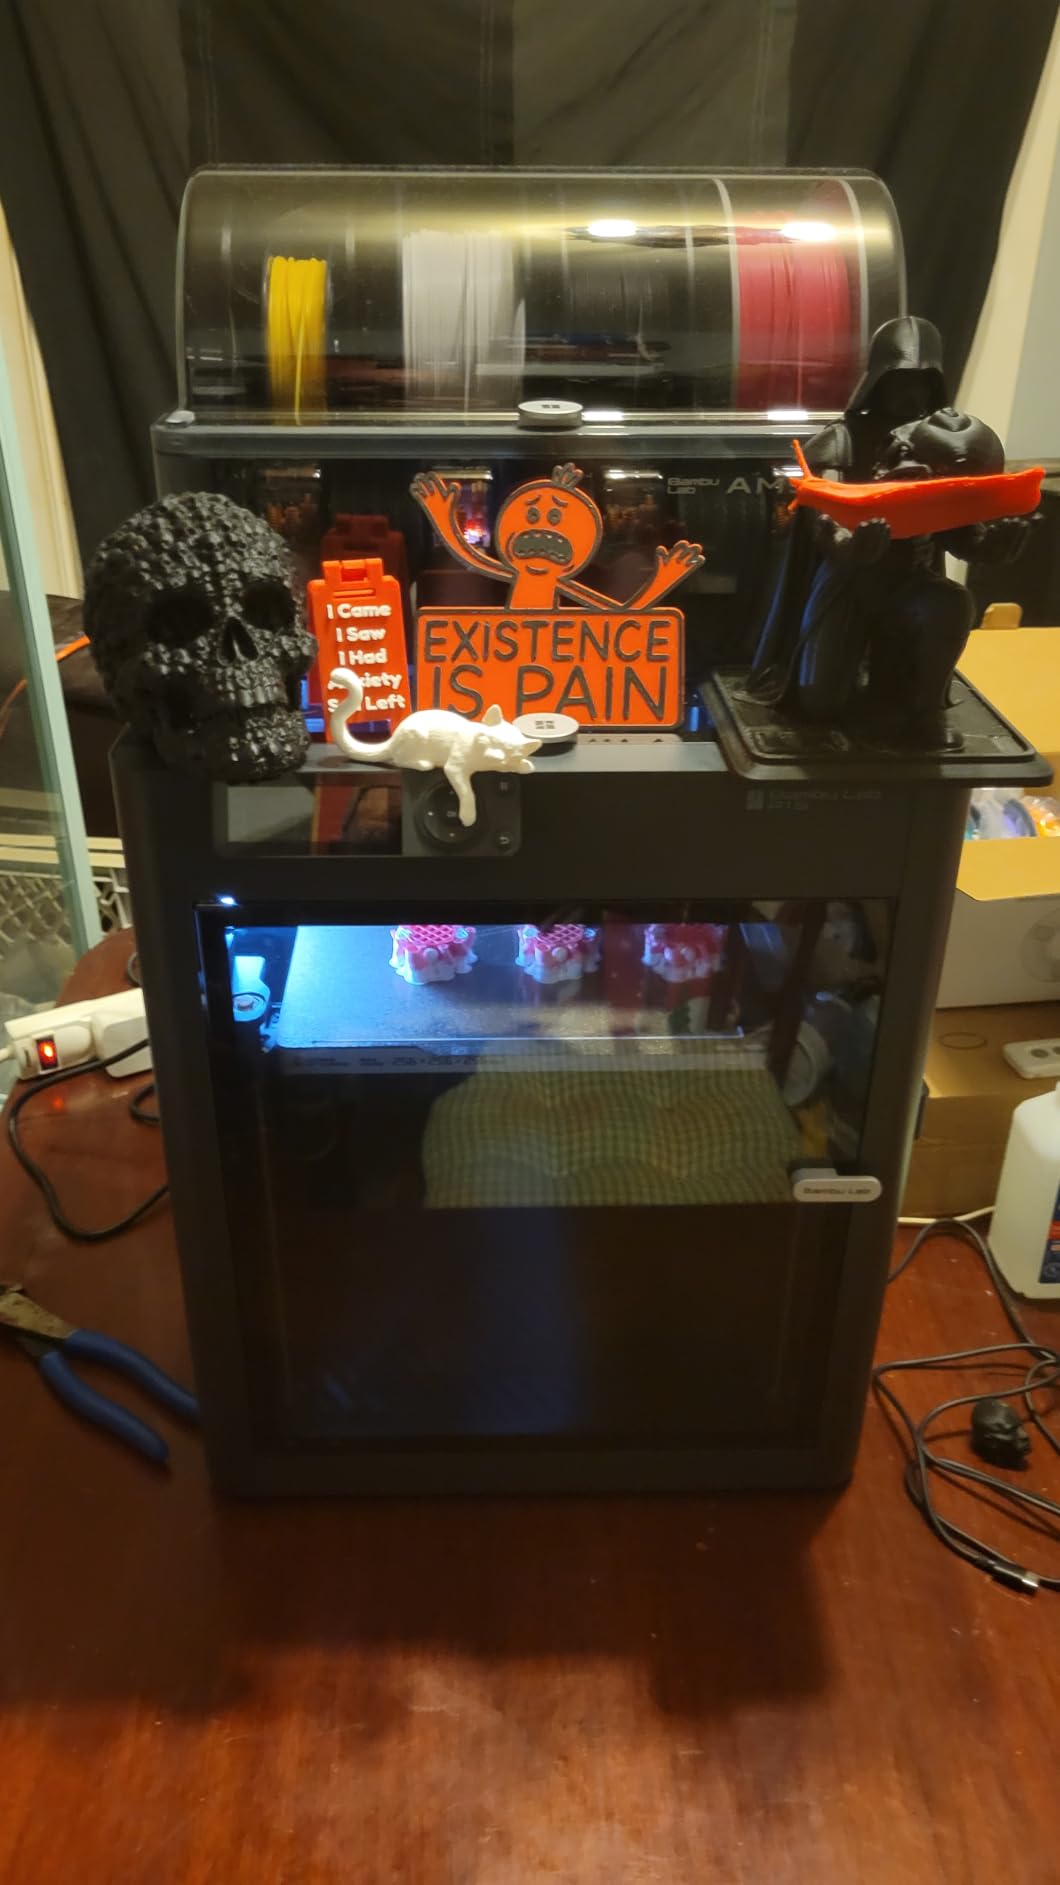
The material list is what separates it from the entry machines. PLA, PETG, TPU, PVA, PET, ABS, and ASA are listed as ideal, with PA and PC described as capable. That range is a big step up for functional parts: an ABS bracket will hold heat and impact in a way a PLA one will not.
Worth knowing before you plan a workshop corner: this is a 38.9 pound machine. It is a stationary printer for a dedicated surface, not a bedroom curiosity you carry between rooms. Reviewers treat it that way and rarely complain once it is installed.
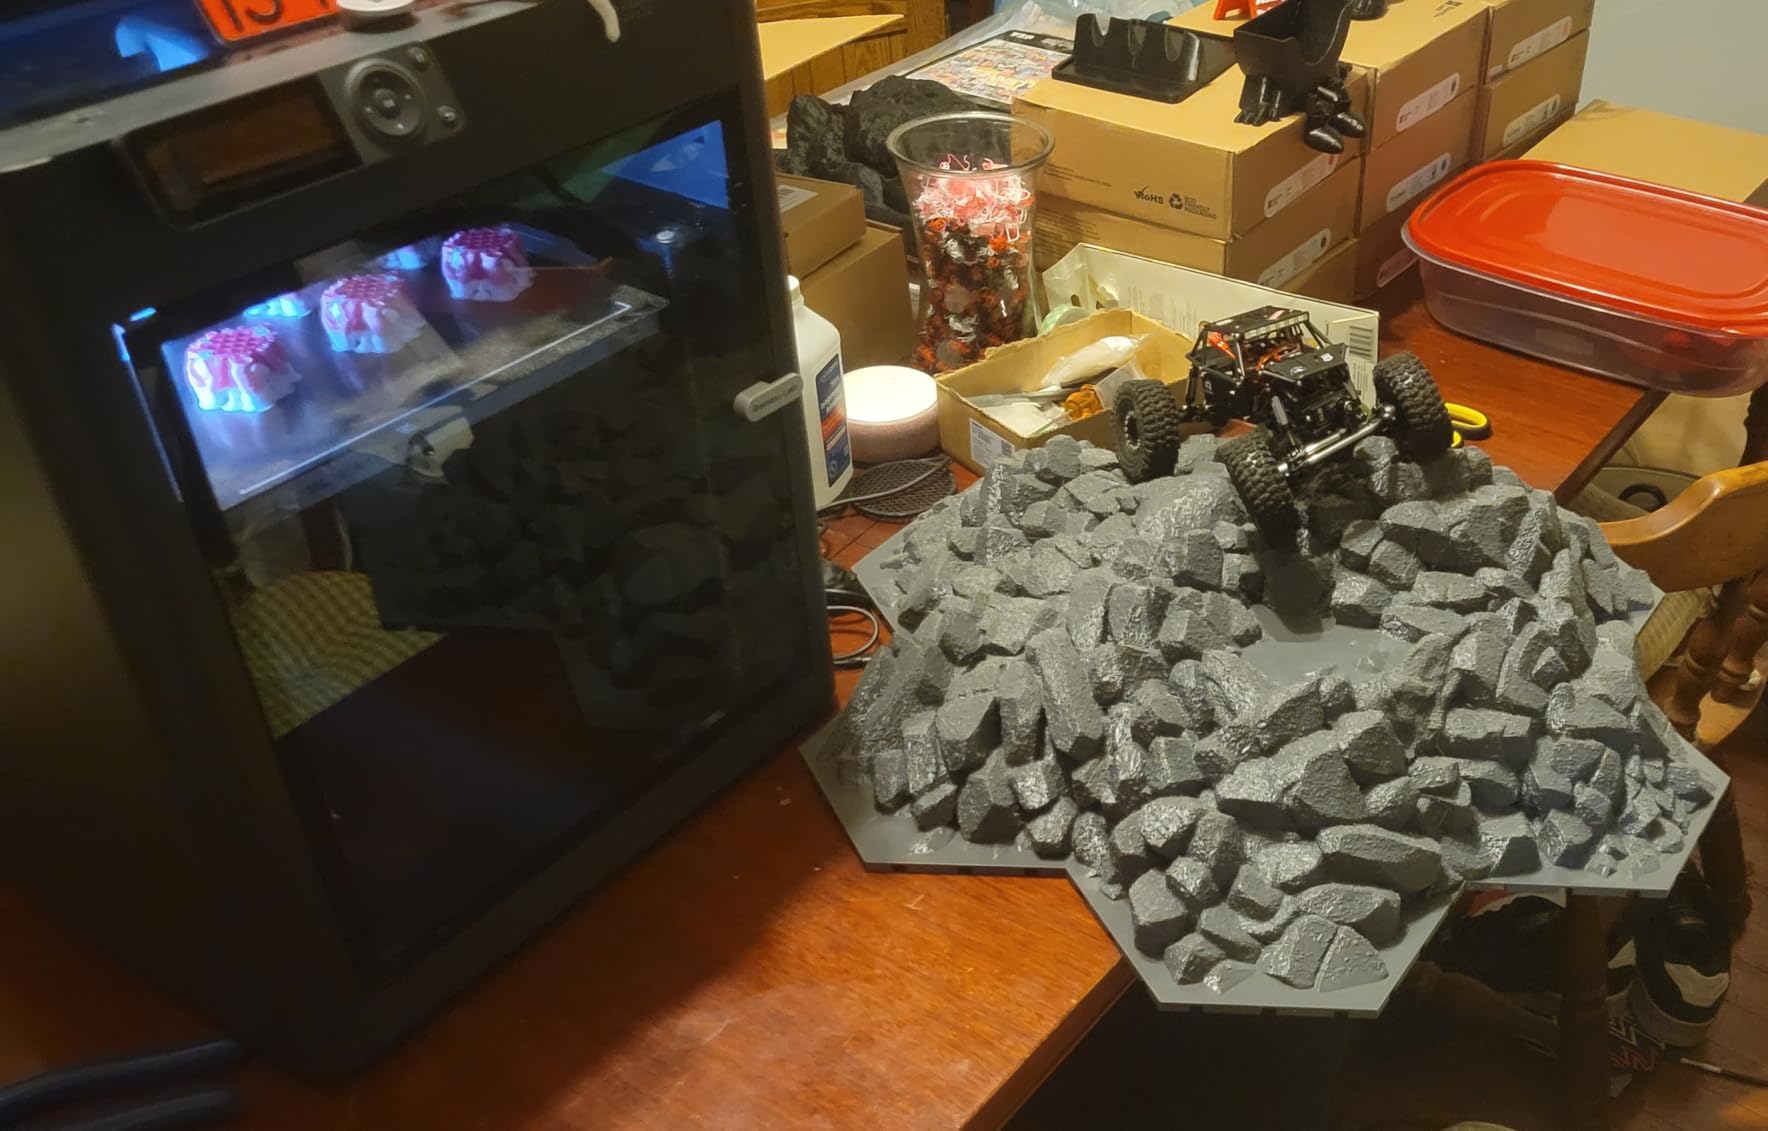
Who the P1S suits best
Pick it if you plan to print anything that lives in a car, a garage, or outdoors, or if you are in a house where a draft or a cold room ruins ABS. Enclosure plus auto calibration is the combination that makes engineering materials genuinely usable for a beginner.
It is also the sensible first machine for someone who cares more about finished results than about tinkering, but has a larger budget and wants to skip a rebuy. The AMS pairing takes it to 16 colors when you are ready.
Where the P1S will frustrate you
The reinforced filaments people buy for strength are explicitly outside its supported range. If your plan is carbon fiber nylon, look at a hardened, direct-drive machine instead. And if your workspace is small, the footprint is the first thing you will measure twice.
Print quality for standard PLA and PETG is excellent, so the enclosure is not doing rescue work on ordinary prints. It is paying rent in anticipation.
3. Flashforge Adventurer 5M – The Best Value CoreXY Printer
- First print in about 10 minutes after unboxing
- Input shaping keeps high speed free of ghosting
- PEI plate grips PLA and PETG and swaps easily
- Runout sensor and power loss recovery included
- Responsive support with readily available parts
- Open frame blocks high temperature materials
- Occasional firmware freezes reported
- WiFi connectivity is unreliable on some routers
Here is the machine that made me reconsider my idea of a budget printer. The Adventurer 5M is a CoreXY design with 600mm/s peak speed, 20,000 mm/s2 acceleration, and vibration compensation to cancel the ringing that normally ruins fast moves. On paper that is a prosumer spec sheet. In practice, reviewers describe it as printing within about ten minutes of opening the box.
One-click automatic leveling handles the first layer, and the dual-sided flexible PEI spring steel plate is a detail cheaper machines skip. It grips PLA and PETG well, releases cleanly, and pops off in seconds. A filament run-out sensor and power loss recovery are standard, which are two fewer ways a beginner can lose an evening.
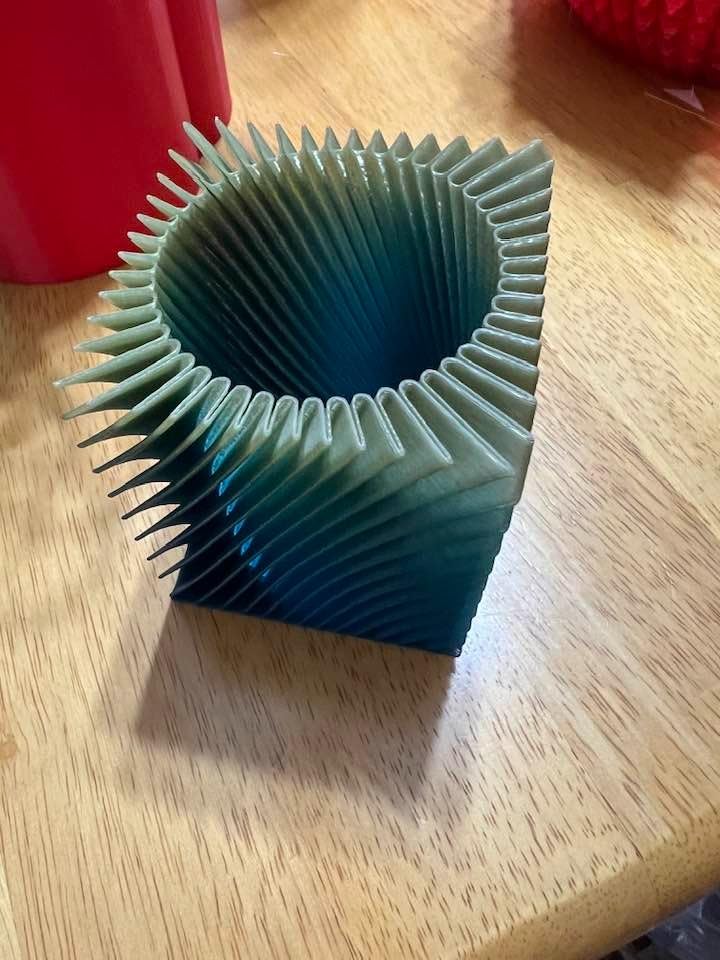
The extruder is the quiet hero. A 32mm3/s direct drive with a quick-detachable 280C nozzle reaches temperature in about 35 seconds, and the direct feed path means flexible TPU has a much easier time than it would through an older Bowden tube. The nozzle removes with a hand, so changing between a 0.4mm and a 0.6mm setup takes a coffee break.
Materials covered include PLA, PETG, and TPU at 0.4mm, plus PLA-CF and PETG-CF when you fit the 0.6mm nozzle. That combination of speed, direct drive, and a swappable plate is unusual at this level, and it is why this lands in the middle of the list rather than near the bottom.
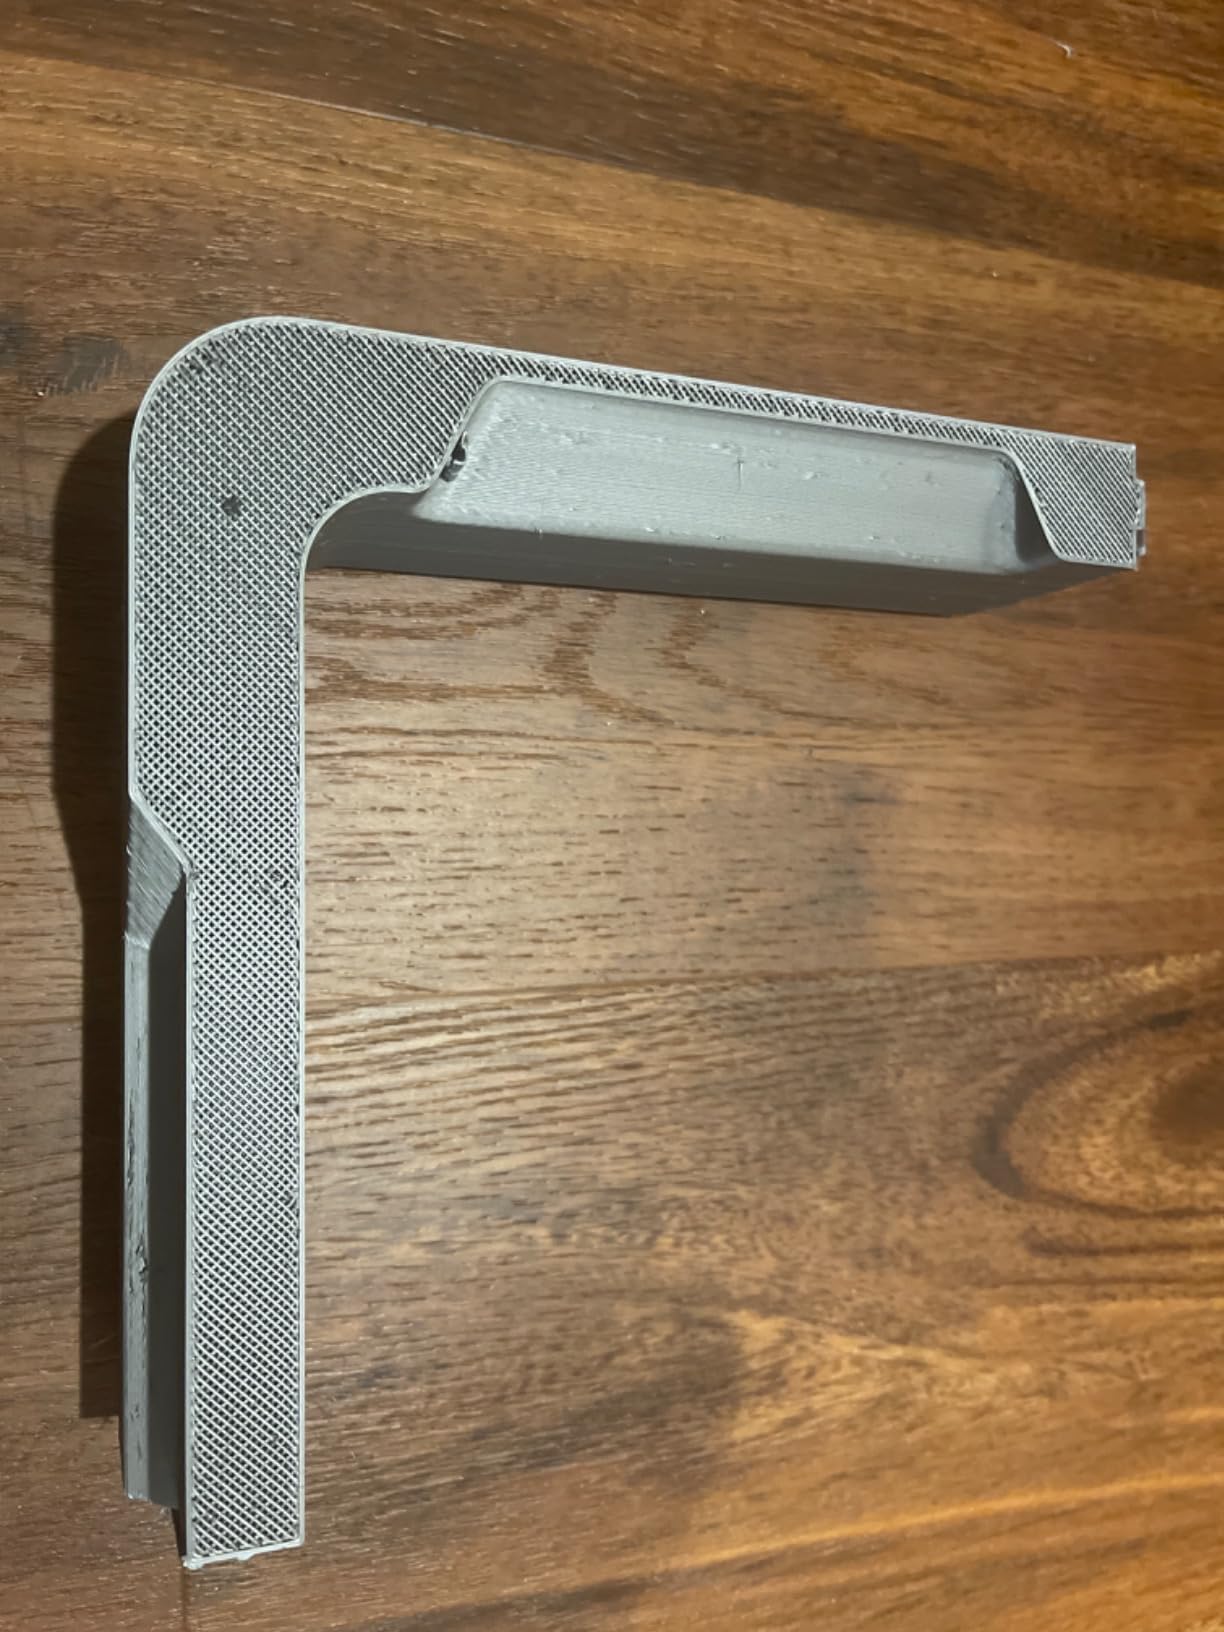
Who the Adventurer 5M suits best
It suits a beginner who wants real speed, a generous 220x220x220mm build volume, and modern motion hardware without stepping up to an enclosed machine. It is also a strong dorm or garage choice, where the combination of quick detach parts, simple one-button leveling, and responsive support matters more than brand loyalty.
Community reviewers note that replacement parts are easy to source, and that support responses are among the better ones in this class. For a first-time buyer, a support line that answers is worth more than a spec the machine cannot use.
Where the Adventurer 5M will frustrate you
It is open-frame. ABS, ASA, PC, and any other high-temperature material will warp because the chamber cannot hold heat, and an enclosure is a separate purchase on top. If heat-resistant parts are the goal, buy enclosed from the start.
There is also a steady minority of complaints: firmware freezes that need a power cycle, a touchscreen with small icons, a dark work area, and WiFi that drops on some routers. Print from the touchscreen or the SD card if the network matters to you, and keep firmware updates deliberate rather than automatic.
4. Anycubic Photon Mono 4 – The Resin Pick for Fine Detail
- Exceptionally sharp detail and smooth surfaces
- First print achievable within an hour
- Leveling only needs doing once after setup
- Laser engraved platform improves adhesion
- Resin workflow adds washing curing and safety gear
- FEP film is a model specific consumable
- Some LCD and touchscreen failures with slow support
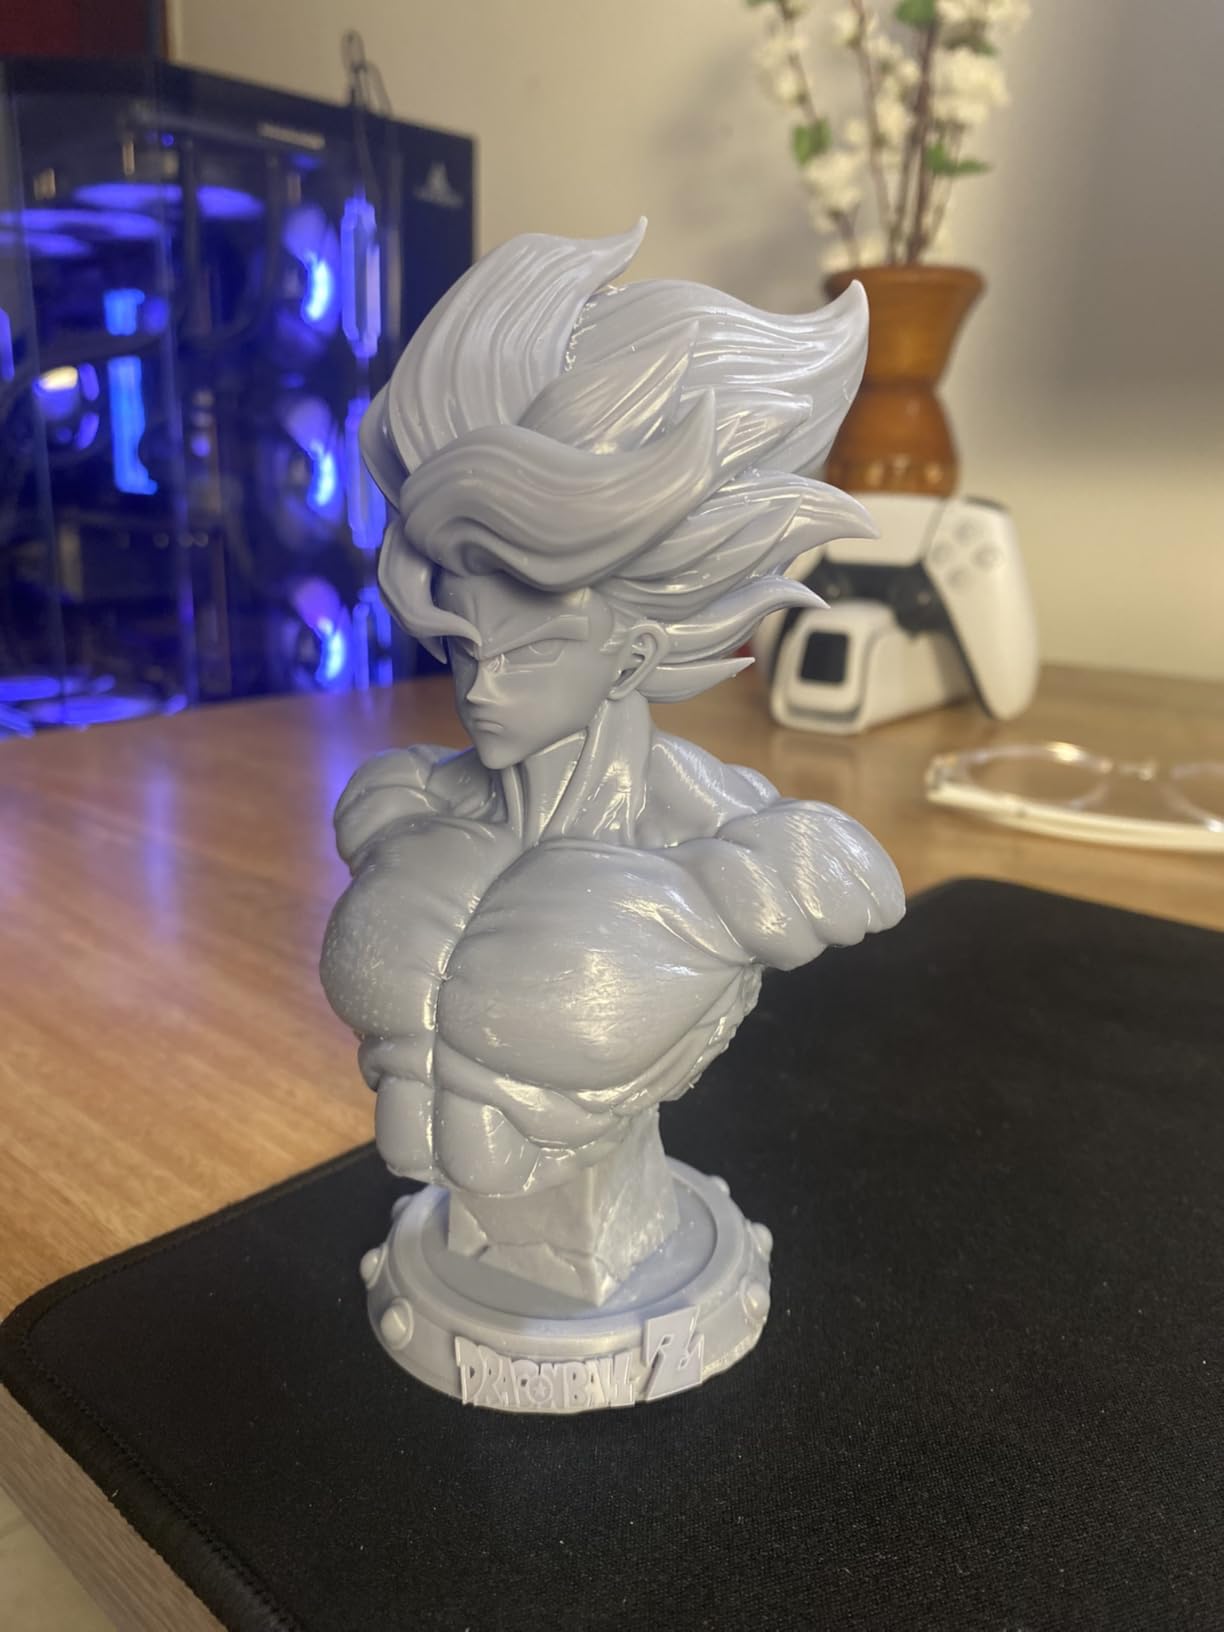
If your goal is 32mm tabletop miniatures, dice, or jewelry, resin is not a step up in difficulty so much as a different tool. The Photon Mono 4 has the largest review base among the resin options we looked at and one of the highest ratings, which makes it the reference point for first-time resin printers.
The screen is a 7 inch 10K monochrome LCD at 9024 by 5120, giving 17 by 17 micron pixels. That pixel size is the entire reason resin exists: it captures fine detail an FDM nozzle physically cannot draw. The LighTurbo matrix light source spreads illumination across the panel so the whole surface cures evenly instead of hot-spotting in the middle.
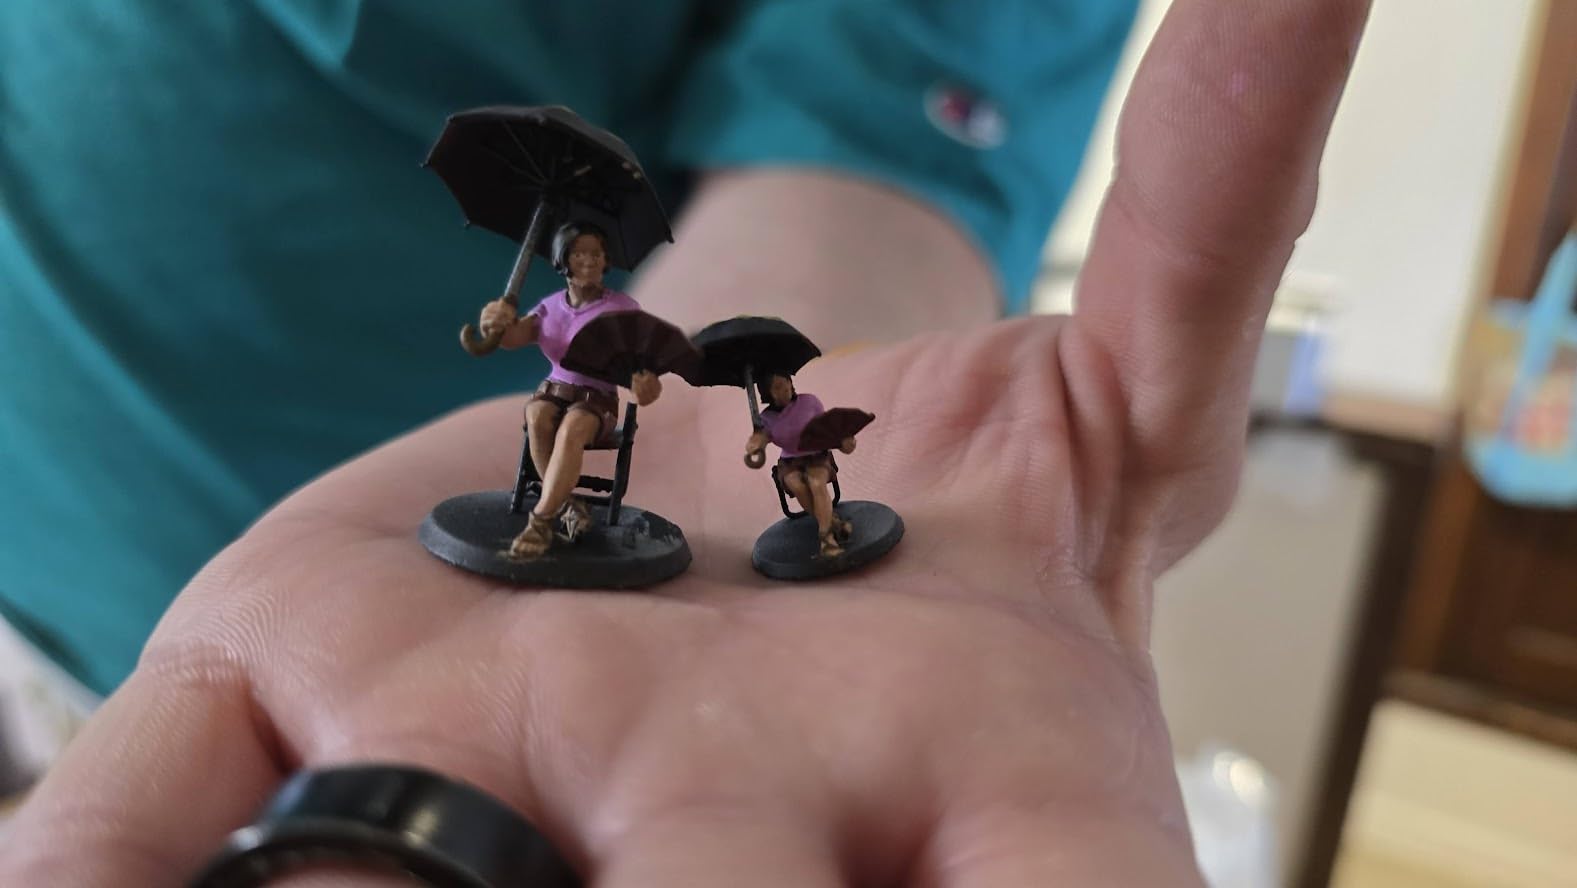
Two details make it friendly. The 4-point leveling method is a one-and-done job after the initial setup, and the laser-engraved print platform 2.0 gives the first layer something to grip. Power loss recovery resumes an interrupted print instead of wasting a bottle of resin and an evening.
Build volume is 153.4 by 87 by 165mm, which is plenty for a row of miniatures or a small parts bin. The machine weighs 7.7 pounds, so it moves between a shelf and a workbench without a fight, and that matters more for resin than it does for FDM because of the washing and curing steps.
Who the Photon Mono 4 suits best
It suits a tabletop gamer, a diorama painter, or a jewelry maker who wants surface quality an FDM print will not reach. The 10K panel also makes it a solid first machine for learning resin handling, since a beginner’s errors on a high-resolution screen are easy to see and easy to correct.
It is a good second machine too, which is a common path: FDM for functional parts, resin for display pieces. The low weight and small footprint make it the least disruptive printer to own in a small home.
Where the Photon Mono 4 will frustrate you
Resin is a chemical workflow, not a plug-in-and-walk-away one. You need nitrile gloves, isopropyl alcohol, a wash station, a cure station, and a ventilated space, and you will be replacing FEP film when it scratches. Beginners who ignore that checklist report the resin smell as the reason they nearly quit.
There are also hardware reports: LCD and touchscreen failures with slower-than-expected support responses, a small screen, and a mostly plastic build. The bundled Photon Workshop slicer is the other recurring gripe; plenty of users move to a third-party resin slicer after a few weeks. Note that this model is not covered by the Anycubic app service.
5. Anycubic Kobra X – Native Four-Color Printing Out of the Box
Anycubic Kobra X Multicolor 3D Printer, Easy Setup, Native 4-Color
- Four colors from the box with no extra hardware
- Expands to 19 colors with four ACE 2 Pro add-ons
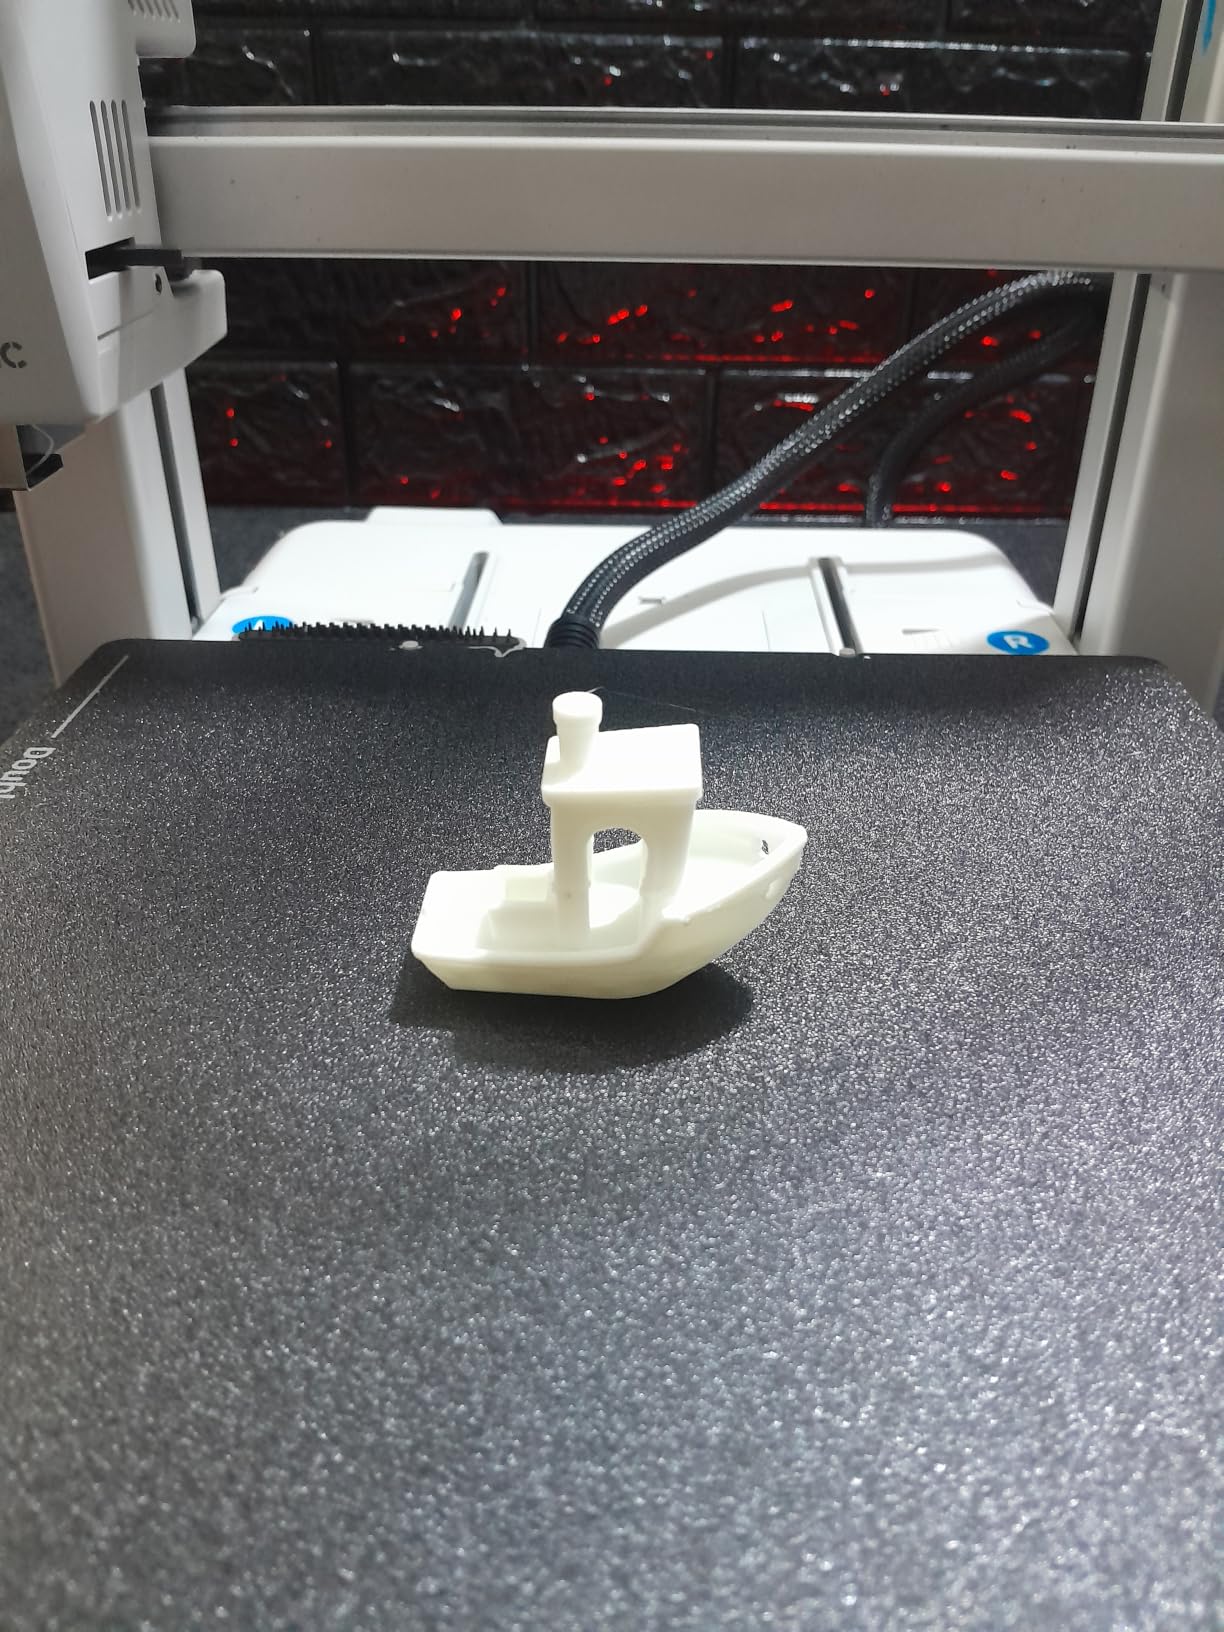
- 14 minute Benchy with smooth layers
- Very quiet for an FDM machine
- Open software ecosystem versus locked rivals
- Filament not included with the printer
- TPU and stone filled materials web heavily
- Print head failures reported within the first few months
Most multicolor FDM printing needs a box you buy separately, a purge tower, and a patience you may not have. The Kobra X flips that. It arrives with native four-color capability, so the multi-color experience is something you try on day one rather than a project for next year.
Underneath, it is a serious machine. 600mm/s peak speed with vibration compensation, a hardened steel nozzle, a 300C hotend that handles PLA, PETG, TPU, PVA, and ASA, and a 260 by 260 by 260mm build volume on a cube-shaped frame. LeviQ 3.0 runs a 49-point leveling calibration and the company claims readiness to print in about 15 minutes.
The color system is the interesting engineering. Anycubic says it cuts filament and travel path by more than 80 percent, which roughly doubles purge speed compared with a conventional system. In practice that means less waste between color changes and shorter failed prints, which is exactly the cost that makes beginners give up on multicolor.
There is an AI camera with spaghetti detection, foreign object detection, and remote monitoring, plus dual-band WiFi and LAN. A 10,000-model library is built in, and the top-mount spool holder keeps the footprint manageable. It is part of the Amazon replacement parts program, which is a small but real support signal.
Who the Kobra X suits best
It suits someone whose motivation is color: painted-looking prints without painting, cosplay props, layered lithophane projects, or a kid who wants to make things that look like the ones on screen. It is also a good fit if you would rather not be inside a proprietary ecosystem, since the software here is more open than the competition.
Quietness is worth a mention for shared rooms. Owners compare it favorably against typical FDM machines, and that matters in an apartment where the printer runs overnight.
Where the Kobra X will frustrate you
Filament is not included, so plan for that separately. Flexible and stone-filled materials web and string badly through a multi-material path, so keep those jobs single-color. Expansion is tied to ACE 2 Pro add-ons, which are not compatible with the older ACE Pro, so check which generation you are buying before planning a four-add-on setup.
The rating carries a 14 percent one-star share, which is the highest in this lineup. Those reviews cluster around print head failures and clogs inside the first few months, and a looser ACE spool shaft under vibration. If reliability history is your top filter, this is not the machine.
6. Creality K1C – Enclosed, Quiet and Built for Carbon Fiber
Creality K1C 3D Printer, 600mm/s with AI Camera and Auto Leveling
- Largest review base in this lineup at 2726 reviews
- Activated carbon filtration with a silent mode at 45dB
- Tri-metal nozzle handles carbon fiber materials
- AI camera catches failures while you are away
- One-tap auto bed calibration
- A heavy machine at 35.2 lb so it is not portable
- Firmware and reliability complaints in 11 percent of reviews
- Software ecosystem is less open than some rivals
- Camera and slicer features take time to learn
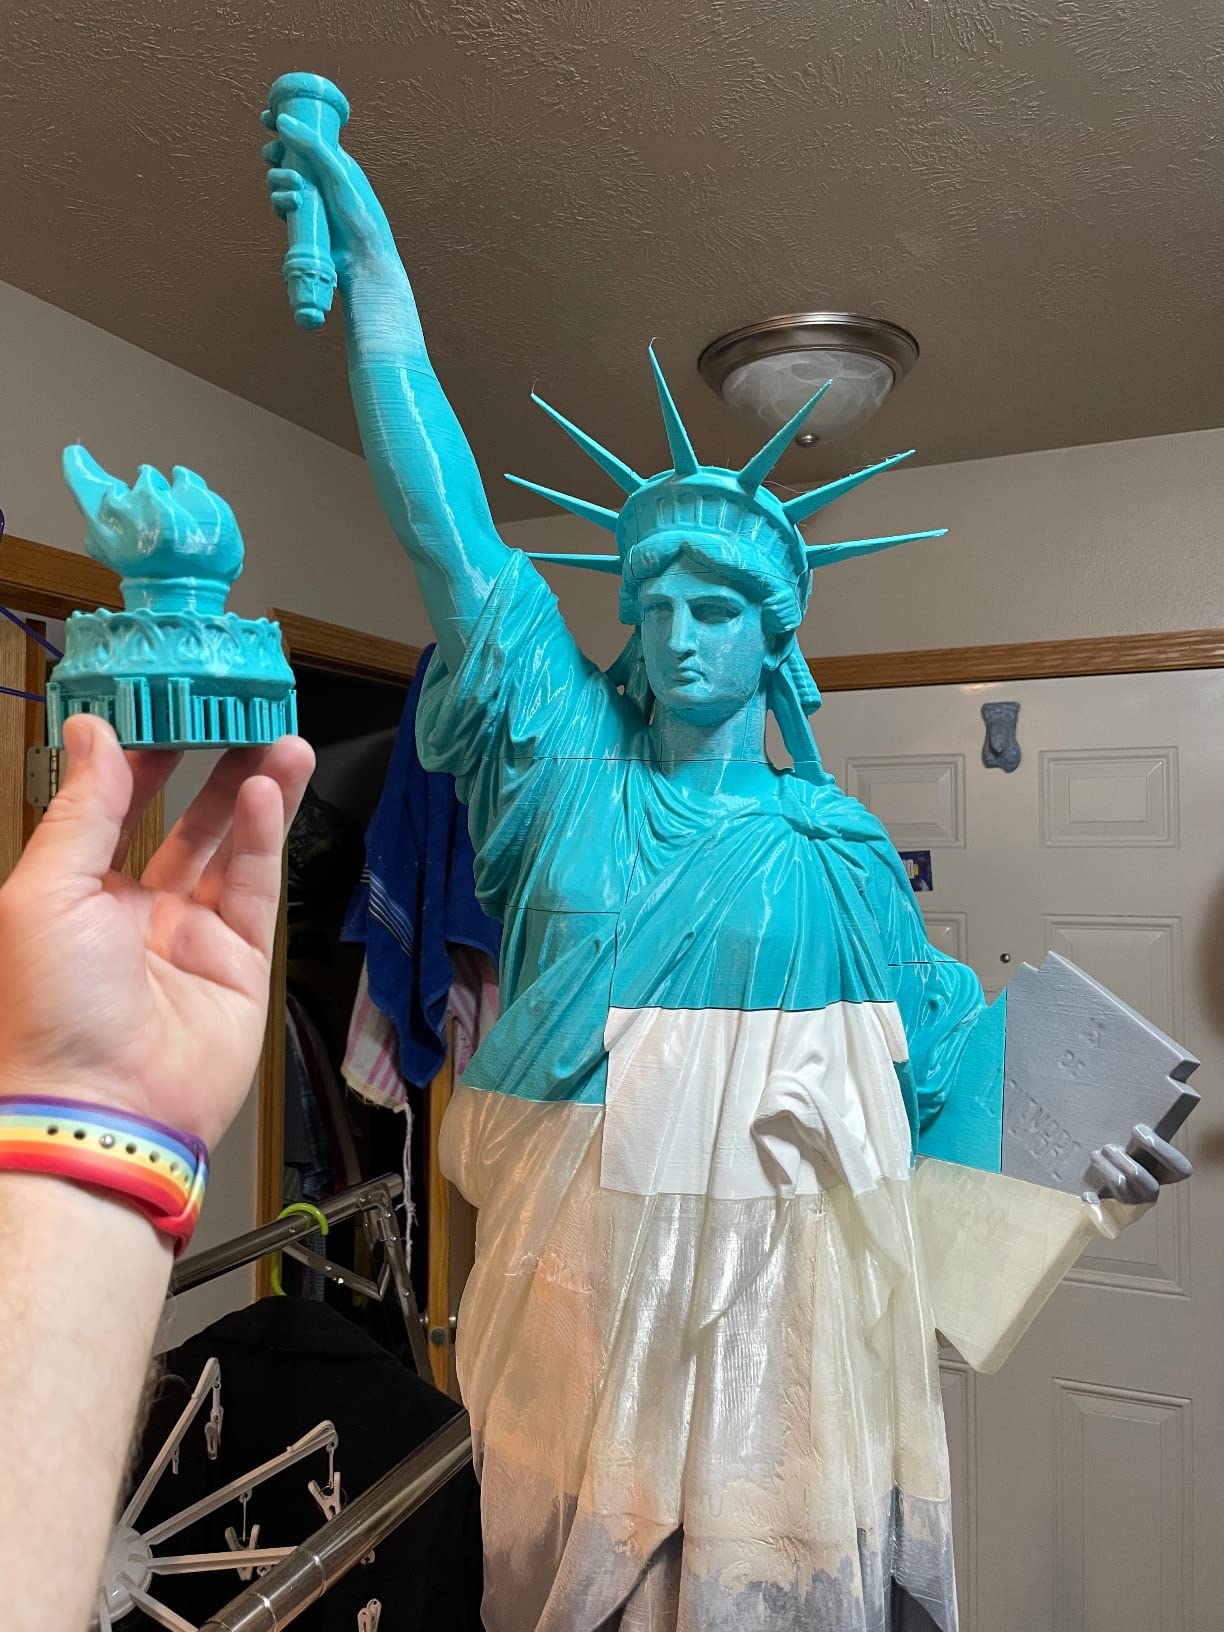
More than 2,700 reviews is a comfort nobody else in this guide can offer you. When a machine has that many owners, the complaint patterns stop being anecdotes, and for the K1C they describe a printer that is genuinely quiet, genuinely enclosed, and genuinely willing to run materials that would destroy an open frame.
The filtration detail is the one apartment and dorm buyers care about. An activated carbon air purification system, plus a silent mode rated at 45dB or lower, is the only figure in this entire guide that measures noise directly. If you share walls with a sleeping person, that number alone justifies a look.
Motion is CoreXY at 600mm/s with 20,000 mm/s2 acceleration, and one-tap calibration dynamically balances the print head fans to cut vibration, which shows up as cleaner corners on tall parts. The direct extruder feeds a tri-metal Unicorn nozzle that is rated for high-temperature work, and the printer handles carbon fiber filaments with simple nozzle swaps.
The AI camera is more than a time-lapse toy. It monitors in real time, flags foreign objects and malfunctions, and lets you watch a long print from another room. For a beginner, catching a failed first hour from a phone beats finding out at breakfast.
Who the K1C suits best
It suits a beginner in a small or shared home, someone who wants to print carbon fiber reinforced parts, and anyone who expects to add a second machine eventually. The enclosed chamber plus hardened path also makes it a good bridge printer for parts that need real strength.
If your purchase decision depends on proven reliability rather than feature count, the review volume here is the strongest evidence in the group. Nothing else gives you that many data points.
Where the K1C will frustrate you
It weighs 35.2 pounds and needs a permanent spot. It is also the most complex machine for a true first-timer: the slicer has more going on, the camera features take time, and the software ecosystem is less open than the Kobra X.
That 11 percent one-star share is the honest caveat. Those reviews point at firmware stability and support resolution rather than print quality, which means the machine prints well when it runs and occasionally needs attention when it does not. If you want the least amount of hands-on, step up to a newer platform instead.
7. Asani TINA2S – The Compact Starter Kit for Kids and Desks
TINA2S Fully Assembled Mini 3D Printer for Kids and Beginners, Starter Kit
- Arrives fully assembled and prints within 20 minutes
- Compact and quiet enough for a desk or classroom
- Filament model library and SD card included in the box
- Auto leveling helps first layers succeed
- Small build plate limits projects to small parts
- No heated bed so PLA is the practical material
- Bowden style tube causes heavy stringing for experienced users
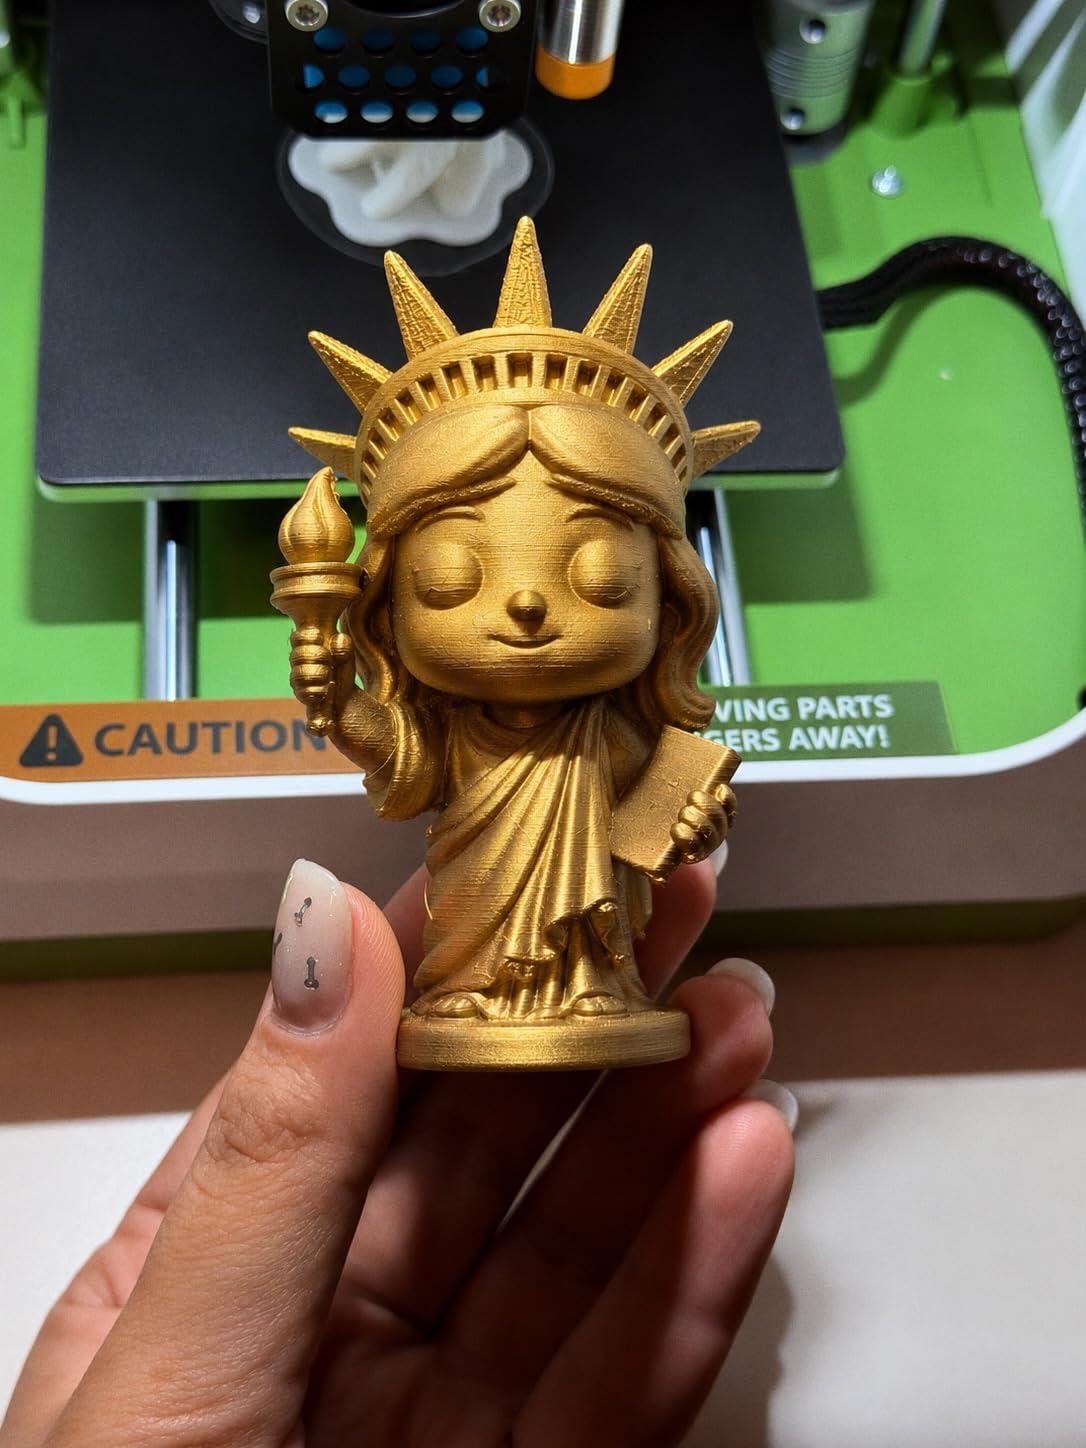
This is the one I recommend when the 3D printer is a gift, a birthday present for a child, or a first machine for a desk that does not have 20 pounds of machine to put on it. It is 6.4 pounds, it is fully assembled, and reviewers report a first print within about 20 minutes of unboxing.
The box is the selling point. You get the printer, 10 meters of PLA filament, a pre-loaded microSD card of models, and slicing software, which removes the single most intimidating part of starting. The 2.4 inch LCD, one-touch filament load and retract, and automatic bed leveling with dual Z-axis rails keep the hardware side simple.
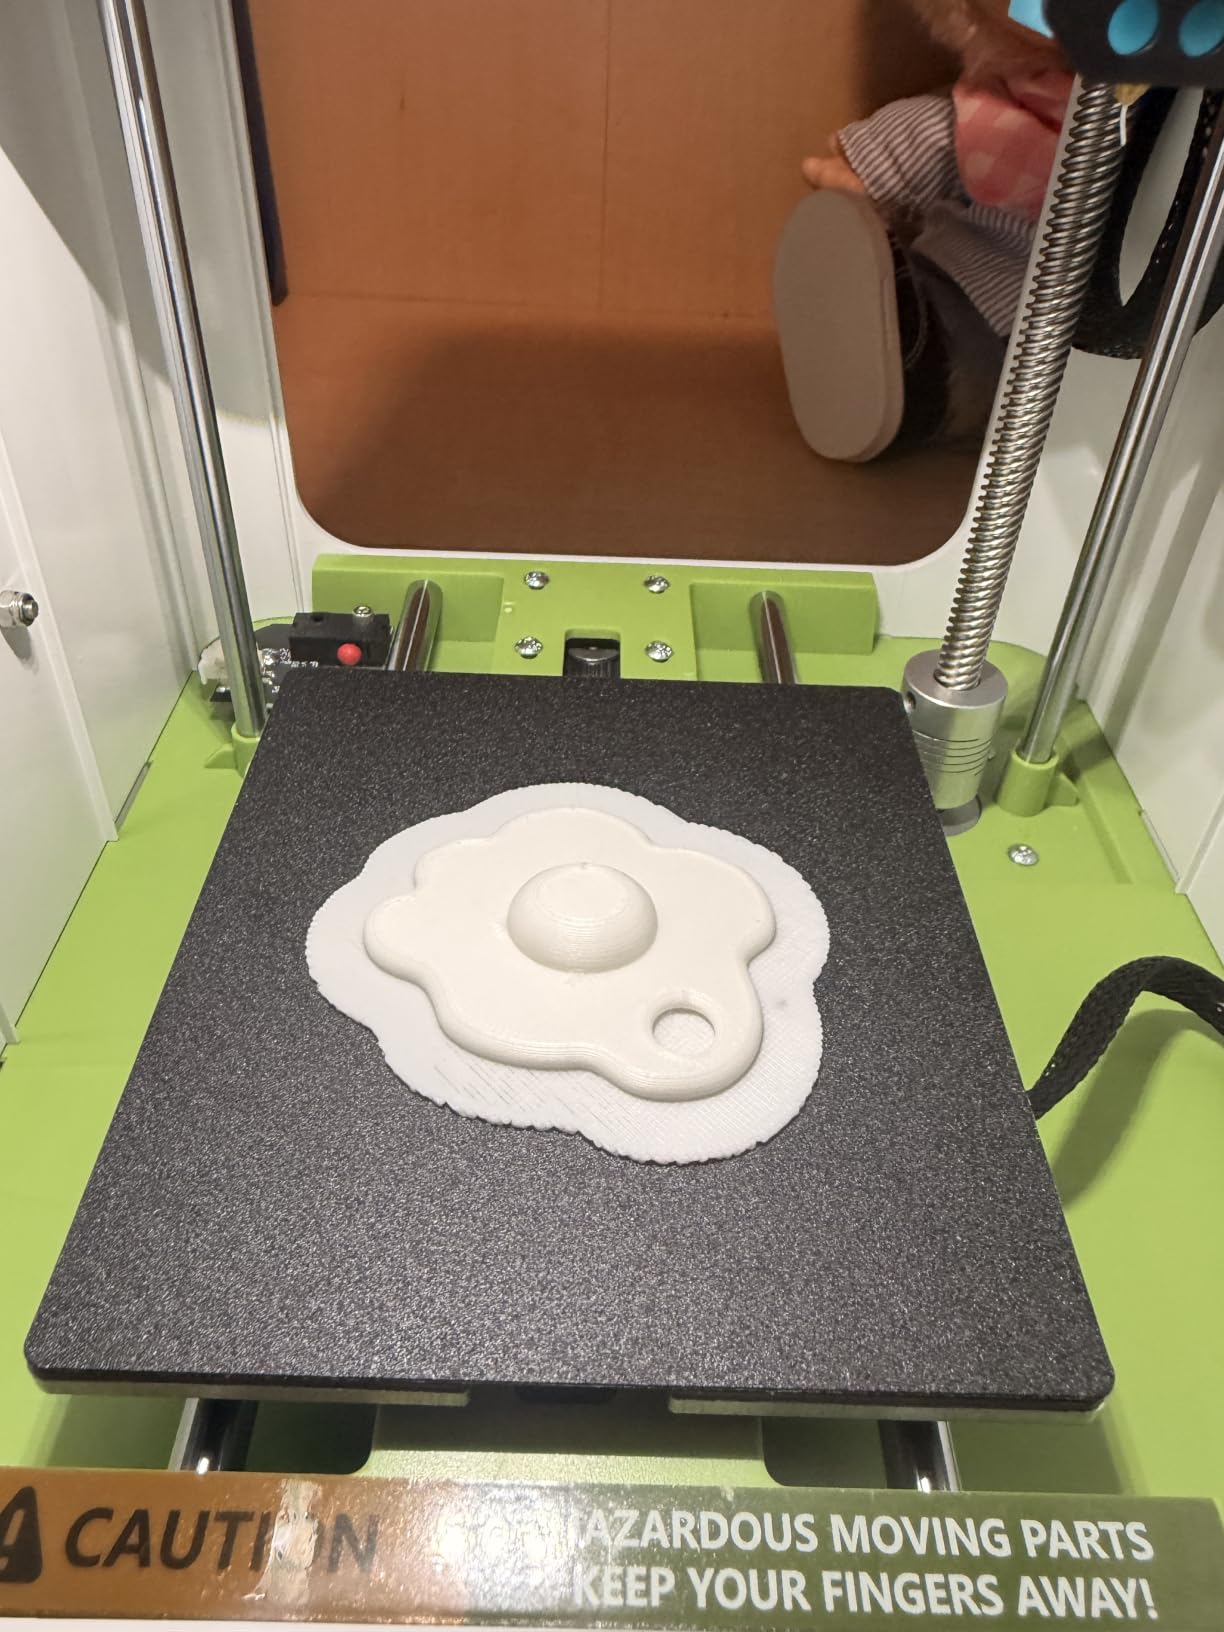
It is WiFi capable and works with Cura, Wiibuilder, Slicr3d, and Simplify3d, so you are not locked into one app. The magnetic flexible build plate releases small parts easily, and the app plus SD card workflows let a child pick a model and press print without opening a slicer.
Filament compatibility covers 1.75mm PLA, PLA Pro, and TPU. One note that surprises people: the included magnetic metal platform plate is required for the proximity sensor to function, so keep it in place.
Who the TINA2S suits best
It suits parents buying a first printer for a child aged roughly 7 to 12, or anyone who wants a self-contained gift that works on the first try. At 8.3 by 8.3 by 11.4 inches it fits on a bookshelf, and the low weight makes it easy to move between rooms.
It also suits a beginner who mainly wants to make small, quick things: bookmarks, game tokens, hooks, name tags, and simple models. The bundled library is genuinely good for staying motivated in the first month.
Where the TINA2S will frustrate you
The build plate is small, and that is the real limit. Anything that would be a useful mechanical part, a phone stand sized for a real phone, or a larger cosplay piece simply does not fit, and you will outgrow it. There is no heated bed, so standard PLA is the practical material and long prints risk lifting.
Experienced users also report heavy stringing from the Bowden-style extruder tube, and weak plate adhesion that needs a glue stick and regular cleaning. Printed instructions are not always clear, so plan an extra hour the first time.
8. Entina Tina2C – Fastest Guided Setup for Classrooms
- Guided app setup with video tutorials
- Model library and AI search suit children
- Self cleaning nozzle and quick swap printhead
- Auto leveling plus power loss recovery
- Compact and light enough to move around
- Very small 3.9 inch build volume
- Some reports of misaligned prints
- Clogging when retraction is enabled in the slicer
- No heated bed limits long prints
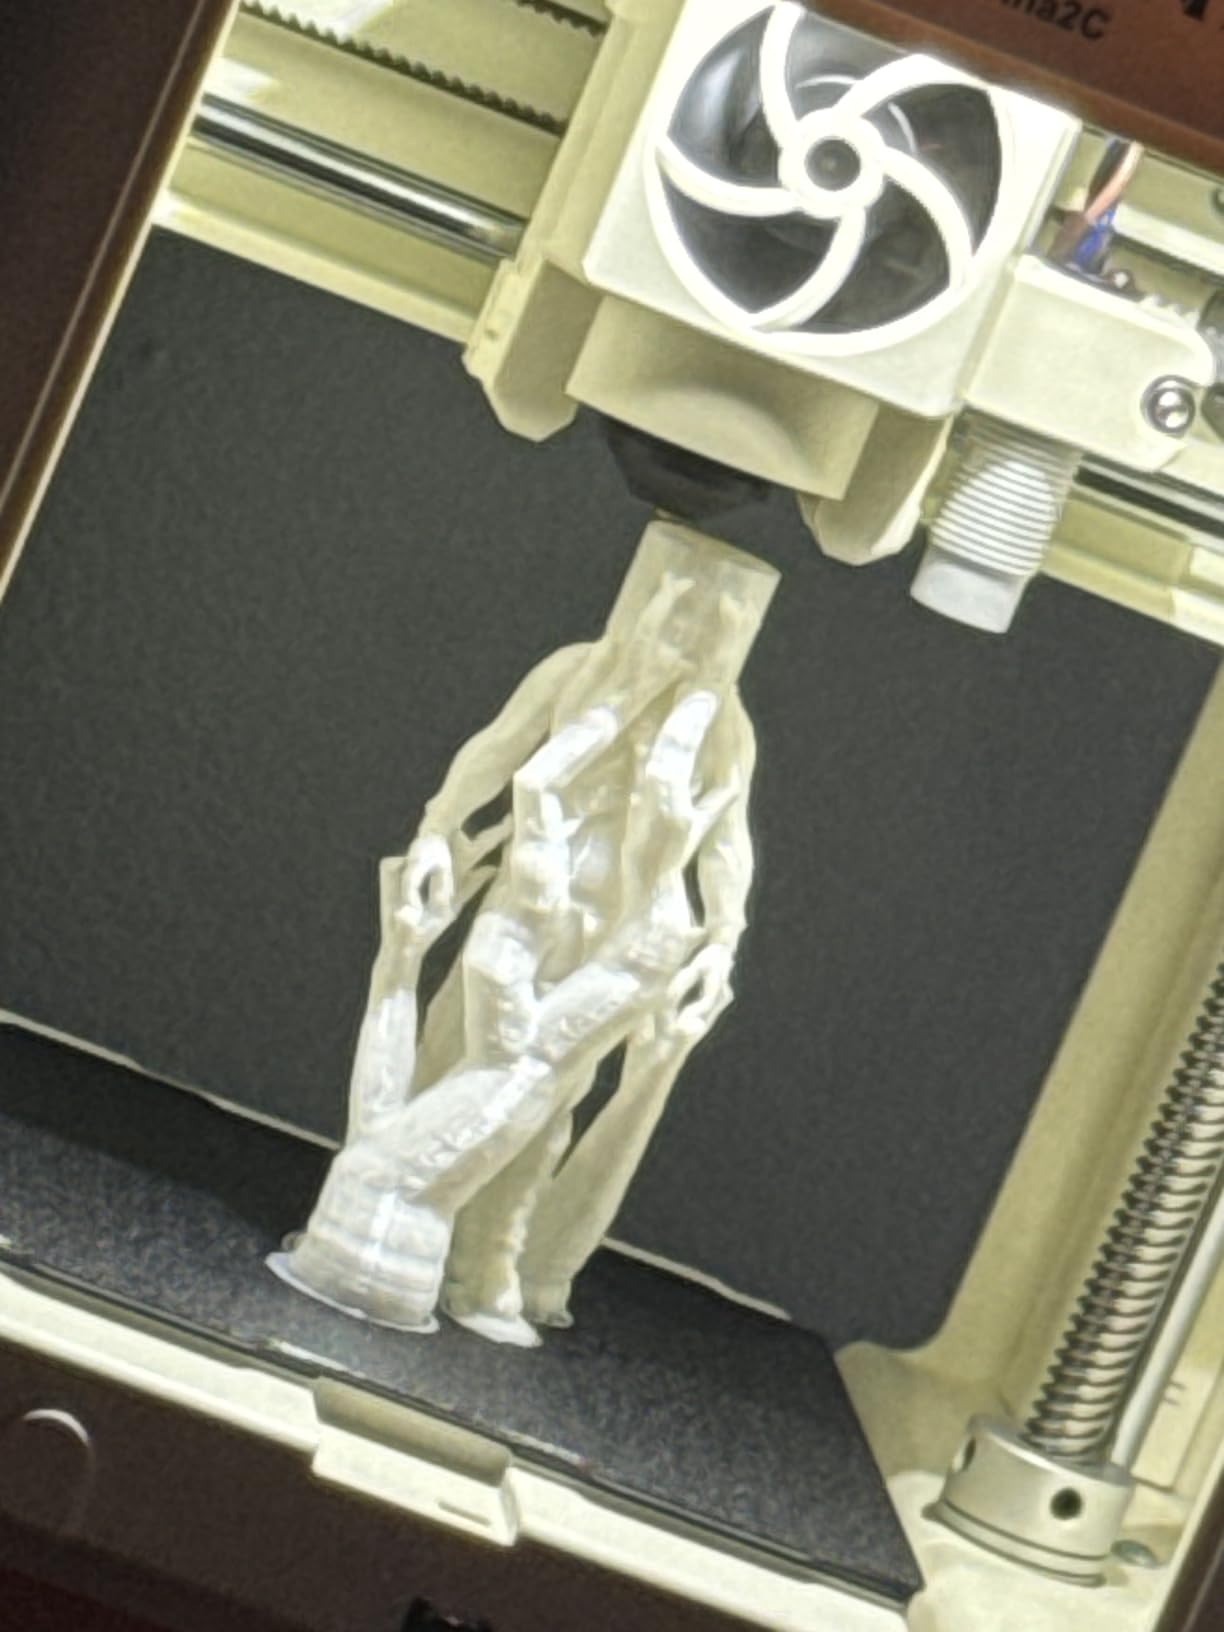
Eight minutes is the claim, and the guided Poloprint Cloud setup is the reason to believe it. The app walks a new user through calibration with video tutorials, then offers an AI-powered search and a photo-to-print feature. For an adult helping a child, or a teacher setting up eight machines, that flow is the whole product.
It weighs 5.28 pounds and measures 8 by 6.5 by 10 inches, with a rounded low-noise body and integrated LED lighting so a work in progress is visible. Print over 2.4G WiFi, or use the TF card when the network is not cooperating. Automatic bed leveling and power loss recovery are both included.
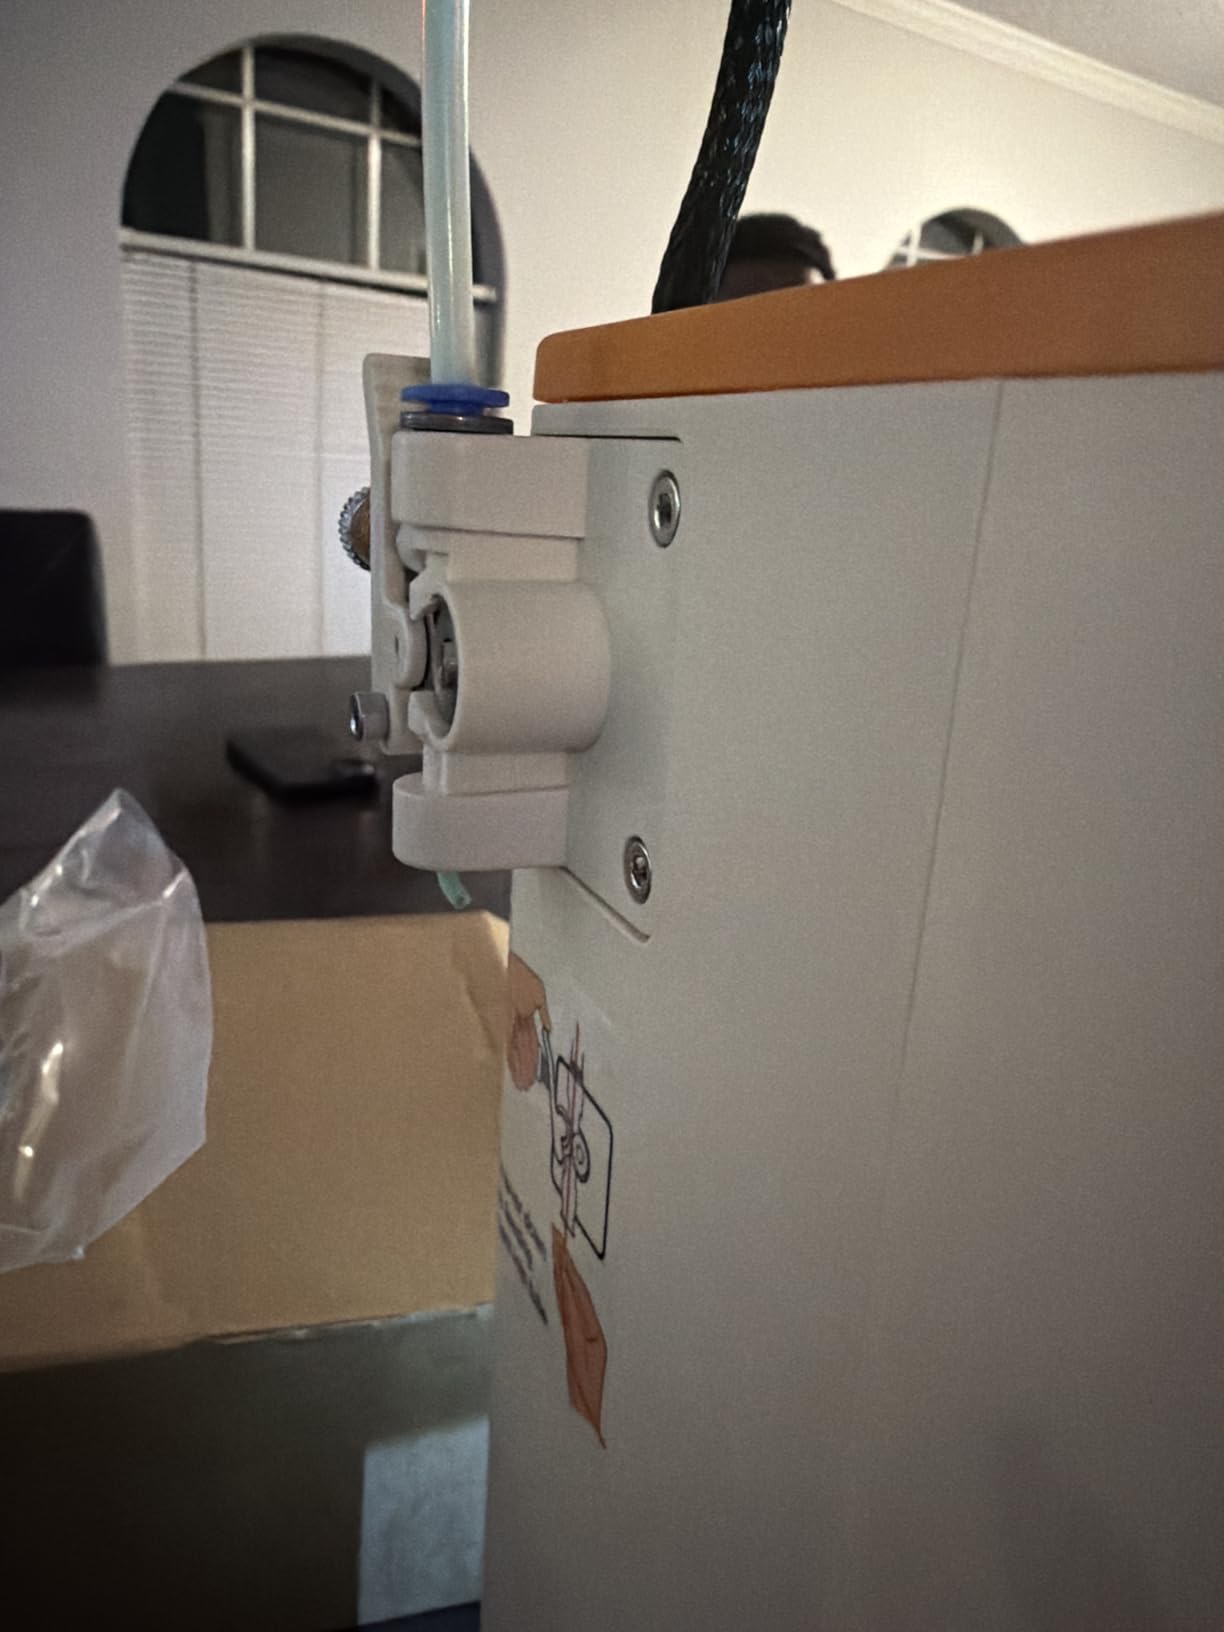
Maintenance is where this one quietly wins. A self-cleaning nozzle and a quick-swap printhead mean a clogged nozzle is a two-minute fix rather than a teardown, and the magnetic build plate makes removal easy. It runs Windows, macOS, Linux, and Chromebook, and works with Cura and Simplify3d.
Alongside the printer are 20 or more creative DIY modules and updated course material for STEM use, plus a model library of more than 3,000 designs. If your goal is education rather than finished functional parts, that content matters as much as the hardware.
Who the Tina2C suits best
It suits a classroom, a makerspace, or a parent who wants a machine a seven-year-old can operate without supervision on the software side. The app-led flow also suits adults who find slicers intimidating, and the low weight makes it easy to store when the term ends.
Buyers report strong responsiveness from customer service, which matters for a school ordering more than one. The rounded housing and quiet operation make it a reasonable desk addition in a home office too.
Where the Tina2C will frustrate you
The 3.9 by 3.9 by 3.9 inch build volume is the hard limit. It prints trinkets, not parts. With no heated bed, long prints are risky, and the nozzle tops out at 200C, which narrows material choice further.
Two recurring technical complaints are worth knowing: some buyers report prints coming out misaligned, and clogs appear when retraction is enabled in the slicer. If you are an experienced user planning to grow into this machine, look elsewhere. If you want a fast setup and a working gift, it delivers.
9. Creality Ender 3 V3 SE – The Straightforward, Community-Backed Way In
Creality Ender 3 V3 SE Beginner-Friendly 3D Printer with Auto Leveling
- Budget entry point with a 790 review track record
- CR Touch auto leveling plus automatic Z-offset
- Proven Sprite direct drive handles PLA PETG and TPU
- Silent 32-bit mainboard and easy release plate
- Large community and free tutorial library
- Slower 250mm/s than the CoreXY competition
- Mainboard and firmware failures reported by some owners
- No enclosure so ABS and ASA are impractical
There is a reason this machine has stayed on beginner lists for years, and it is not the spec sheet. It is the knowledge base. Thousands of tutorials, an enormous library of solved problems, and a community that answers questions faster than any support ticket. Forum regulars consistently say the Ender community solves issues faster than a manufacturer can.
CR Touch automatic leveling plus automatic Z-offset calibration handle the two steps that used to make first-time Ender owners give up. Assembly takes about 20 minutes with an Allen key, and the upgraded Sprite direct extruder feeds PLA, PETG, and TPU reliably. Dual synchronized Z-axis lead screws and precision Y-axis linear shafts cut the Z wobble that plagued older models.
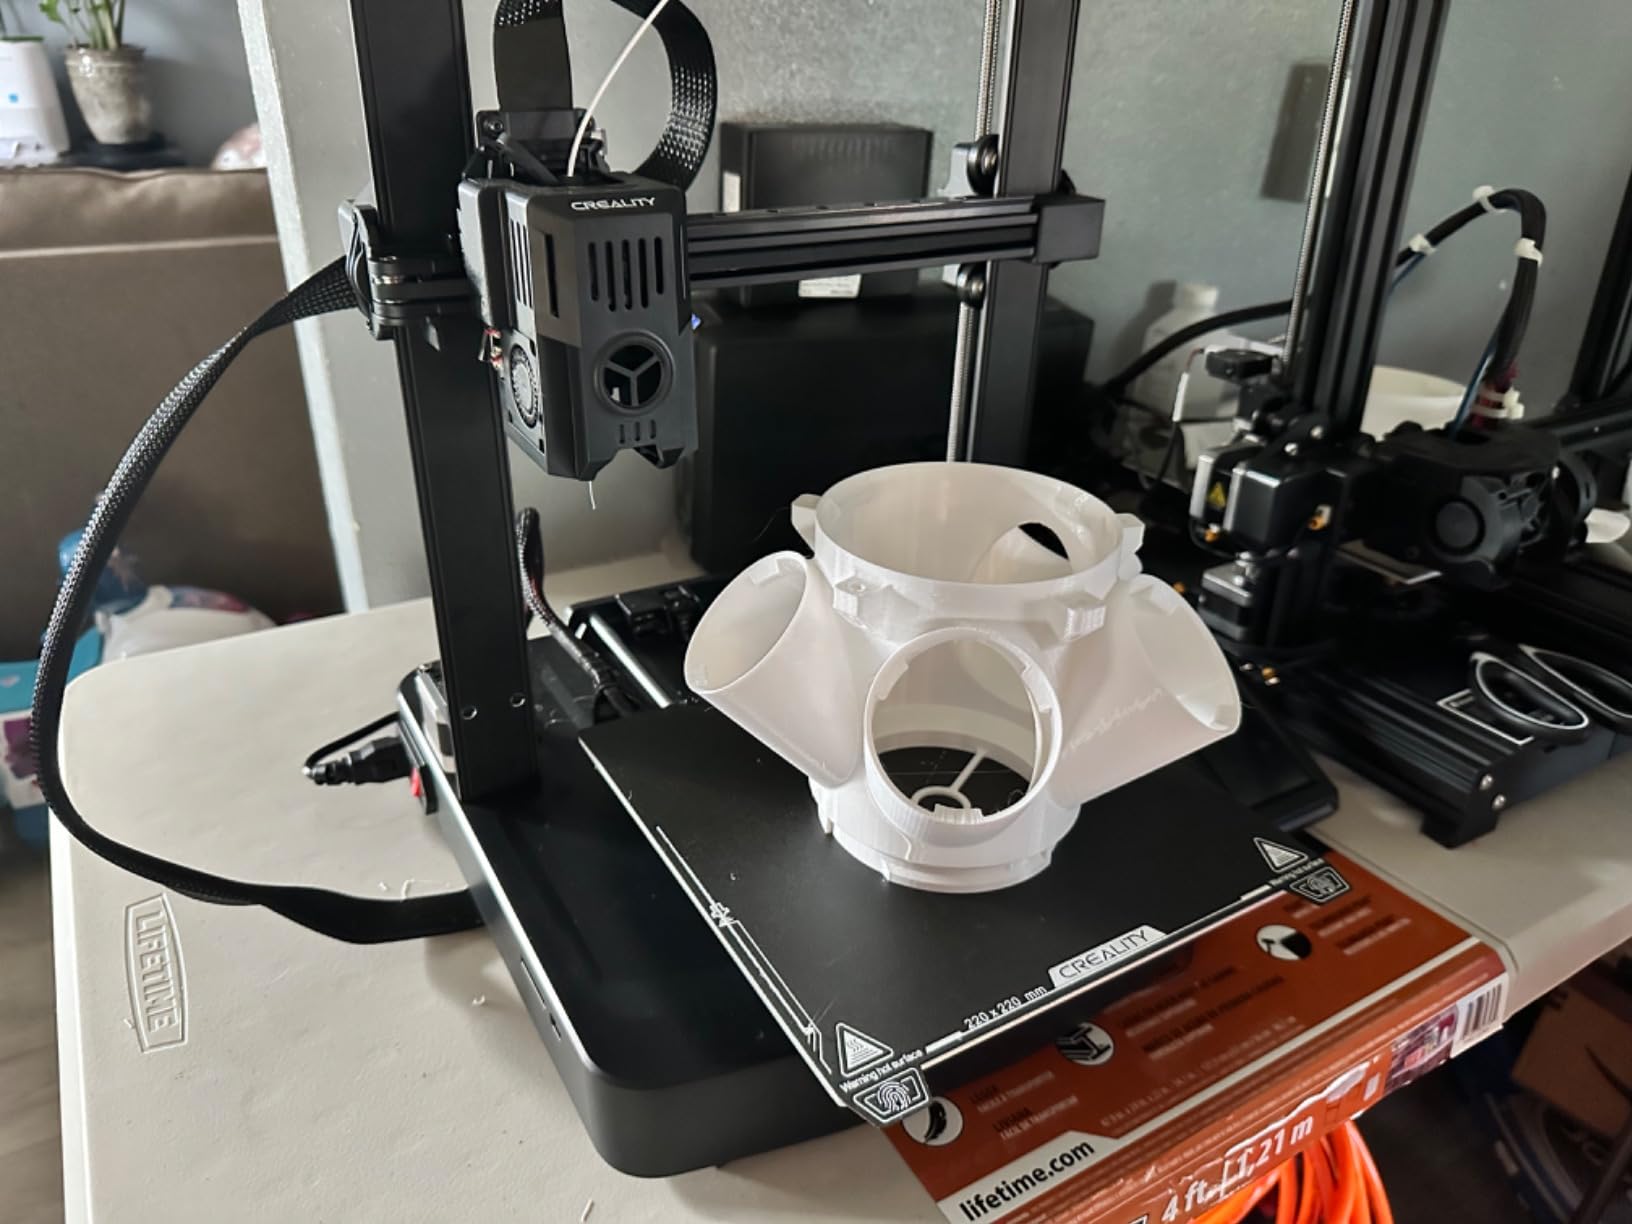
It is not fast. 250mm/s with 2500 mm/s2 acceleration sits well below the CoreXY machines here, and the single-piece vertical frame has more wobble. But a 32-bit silent mainboard keeps the noise down, and a slower first printer is not a failure if you are printing organizers, brackets, and models rather than running a production line.
At 19.8 pounds with a 15 by 19.6 by 15 inch footprint, it is a genuine full-size machine, not a toy. The flexible PC spring steel build plate releases parts easily and handles everyday use without ceremony.
Who the Ender 3 V3 SE suits best
It suits a beginner working to a firm limit who wants a real full-size printer and is willing to spend a weekend learning the fundamentals. It is also a strong pick for a school, library, or makerspace where several people will share documentation and troubleshooting help.
If you like tinkering, this is the machine that rewards it. The direct extruder, the spring steel plate, and the community make almost any upgrade a well-documented weekend project.
Where the Ender 3 V3 SE will frustrate you
It is the lowest rated machine here at 4.1, and the gap is real. A meaningful group of owners report mainboard or firmware failures within months, sometimes outside the return window, with support resolution that stretches. Some also flag USB drive reliability and a frame that wobbles more than a CoreXY bed.
There is no enclosure, so ABS and ASA are impractical, and the speed ceiling means tall thin parts can show ringing. If you want something that asks nothing of you, the Bambu Lab A1 costs a modest step up and removes nearly all of these variables. If you want the lowest-cost door into the hobby and enjoy the process, this is still a sensible pick.
How to Choose Your First 3D Printer in 2026
Pick your technology before you pick a brand. Everything else in this guide follows from that one decision, and reversing the order is how people end up disappointed by a machine that was never wrong for its category.
FDM or resin: the first decision that really matters
FDM printers melt plastic filament through a heated nozzle and lay it down layer by layer. It is safe, quiet, forgiving, and the material is easy to buy anywhere. Resin printers cure liquid resin with UV light through a monochrome screen, which produces dramatically finer detail and smooth surfaces, and require a chemical post-processing workflow with gloves, alcohol, a wash station, and a cure station.
Answer three questions. Are you making functional parts, organizers, brackets, and household fixes, or display pieces like miniatures and jewelry? Do you have a ventilated space and are you willing to handle uncured resin safely? Do you mind a 30 to 60 minute wash and cure cycle after every print? Lean resin on two of those three, and resin is the right first tool. Otherwise, FDM is the safer starting point.
If resin is your direction, plan for the consumables on top of the machine. Nitrile gloves, isopropyl alcohol, replacement FEP film, a wash station, and a cure station are not optional extras, and skipping them is the most common reason a first resin print disappoints.
Auto-leveling is the feature that decides your first weekend
Poor bed adhesion is the number one cause of beginner failure, and manual leveling is the number one cause of frustration. Every printer in this guide auto-levels. The real difference is depth: the A1 and P1S run full calibration covering bed, Z-offset, and flow, while the Ender 3 V3 SE does CR Touch leveling with automatic Z-offset, and the Kobra X runs a 49-point LeviQ 3.0 calibration.
Thermal bed cameras and mesh bed leveling are a further step up. If a machine lacks them, you are tuning Z-offset and flow yourself, which is a hobby in itself and an avoidable one for a first purchase.
CoreXY and bedslinger: what motion system you are buying
CoreXY keeps the toolhead in the center of the frame, which produces less ringing at high speed, flatter top surfaces, and snappier acceleration. Every fast machine here uses it. Bedslingers move the bed back and forth under a fixed gantry, which is simpler and cheaper, and the Ender 3 V3 SE is the one in this group built that way.
Direct drive versus Bowden is the other fork. Direct drive pushes filament straight to the hotend and handles TPU and flexible filaments more reliably. Bowden routes it through a tube, which reduces moving mass and cost, and is why the TINA2S strings more than the rest.
Enclosed or open frame
Open frames are lighter, cheaper, and fine for PLA and PETG. Enclosed chambers hold heat, which is what ABS, ASA, PC, and carbon fiber reinforced filaments need in order not to warp. The P1S and K1C are enclosed; the A1, Adventurer 5M, Kobra X, Ender 3 V3 SE, and both mini machines are not. A closed chamber also keeps odors and particulates inside the machine, which is a secondary reason manufacturers pair enclosure with carbon filtration.
Do not buy an enclosure you have to assemble and tune yourself as your first experience with the hobby. Start with a machine that either has what you need or is a clean step up.
Slicer software and ecosystem lock-in
Bambu machines lean on a polished cloud-connected workflow, which is friendly to beginners and the source of a common complaint about dependency. Creality’s ecosystem is considered less open than some rivals. Anycubic’s Kobra X is reported by owners as comparatively open, and both mini machines work with mainstream slicers including Cura and Simplify3d, plus Linux and Chromebook support.
For privacy-conscious buyers, note that local printing is possible on all of these through SD card or TF card workflows. You lose app conveniences like remote monitoring and phone-to-print, and you gain a machine that does not care whether your router works.
Noise, power, and where the printer lives
Two numbers matter more in an apartment than any print speed, and both are hard to find in retailer listings. The first is noise. FDM motion is loudest during retraction, when the extruder snaps back before a travel move, and a direct-drive machine with a damped extruder is noticeably calmer than a Bowden setup. The only published figure in this lineup is the Creality K1C, which lists a silent mode at 45dB or lower alongside its activated carbon filtration. The Bambu Lab A1 and the Anycubic Kobra X are the quietest by owner accounts, and the K1C is the only one whose noise level is a stated specification rather than a general impression.
The second is power draw, because a printer on an overloaded extension lead or a circuit shared with a kettle is a real failure point rather than a theoretical one. Printers with heated beds and chambers spike well above their running draw during warm-up, so size any UPS for the heater elements and not just the electronics. A machine that can recover from a power cut, and several here can, still benefits from a battery-backed outlet, because recovery cannot restart a nozzle that has already cooled and lost layer adhesion.
Placement advice is short and specific. Put the printer on a rigid, level surface with clearance for the bed to travel, keep it out of a closed cabinet, and leave an inch or two of airflow around the intake. If you print resin, the ventilation requirement is not optional: uncured resin has a noticeable odor and needs a space with an extraction option, which is why resin printers in this guide are recommended for people who already have a suitable workspace.
Multicolor, multicolor systems, and whether to wait
Multicolor is the feature beginners ask about most and regret least, because it is nearly always an add-on rather than a compromise. The common systems work the same way: a box holds several spools, feeds them to the printer, and purges the previous color before the next. The differences that matter are how fast they purge and how much waste that creates.
Two of the machines here support an external multicolor box rather than including one. The Bambu Lab A1 pairs with the AMS lite, and the Bambu Lab P1S pairs with the AMS for up to 16 colors. The Anycubic Kobra X is the outlier: it prints four colors natively and expands to 19 with four ACE 2 Pro add-ons, which is why it is our multicolor pick for someone who wants color on day one rather than after a second purchase. Note that ACE 2 Pro add-ons are not interchangeable with the older ACE Pro, so match the generation before planning an expansion.
Our advice for a first machine is to skip multicolor entirely, print single-color in PLA, and add a system later if you still want it. The one exception is the Kobra X, where the capability is already built in and there is no separate purchase to regret.
What to buy alongside your first printer
Plan a small accessory kit before you buy. A glue stick for plate adhesion, a metal scraper and a plastic scraper for removing prints, digital calipers, a nozzle cleaning needle, and a soft brush. If you are doing resin, add nitrile gloves, a wash vat, a cure station, and spare FEP film from day one.
Two accessories are worth more than the rest. First, a filament dryer or a sealed dry box if you live somewhere humid, because wet PLA pops, strings, and leaves a rough surface no amount of tuning will fix. Second, a small uninterruptible power supply if you plan overnight prints, since a power cut in hour six costs the whole job on a machine without recovery. Several machines here include power loss recovery, which resumes the print, but a UPS also stops the nozzle from cooling while the machine sits dead.
One more practical note on the heated bed. A machine with a heated bed can also warm-chamber materials and reduce elephant foot on tall prints, but it takes longer to reach temperature and it is the main reason a printer draws real power. Leave ten to fifteen minutes of preheat in your estimate for the first layer of any tall ABS or ASA part.
Category context helps too. If you also enjoy producing physical output at home, our label printer guide covers a different class of machine for the same kind of creative setup, and sublimation printers are worth a look if you plan to put your own artwork on mugs and shirts.
What your second printer should be
Plenty of buyers here will own two machines eventually, and the second one is easier to choose than the first because you know what you actually make. If you started FDM and kept hitting a detail wall on miniatures, the natural next step is a resin machine like the Photon Mono 4, not a bigger FDM frame. If you started with a small enclosed printer and grew out of the build volume, that is when the Kobra X’s 260mm cube and the Adventurer 5M’s 220mm cube start to make sense.
The most common upgrade path among the people we spoke to is FDM for functional work plus resin for display pieces, and both a K1C and a P1S make sense as the FDM half only when you have a specific material need. Adding a multicolor box to a machine that already supports one costs far less than replacing the printer, so exhaust the single-machine option before you buy a second.
What to avoid as a first printer
Avoid unbranded kits with no local support and no parts pipeline. Support quality and replacement parts are the difference between a weekend fix and a dead machine. Avoid open-frame machines if your plans include ABS, ASA, or PC, because you will rebuild your whole approach around warping. Avoid printers that need manual leveling, manual flow calibration, and a firmware knowledge base before the first successful print.
Also avoid buying a multicolor system before you know you want it, unless the printer includes it natively as the Kobra X does. Purge waste and extra add-ons are where multicolor spending quietly expands. And be cautious with discounted models from brands that have abandoned consumer support: parts disappear, and firmware stops updating.
One more anti-recommendation: skip brands with no published replacement parts pipeline. A printer is a machine that will need a nozzle, a belt, and eventually a hotend. If you cannot find those parts, the machine is a paperweight the day something breaks. Check the parts and support situation before you commit, not after.
Frequently Asked Questions
What is a good first 3D printer for a beginner?
A good first printer arrives mostly assembled, auto-levels its bed, and gets you to a successful print within an hour. For most beginners that means an open-frame FDM machine with automatic bed leveling and automatic Z-offset calibration. The Bambu Lab A1 is our first pick for most people, the Flashforge Adventurer 5M is the best value, and the Asani TINA2S covers the small desk and kids category.
What is the most beginner friendly 3D printer?
The most beginner friendly printer is the one that does the calibration for you. Machines with full-auto calibration covering bed leveling, Z-offset, and flow rate remove the three steps that cause most first-print failures. The Bambu Lab A1 does all three automatically and rates 4.7 stars across 653 owner reviews, which is the highest score in our lineup.
Can I teach myself 3D printing?
Yes, and most people do. The skills are software-first rather than mechanical: choosing a model, importing it into a slicer, setting layer height and supports, and recognizing a first-layer failure. Every printer in this guide auto-levels, so the mechanical side is mostly a nozzle swap and a clean plate. Allow yourself a weekend of small prints before judging whether you enjoy it.
How much does it really cost to start 3D printing?
Think beyond the printer. You will need filament, a dry box or filament storage, a scraper set, calipers, and a cleaning brush at minimum. Resin buyers need more: nitrile gloves, isopropyl alcohol, a wash station, a cure station, and replacement FEP film. Set aside a real consumables and safety gear budget on top of a resin machine before your first print, and a much smaller one for FDM.
Do beginners need an enclosed 3D printer?
Only if you plan to print ABS, ASA, PC, or carbon fiber reinforced filaments. Those materials need a hot chamber to avoid warping, and an enclosure is the single biggest quality jump for them. For PLA, PETG, and TPU, an open frame is lighter, quieter, and cheaper. If you are unsure, an open-frame CoreXY machine like the Flashforge Adventurer 5M is the flexible middle ground.
What should I buy with my first 3D printer?
Start with a glue stick for plate adhesion, a metal and a plastic scraper, digital calipers, a nozzle cleaning needle, and a soft brush. Add filament storage, ideally a dry box, because moisture ruins PLA surface quality. Resin printers additionally need nitrile gloves, isopropyl alcohol, a wash vat, a cure station, and spare FEP film, and those are not optional extras.
Which 3D Printer Should You Buy First?
If you take one recommendation from this guide, take the Bambu Lab A1. Among the best 3D printers for beginners, it removes the most steps between unboxing and a finished part, and its 4.7 star rating across 653 owner reviews is the strongest consistency signal we found.
Buy something else if your situation is specific. The Flashforge Adventurer 5M is the value pick for speed and direct drive. The Bambu Lab P1S is the answer when you need an enclosed chamber for ABS and ASA. The Anycubic Kobra X covers native four-color printing. The Creality K1C fits a quiet shared room. The Anycubic Photon Mono 4 covers resin and miniatures. The Ender 3 V3 SE and the two mini machines cover tight budgets, kids, and classrooms.
Whichever you pick, buy it for the first ten prints you actually want to make, not the twentieth. You can always add a multicolor unit, a dryer, or a second machine later, and the hobby grows fastest when the first month is frictionless.
While you decide, our 3D puzzle picks for adults are a low-stakes way to see whether you enjoy spatial thinking before you commit a weekend to calibration.
One last thing that surprises first-timers. The first print is a scrap print, and that is fine. Print a calibration model or a simple cup, watch the layers, and note what you do not like about the surface. Learning to read a print is the actual skill, and it transfers to every machine you own afterwards. Once that first layer sticks, the rest of the hobby takes care of itself.