
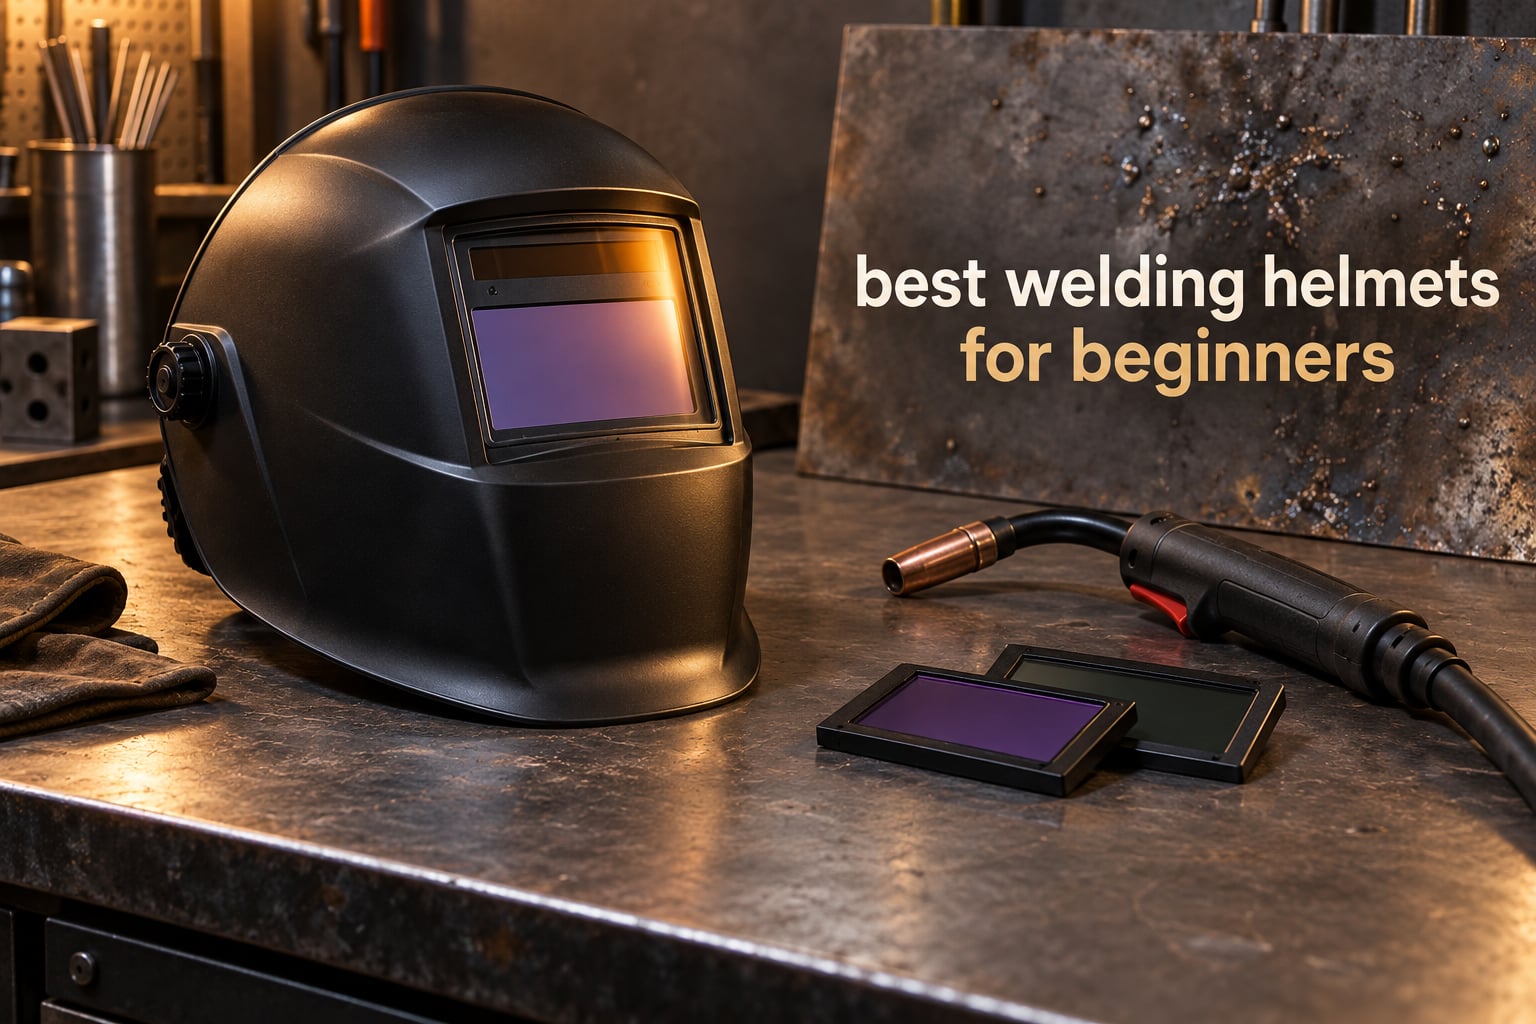
Welding is one of those hobbies that sneaks up on you. You start with a single weekend project, and suddenly there is a half-finished gate in the driveway and a question about what shade you should actually be running. The helmet is the piece of safety equipment that has to be right on day one, and it is also the piece most beginners overthink.
Here is the thing I have learned after watching a lot of first-time welders buy gear: almost every auto-darkening helmet on the market will protect your eyes properly. The differences between the cheap hoods and the expensive ones are not about whether you survive your first arc strike. They are about how clearly you can see the puddle, whether the sensors trigger in a tight joint, and whether your neck hurts at the end of a four-hour session. Spend your thinking on those three things instead.
This guide covers the best welding helmets for beginners available now, with ten picks that span ultralight shells, large viewing areas, integrated work lights, and a couple of traditional-brand options with real warranties behind them. Every helmet here was checked against the same list: optical clarity rating, switching speed, sensor count, shade range, weight, and what owners say after living with it. I also leaned on the recurring themes from experienced welders, because the things that annoy people a year into ownership rarely show up on a spec sheet.
If you have never worn an auto-darkening helmet, the short version is this: it sits in a light state so you can see your work, darkens electronically in a fraction of a second when it detects an arc, and returns to light when the arc stops. No flipping the hood up, no taking off gloves, no guessing. That single feature is why nearly everything in this list is auto-darkening rather than a fixed-shade window. Our guide to helmet fit for adults covers the head-shape side of comfort, which matters just as much here.
Top 3 Welding Helmet Picks for Beginners in 2026
These three are where I would start if someone asked me to pick a single helmet for a friend learning to weld. The first is the strongest all-round choice, the second is the best buy, and the third is the lightest shell in the group.

YESWELDER LYG-L600A True Color
- 1/1/1/1 true color optics
- 1/30000 sec switching
- 2 arc sensors
- 16 oz shell
YESWELDER LYG-M800H Large View
- 3.93 x 3.66 inch view
- 4 arc sensors
- Shade 3/5-9/9-13
- Ratchet headgear

TOOLIOM Solar Powered Helmet
- 1.14 lb shell
- 1/25000 sec switching
- External grind knob
- Solar plus spare battery
All 10 Welding Helmets Compared in 2026
Every helmet below appears in this table with its core specifications, so you can line up the numbers before you read the full reviews. The viewing area, sensor count and switching speed are the three columns worth studying first.
| Product | Specifications | Action |
|---|---|---|
| YESWELDER LYG-L600A |
|
Check Latest Price |
| YESWELDER LYG-M800H |
|
Check Latest Price |
| TOOLIOM Solar Helmet |
|
Check Latest Price |
 TOOLIOM Large View Helmet TOOLIOM Large View Helmet |
|
Check Latest Price |
 TRQWH Helmet with Light TRQWH Helmet with Light |
|
Check Latest Price |
 Hobart 770890 Hobart 770890 |
|
Check Latest Price |
 Miller Classic ClearLight Miller Classic ClearLight |
|
Check Latest Price |
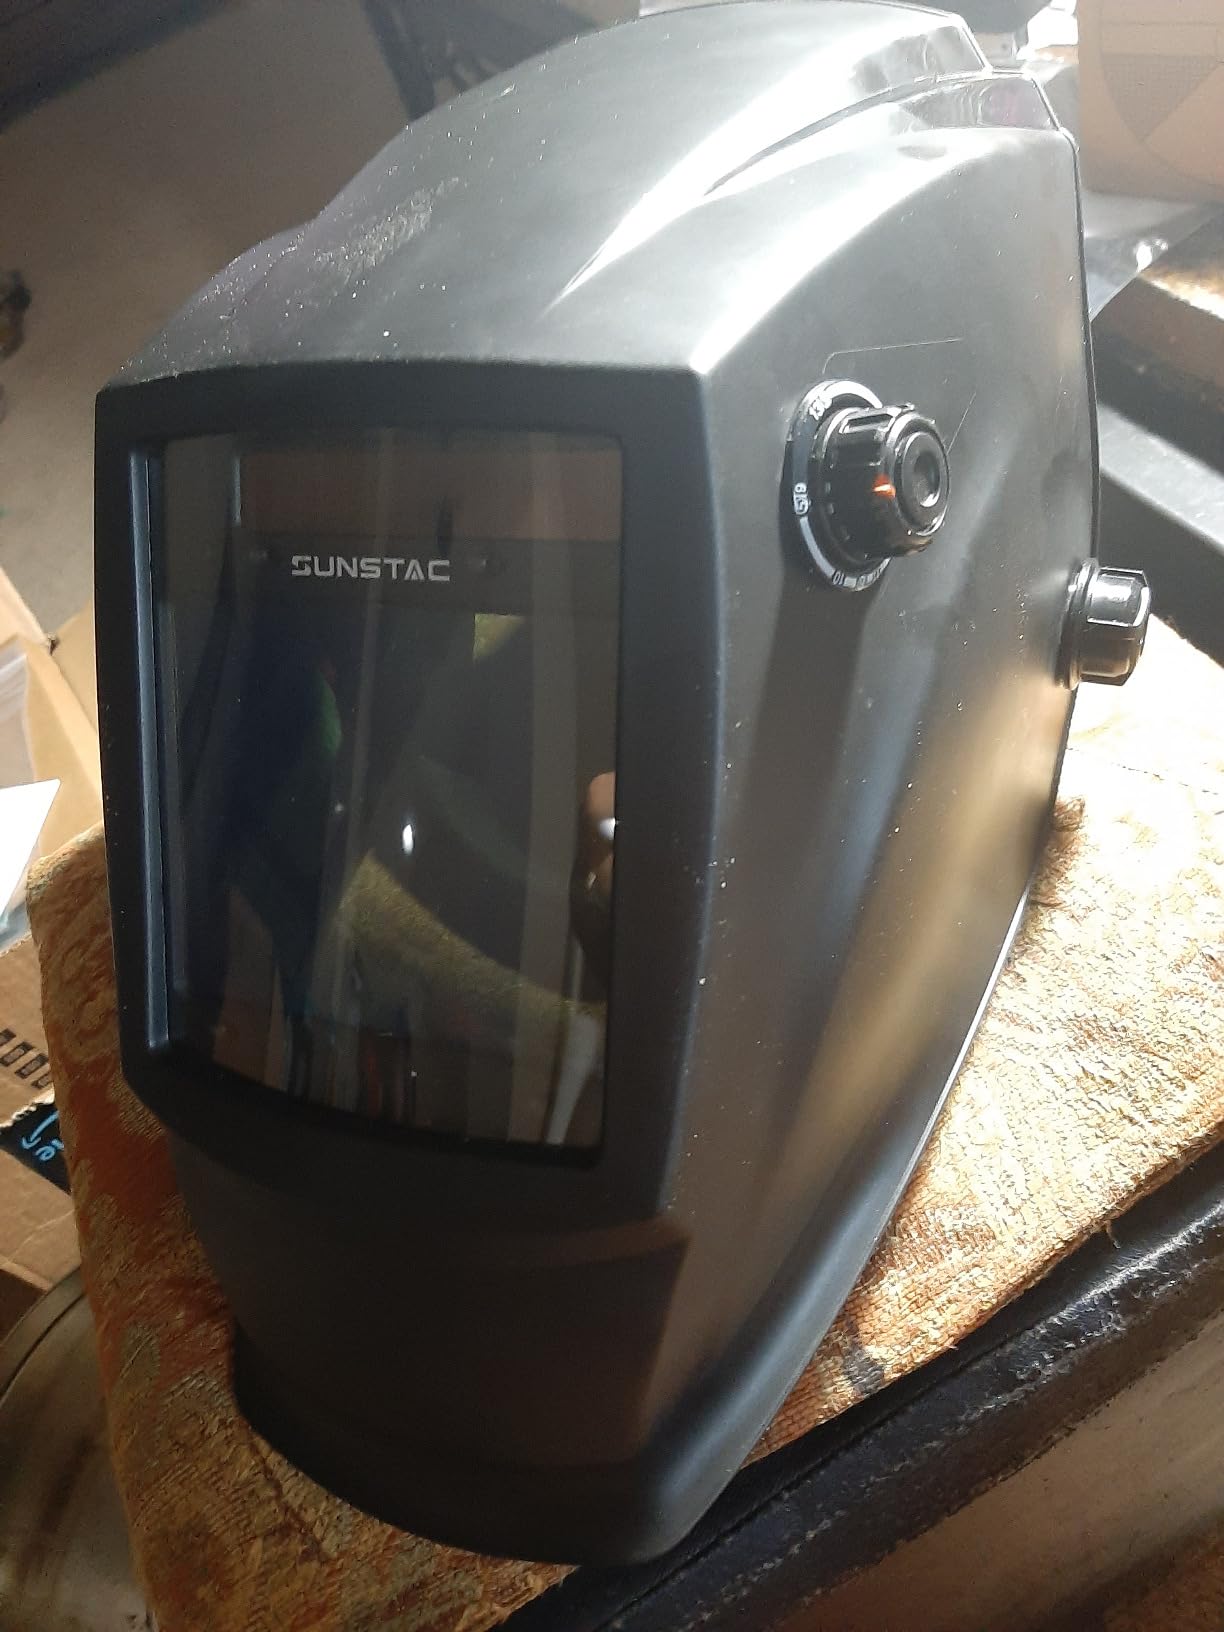
 Sunstac Auto-Darkening with Light Sunstac Auto-Darkening with Light |
|
Check Latest Price |
 Accoral True Color Helmet Accoral True Color Helmet |
|
Check Latest Price |
 BESTCLUB Solar Hood BESTCLUB Solar Hood |
|
Check Latest Price |
1. YESWELDER LYG-L600A – Best Overall for Beginners
YESWELDER Auto Darkening Welding Helmet 1/1/1/1 True Color, LYG-L600A
- True color view reduces eye strain on long sessions
- Fast darkening with adjustable sensitivity and delay
- External shade knob for TIG MIG stick and grind
- Spare lenses and a storage bag included
- Small viewing area compared with large-view helmets
- Light-duty headgear and straps
- Supplied button battery may arrive flat
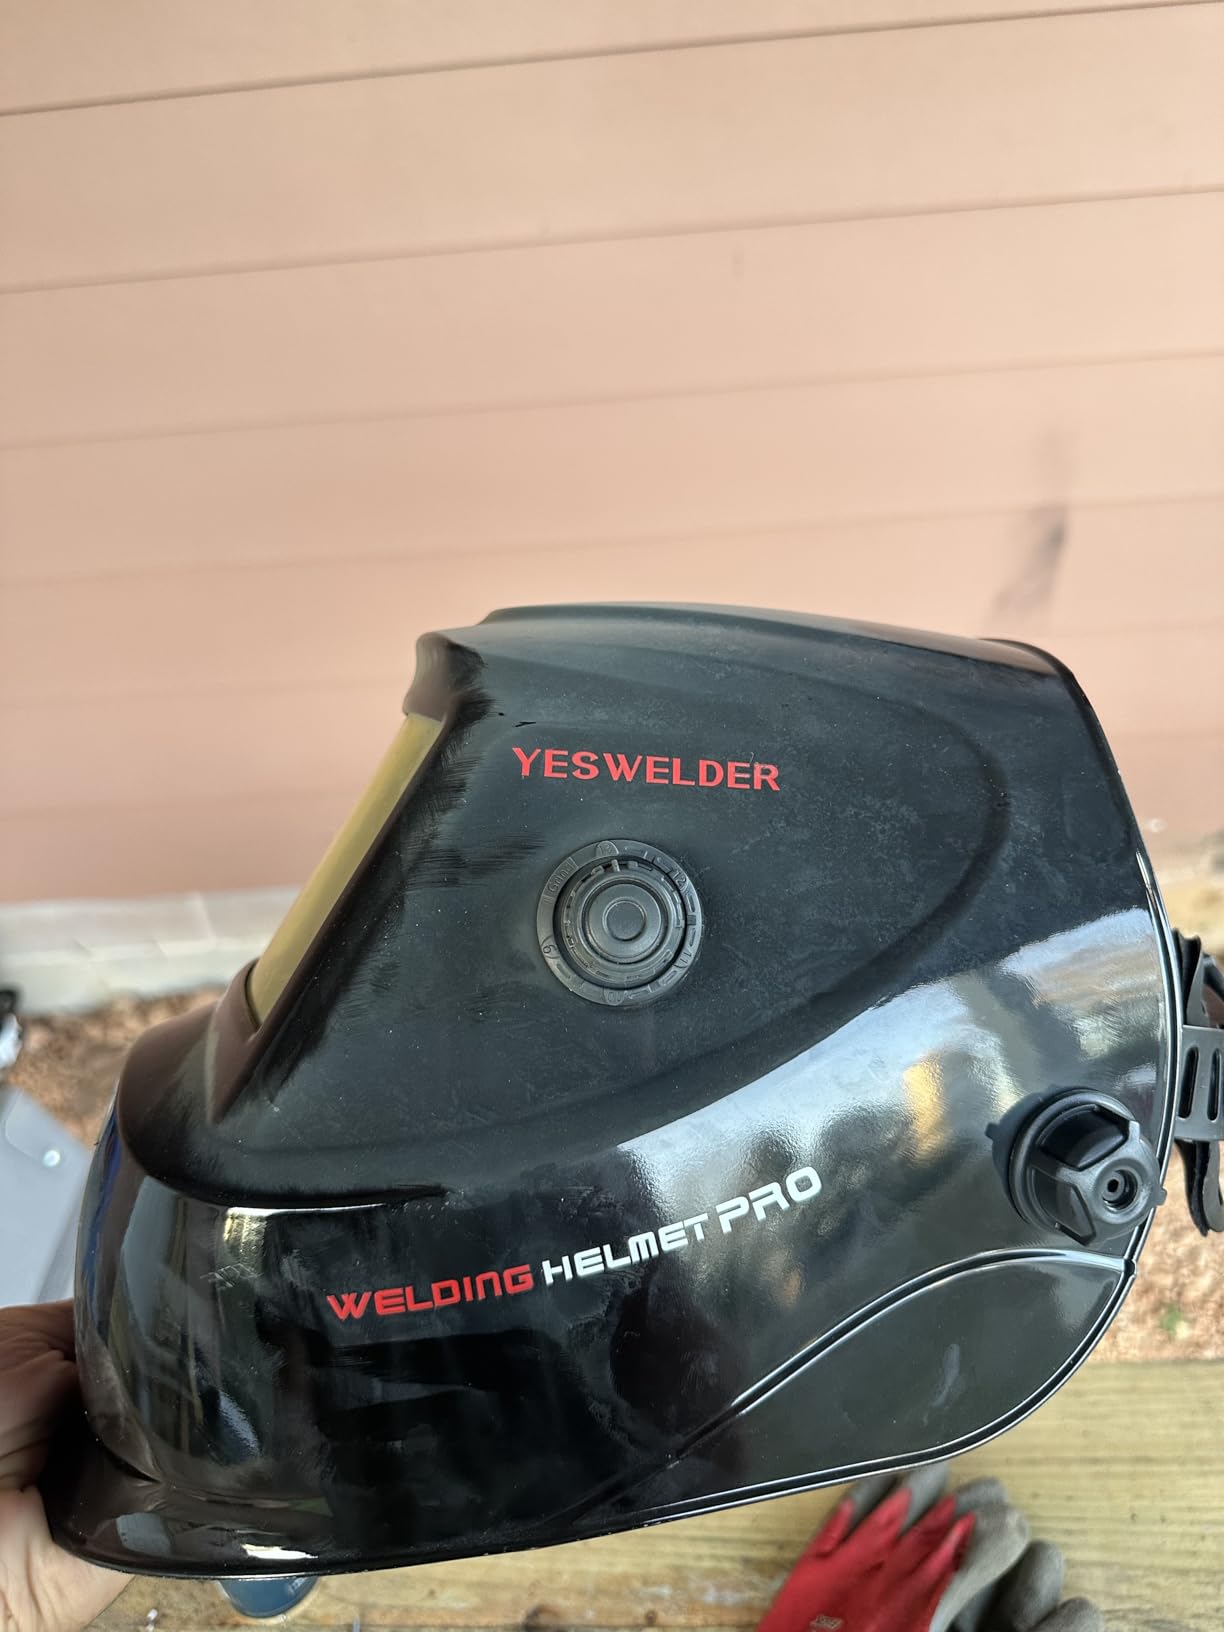
The LYG-L600A is the one I keep coming back to, and it is not a close call. It carries a 1/1/1/1 optical classification, which is the best clarity grade in the group, and the light state is clear enough that you can keep the hood down between passes instead of flipping it up constantly. For a first-time welder, that means you spend your attention on the puddle rather than on your own habits.
Switching happens in 1/30,000 of a second across two arc sensors, with external controls for sensitivity and delay. Owners consistently single out the external shade knob as the feature that makes this easy to live with, because you can move from TIG to stick to grind without pulling the hood off. The wide range runs shade 3 in the light state through shade 13 in the dark state, and it accepts magnifier lenses for close-up work.
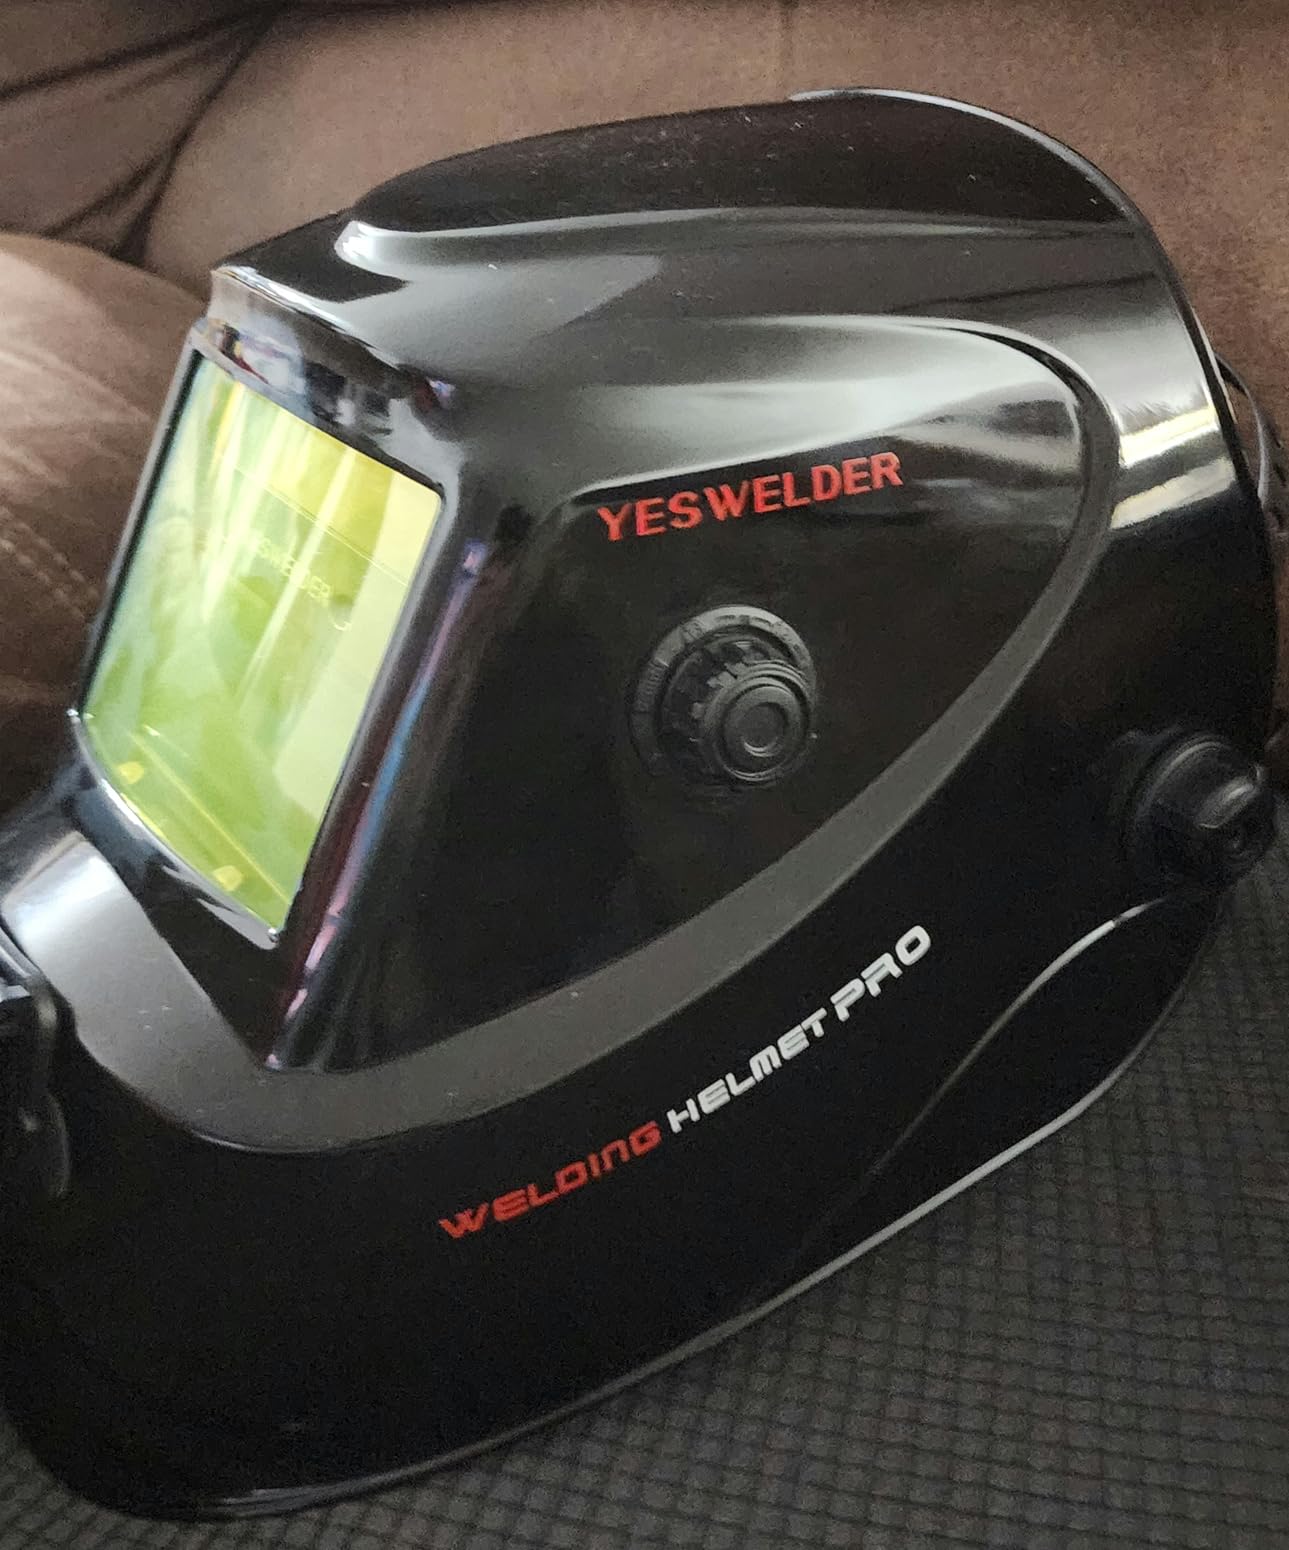
At 16 ounces, this is the second-lightest shell here, and the ABS and PP construction does not feel cheap in the hand even though it is clearly a lighter-duty build than a professional hood. Owners of multi-year vintage mention that the adjustment pivots still hold their position, which is more than can be said for several others in this price class.
The box is unusually generous for an entry-level helmet. You get one inner replacement lens, two outer lenses, a spare CR2450 button cell, a storage bag, and a manual. That spares you a first purchase immediately, since most beginners burn through one outer lens in their first month of grinding and cleaning work.
What beginners should check before buying
Look at the viewing area honestly. At 3.64 by 1.67 inches this is a compact window, and if your projects involve a lot of pipe, structural steel, or fitting a piece into a tight frame, you will feel the edges of it. If you are mostly doing flat work on a bench, a flat coupon, or small fabrication, the compact size is a non-issue and the weight saving is a genuine benefit over a session.
Second, plan for two sensors being enough. Two sensors handle open-arc MIG and stick work without trouble. If you are about to commit to TIG, especially low-amperage TIG, read the next section on sensor count before you settle on this one.
Where it falls short
The headgear and straps are the honest weak point. Reviewers describe them as lightweight next to professional hoods, which is accurate and largely a fair trade at this weight. The other recurring complaint is the small spare button cell arriving dead, so replace it with a fresh CR2450 before your first session rather than after your first surprise.
For anyone welding prescription glasses, the compact shell gives you less internal room, and cheater lenses are the usual workaround. Our notes on protective headgear fit explain why a snug pivot harness matters more here than in recreational gear.
2. YESWELDER LYG-M800H – Large View for Spatty Hobby Work
- Large true color view shows the puddle and surroundings
- Four sensors catch faint low-amperage arcs
- All controls on the outside so gloves stay on
- Bead quality improves with the clearer optics
- Side tension knobs and flip-up lock feel flimsy
- Thin plastic shroud and headband
- Inner lens and battery are awkward to reach
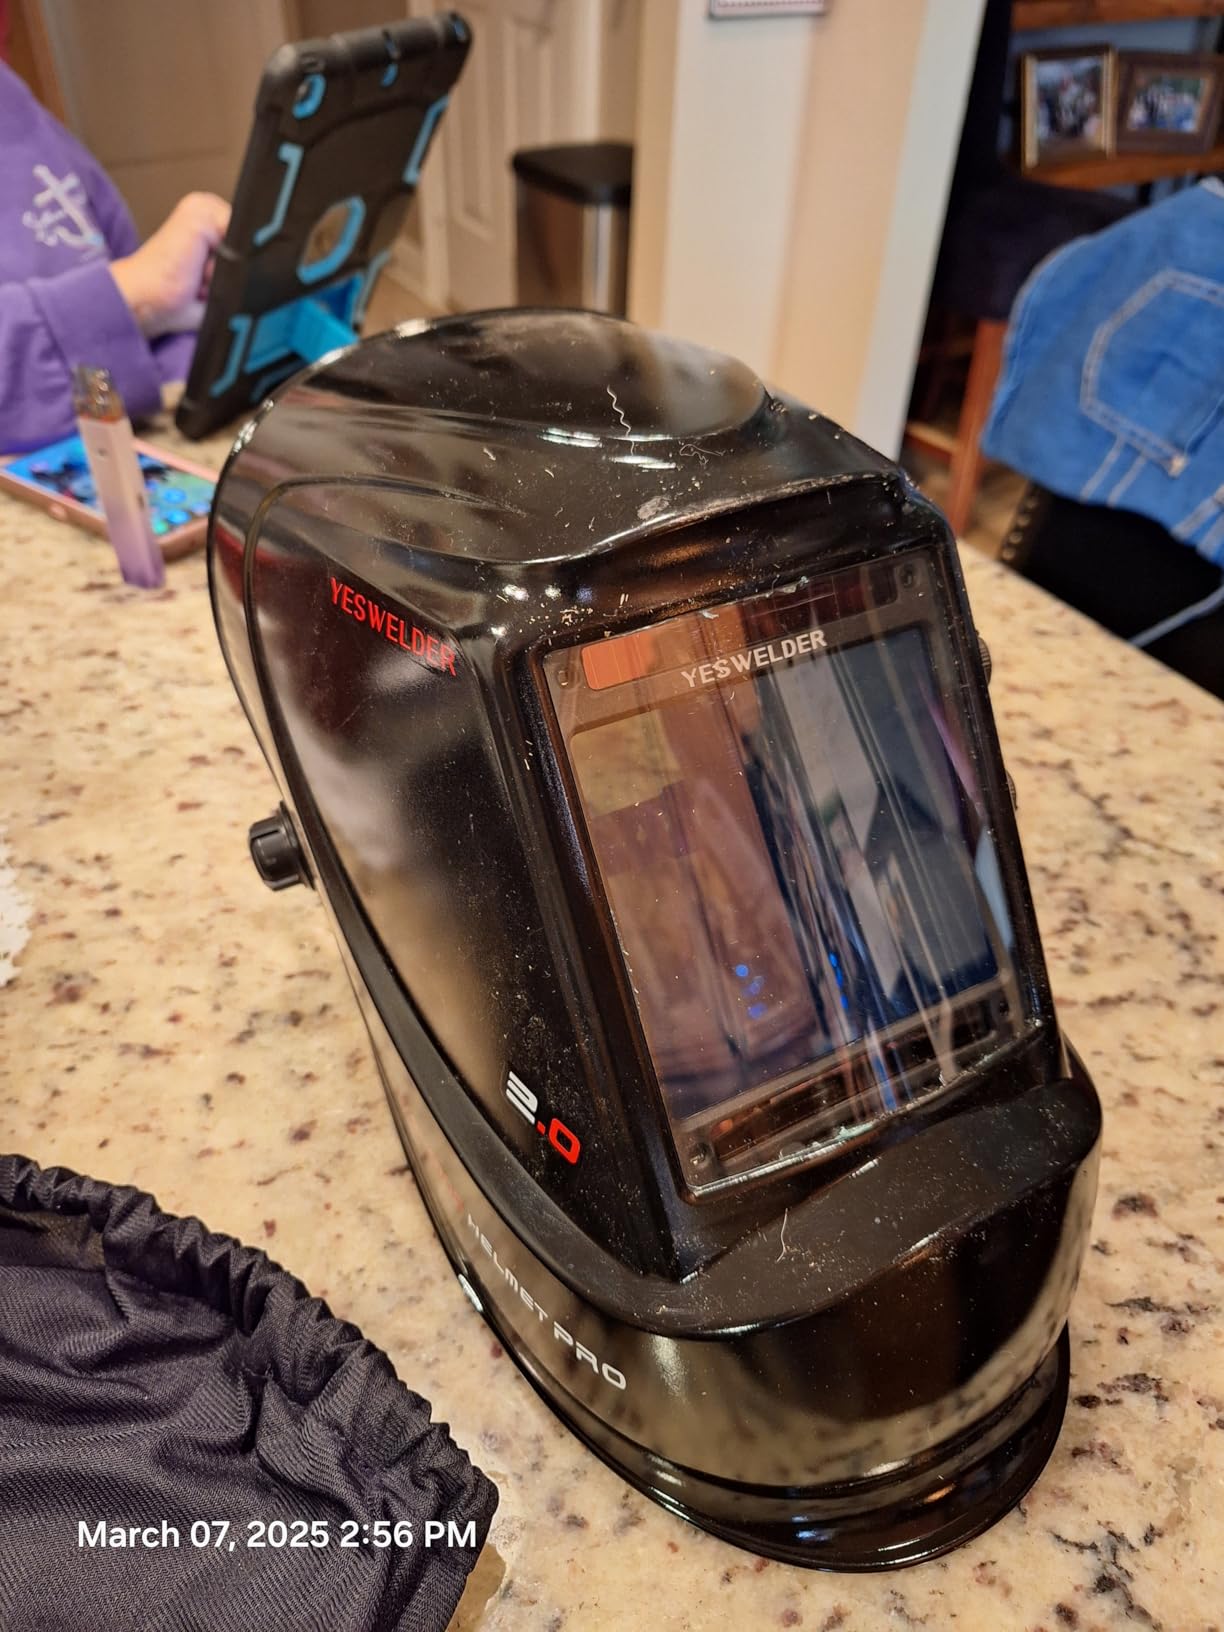
This is the one I recommend to beginners working with flux core or anything that throws spatter. The 3.93 by 3.66 inch viewing area is the second largest in this group and it changes how you work, because you can see the edges of the joint, the far side of the bead, and where your ground is sitting without moving your head.
Four arc sensors make this the more reliable of the two YesWelders on the list, and that matters more than the sensor count sounds like it should. Two sensors can be slow to trigger when they are partially shadowed by your torch angle or the edge of the joint. Four sensors cover more of the lens and fire consistently, which is why owners report fewer near-misses on TIG work than with the smaller model.
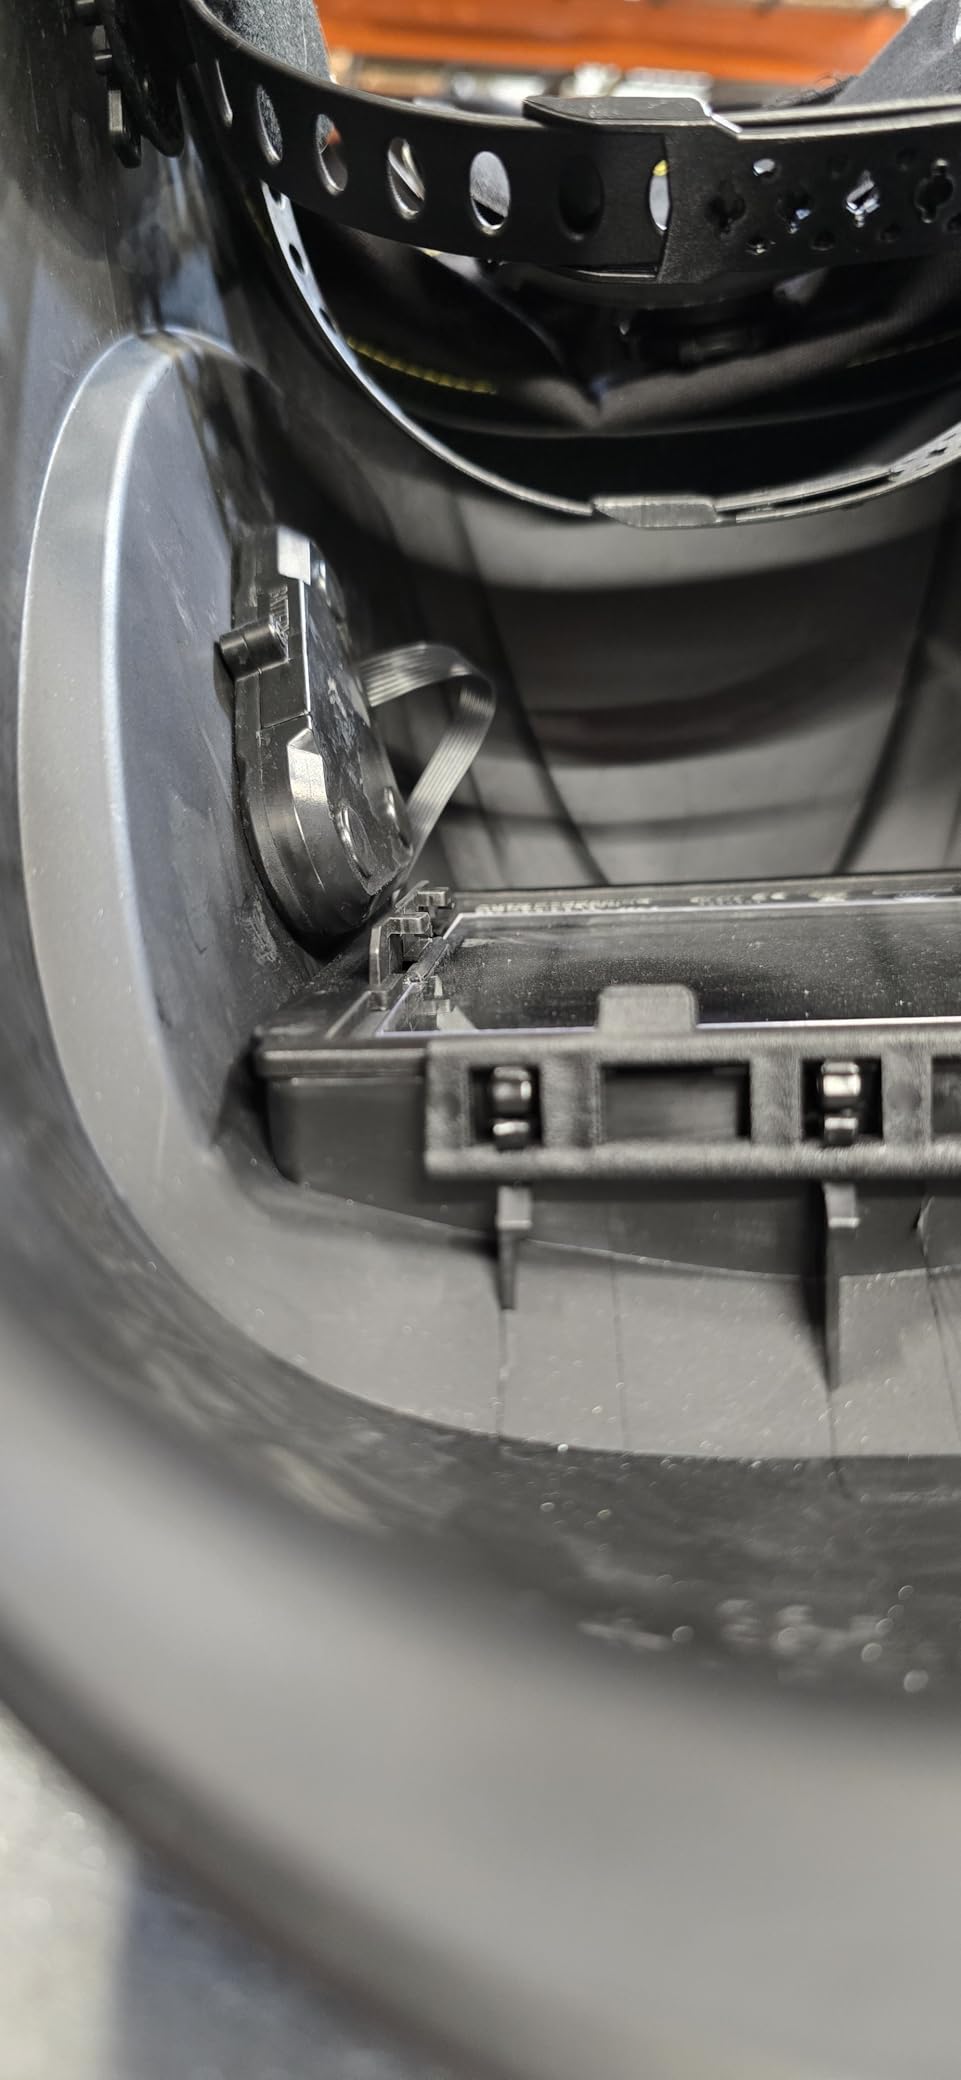
Controls sit on the outside of the shell, so shade, sensitivity and delay can be changed with a gloved hand. Shade runs from 3 in the light state through 5 to 9 and on to 13, with a blue-light blocking outer lens and a cheater lens slot for close inspection. The optics are rated 1/1/1/1, so you are getting the same clarity class as the flagship model in the list.
Weight is worth a note. The product specifications list 2.2 pounds, while owners putting it on a scale report closer to 1.3 pounds. Either way it sits in the comfortable middle of this list, and either way the weight is well distributed across the shell rather than concentrated at the front.
When this is the right call
Choose this one if you are welding anything with a hot, spattering arc, if you are new and want the widest field of view available without stepping up to a full-face or panoramic shell, or if you plan to grow into TIG within a year. The four sensors make the jump to low-amperage work far less frustrating than a two-sensor hood would.
Beginners report a visible improvement in bead quality once they switch to this optics level, which makes it a good confidence-building purchase. Understanding the technical terms on a spec sheet helps here; our breakdown of comparing helmet specifications covers how to read optical class ratings without getting lost in the numbers.
What to watch out for
The side tension knobs and the flip-up lock are the components that draw complaints, and reviewers specifically say they need tightening hard. Expect to re-tension this headgear the first few times you wear it, and check it before you rely on it for overhead work. The thin plastic shroud is also noticeably lighter in the hand than the nylon shells from the traditional brands later in this list.
One more quirk: a few owners found the test function behaved oddly against direct sunlight, which made them think the helmet was faulty. Cover the test button or test in shade the first time, and you will get a clean read on the electronics.
3. TOOLIOM Solar Helmet – The Lightest Shell in the Group
- Very light
- which reduces neck fatigue in awkward positions
- True color view makes the joint easy to read
- External grind knob with shade 3.5 to 13
- Reliable over years of ownership for many buyers
- Arc reaction can be slow when the solar cell is obstructed
- Small 3.64 x 1.67 inch viewing area
- Thin plastic shell
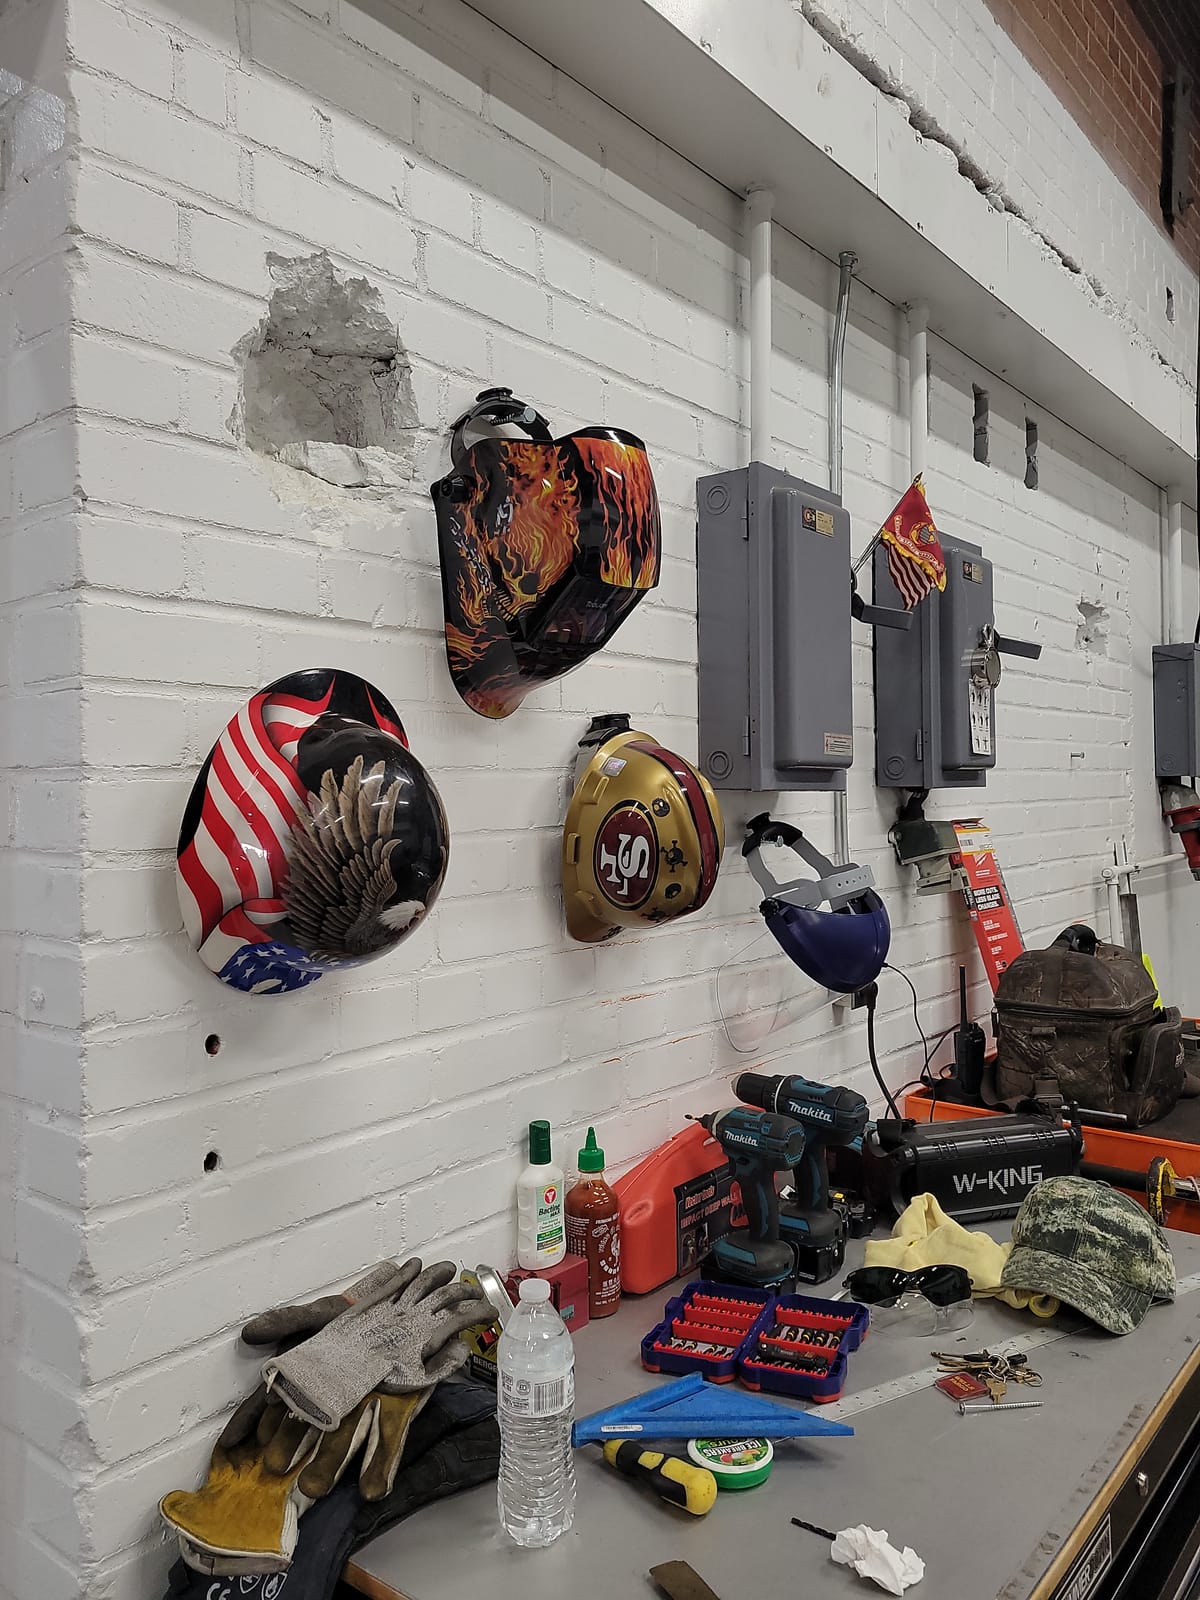
This helmet exists for one reason: weight. At 1.14 pounds it is the lightest shell we tested in this roundup, and for a beginner working overhead, under a car, or in a position where your neck is already twisted, that difference is felt within the first hour. Neck strain is the complaint we hear most often from new welders who bought a heavier hood, and it is entirely avoidable.
The optics are still 1/1/1/1 true color across a 3.64 by 1.67 inch viewing area, with a blue-light blocking outer lens. Switching is 1/25,000 of a second, and the external knob handles shade from 3.5 through 9 to 13 for TIG, MIG, stick and plasma work. Sensitivity and delay are adjustable from the same control cluster, and there is a low-battery indicator so you are never guessing.
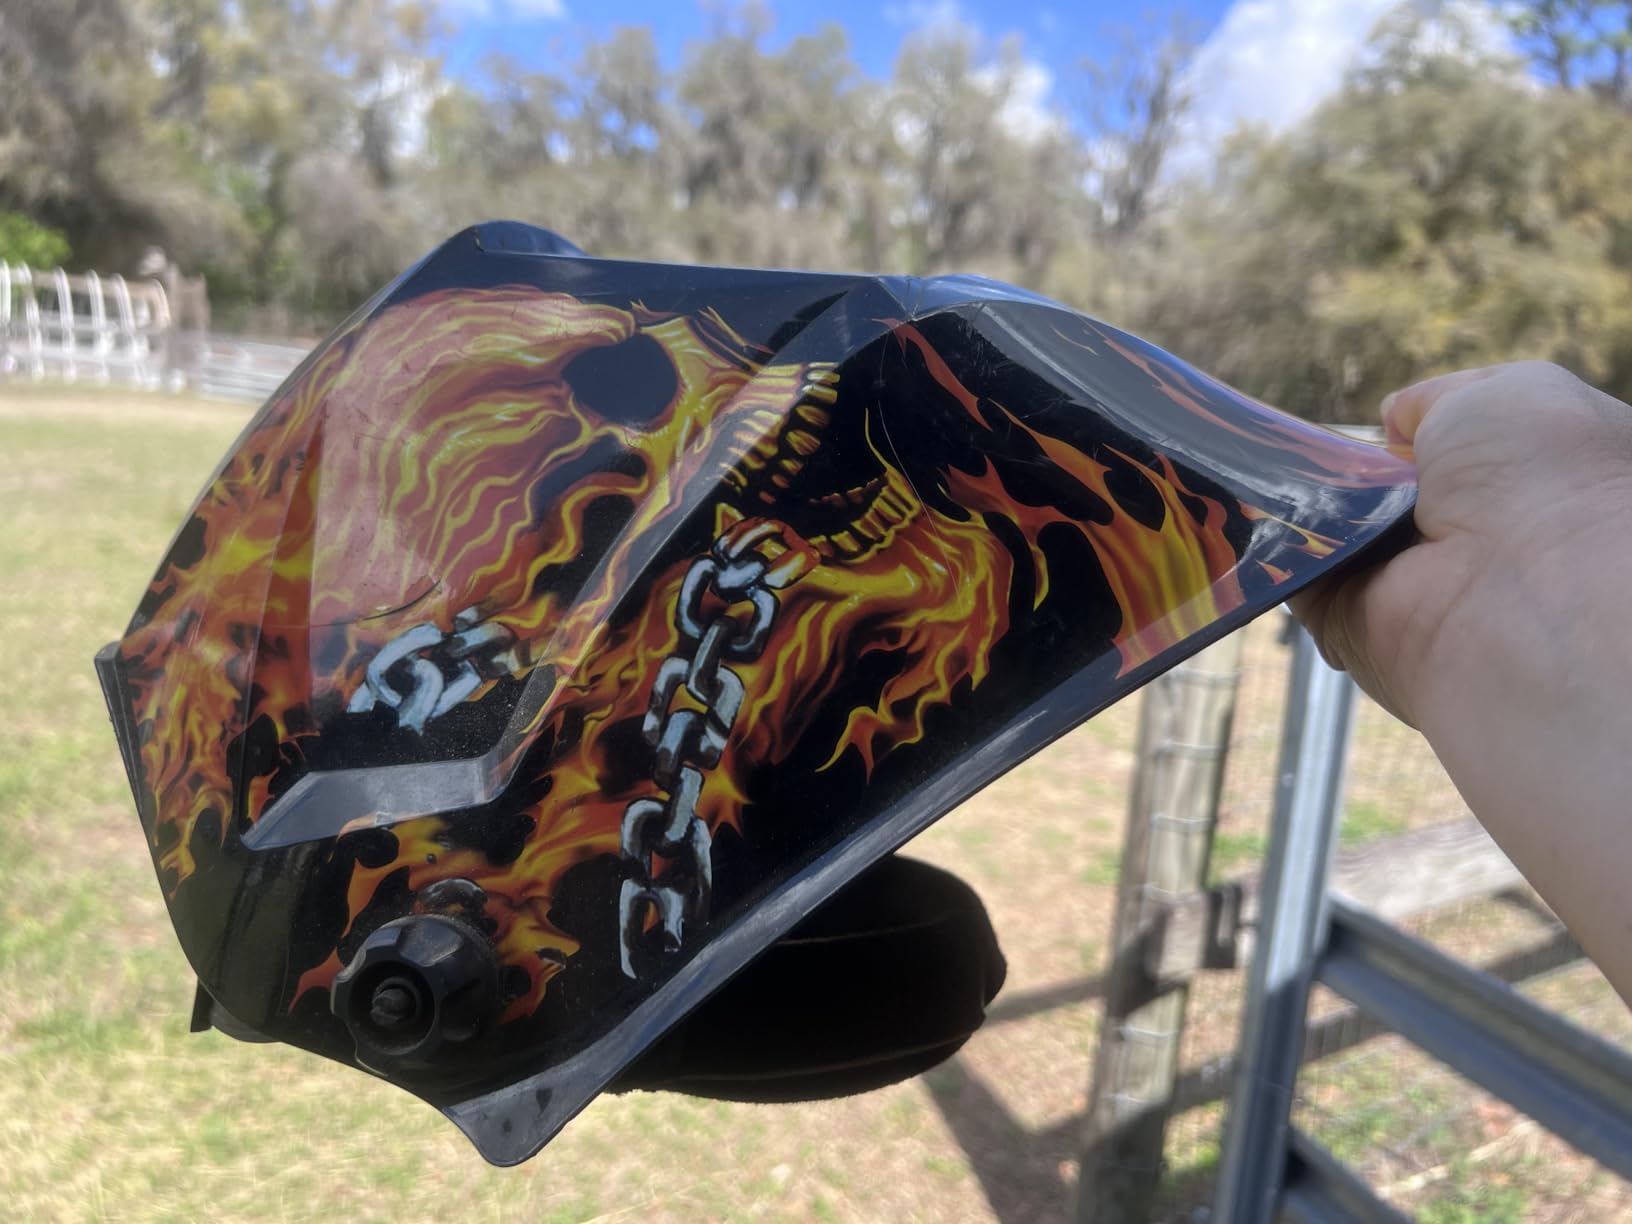
Power comes from a solar panel backed by a replaceable battery, and the box includes a spare cell plus three replacement lenses. That is an unusually complete kit for this tier. Owners with five years of service report the electronics still working, which tells you the solar-plus-battery arrangement is doing its job rather than slowly dying like pure-battery designs.
Headgear is a fully adjustable PE harness with a breathable sweatband, and it stays put on smaller head sizes better than several strap-only competitors here. If you are between sizes, this is the one I would try first because the whole shell is so light that a slightly loose fit is not punishing.
Where the light weight pays off
Overhead work, work under a vehicle, plumbing in a crawlspace, and any fabrication where you are looking up or sideways for an hour are the situations this shell wins. A 1.14 pound helmet simply does not create the pressure point on the top of your head that heavier shells do, and beginners who work in awkward positions often blame the process for a headache that is actually a helmet problem.
It is also a strong candidate for a student or apprentice working long shifts in a training bay, since fatigue builds in the neck long before it builds in the eyes.
Limits worth knowing
The clearest drawback is arc reaction speed in confined spaces. If the solar cell gets shadowed by your torch, the filler rod, or the edge of a joint, the lens can take a beat to react, and some owners report it clearing toward the light state mid-arc. For open-arc work in a garage this basically never comes up. For a beginner doing a lot of inside corners and out-of-position welding, test it in that position before you commit.
The viewing area is also the compact size, and the plastic shell feels thin to buyers who have handled heavier hoods. Neither issue matters much if neck comfort is your main problem.
4. TOOLIOM Large View True Color Helmet – Three Modes in One
TOOLIOM True Color Auto Darkening Welding Helmet with Large View
- Large 12.9 sq in true color view of the workpiece
- Four sensors give dependable detection
- Weld cut and grind each get their own shade range
- Delay and sensitivity adjustable to your lighting
- Strap headgear rather than a ratchet harness
- Light duty plastic shell compared with professional hoods
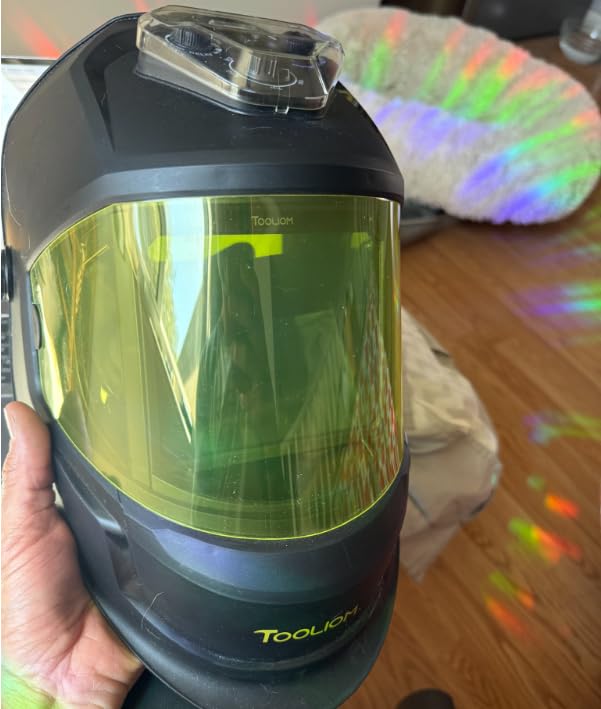
The TL-M800D is the pick for a beginner who keeps landing on different kinds of work and does not want to keep changing settings. It runs weld shades 9 to 13, cut shades 5 to 9, and a grind shade of 3.0 as distinct ranges rather than one blended dial, so plasma cutting and grinding sit in predictable places on the control.
Optics are rated 1/1/1/1 with true color technology, and the viewing area is 3.94 by 3.27 inches, which works out to 12.9 square inches of screen. Four arc sensors handle detection across processes, and delay and sensitivity are both adjustable so you can tune the helmet to a bright shop or a dim garage without swapping helmets.
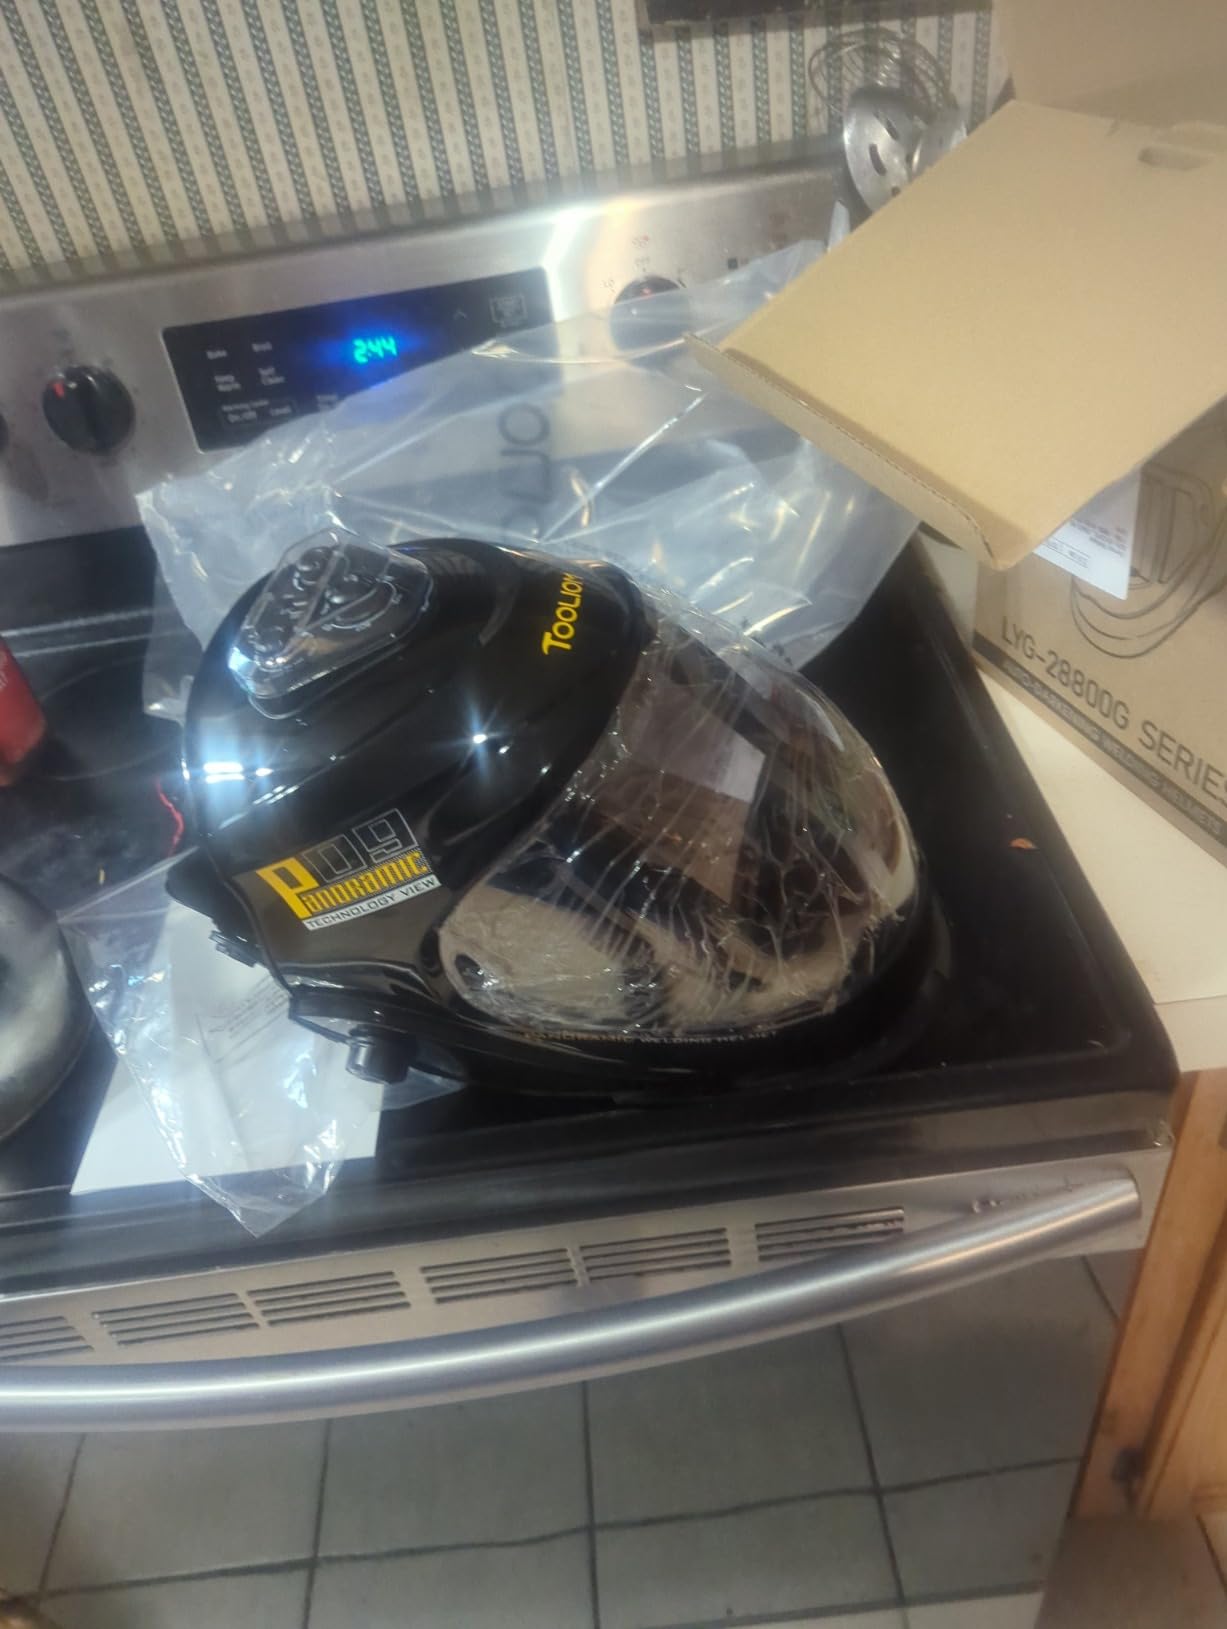
The box includes a replaceable battery, two outer lenses, an inner lens and a manual, so you are not shopping for consumables before your first session. Owners who upgraded from a basic small-window hood describe the jump in visible surroundings as the single biggest change in their welding.
Listed weight is 0.58 kilograms, which puts it in the middle of the pack for balance rather than being the lightest option. Comfort is fine for a full afternoon, and the padded interior helps on longer shop days.
Best fit for a mixed-work beginner
If your list includes MIG, some stick, the occasional plasma cut, and a fair bit of grinding with an angle grinder, this is the most sensible single-helmet purchase in the group. Separate mode ranges remove the guesswork of remembering which shade suits a cut versus a weld, and beginners who fumble settings lose less time staring at a bright screen.
It is also a strong weekend-project helmet. The screen is large enough to follow a bead across a wide plate, and the four sensors respond without the hesitation some two-sensor models show when you are working close to a vertical surface.
What you give up
The headgear is a strap rather than a ratchet-style harness, and that is the most common complaint. A strap is fine for a garage helmet, but if you work overhead or move your head a lot, the hood can shift and you will be tightening it more often than you would with a ratchet band.
The shell is light-duty plastic compared with the nylon and polyamide builds on the traditional-brand models later in this list. Expect it to do the job and to survive drops, but do not expect the same feel after a few years of shop work. The 12.9 square inch screen is the second largest here, and that is the reason most people accept the strap.
5. TRQWH Helmet with Light – Built-In Work Light for Dim Shops
- True color lens plus a rechargeable LED work light
- Spare lithium batteries and extra lenses included
- Simple external shade and grind knob
- Padded forehead and ear cushions
- Headgear and shell can feel flimsy and loosen
- Included flash light is of poor quality
- Lenses may wear quickly in heavy shop use
The reason to look at this helmet is the light. There is a USB-rechargeable LED mounted on top of the shell, and for anyone working in a garage with one overhead bulb, in a basement shop, or on a job at dusk, having a light source on your head instead of balancing a flashlight changes the whole session. You can see the joint before you start, and you can check fit-up and layout without leaning into a lamp.
Optics are rated 1/1/1/2 with true color technology, and the lens switches in 1/20,000 of a second across two arc sensors. Shade 4 is the light state and 9 to 13 covers the dark range, which is enough for plasma cutting, grinding, DC and AC TIG, MIG and stick work. The shell uses high-quality PP with solar cells and a replaceable CR2032 lithium battery, and the standards listed are ANSI Z87.1, EN 379 and CSA Z94.3.
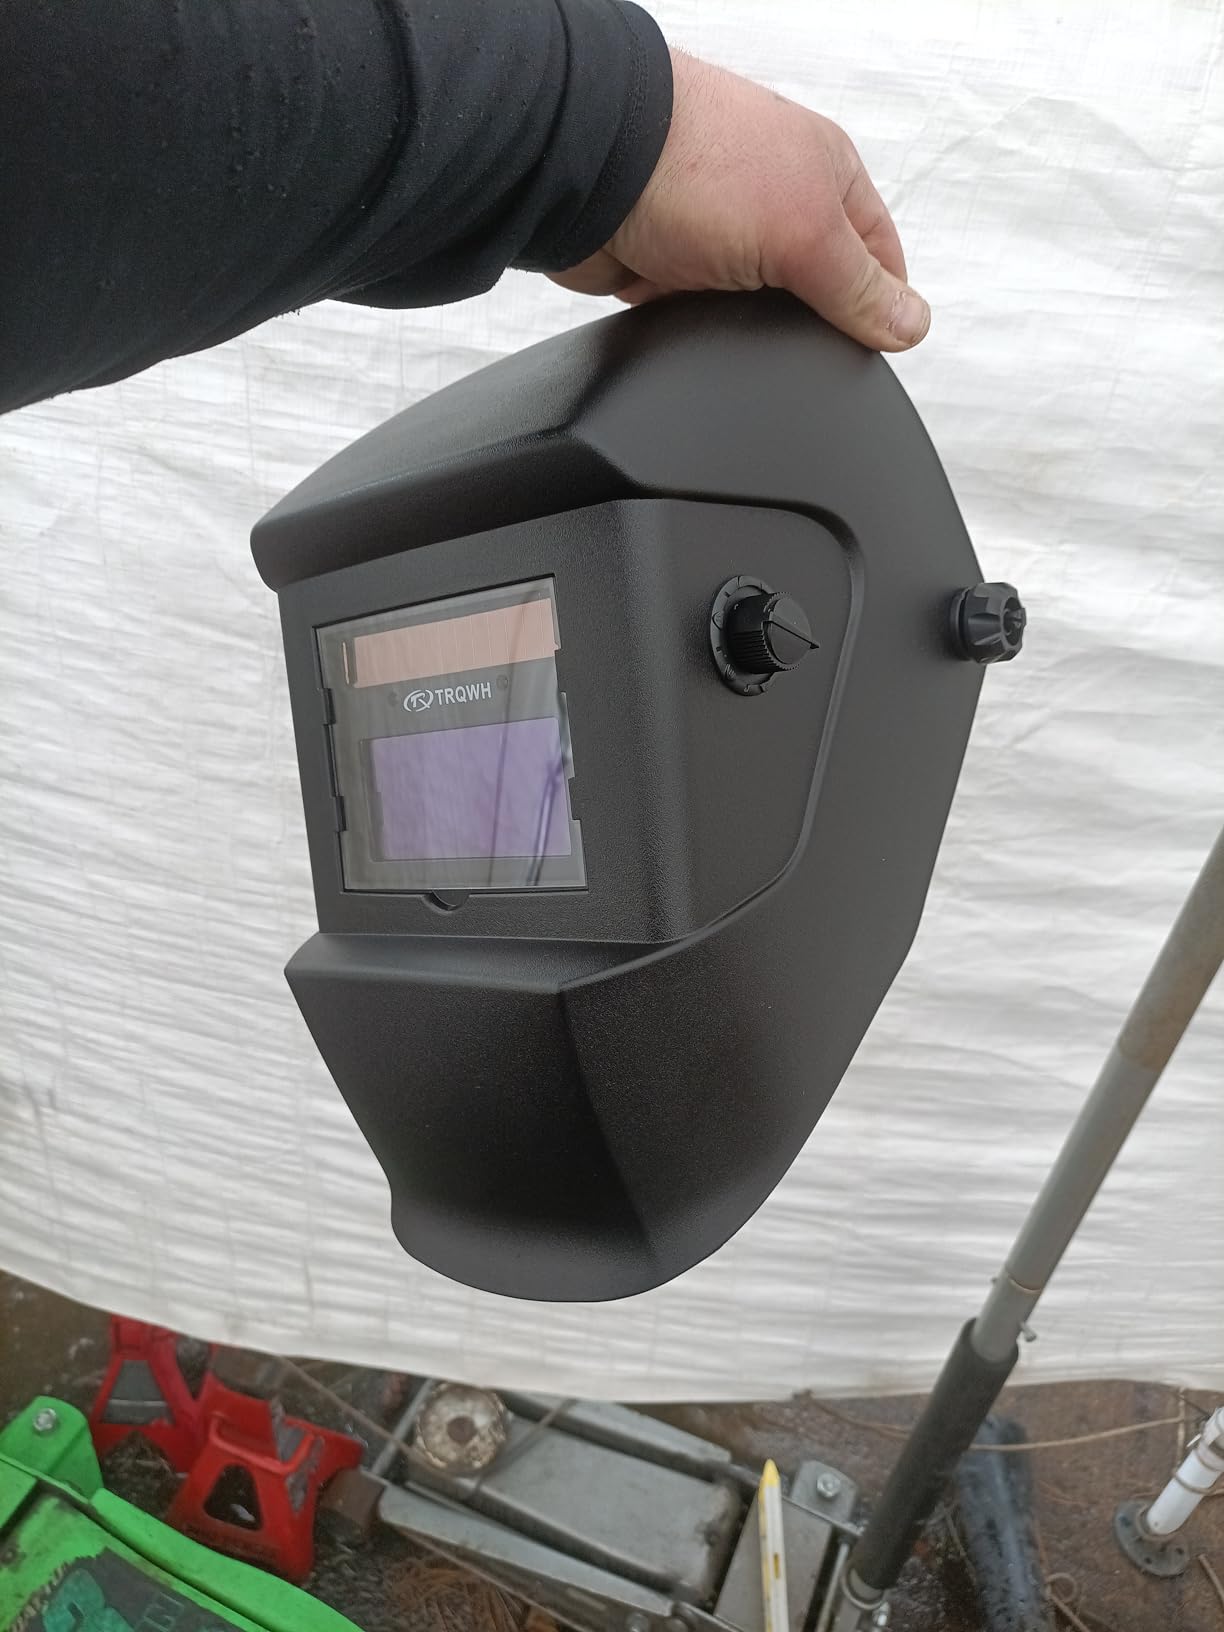
Spare Panasonic-brand CR2032 cells and extra lenses come in the box, which removes the most common first-week annoyance of a dead coin cell. Side angle knobs and a rear headband tightness dial adjust the fit, and the forehead and ear padding is a genuine comfort upgrade over bare plastic on cheaper shells.
At 1.7 pounds, this is heavier than the ultralight models but well inside the range where long sessions stay comfortable. Owners frequently recommend it as a first welding helmet, and the consensus is that the light plus true color lens is the combination that wins over the individual parts.
When the work light actually matters
The light earns its place in three situations specifically: setting up and tacking a joint in poor light, checking a completed weld after it cools when you are not wearing the helmet anyway, and working somewhere with no mains power nearby. If your projects are all on a well-lit bench, the light is a nice extra rather than a reason to buy.
It also makes the lens feel more useful. A true color view in a dark shop lets you read the color of the hot metal and the arc itself, which is a real teaching aid for a beginner trying to understand heat and pool behavior.
What to weigh up first
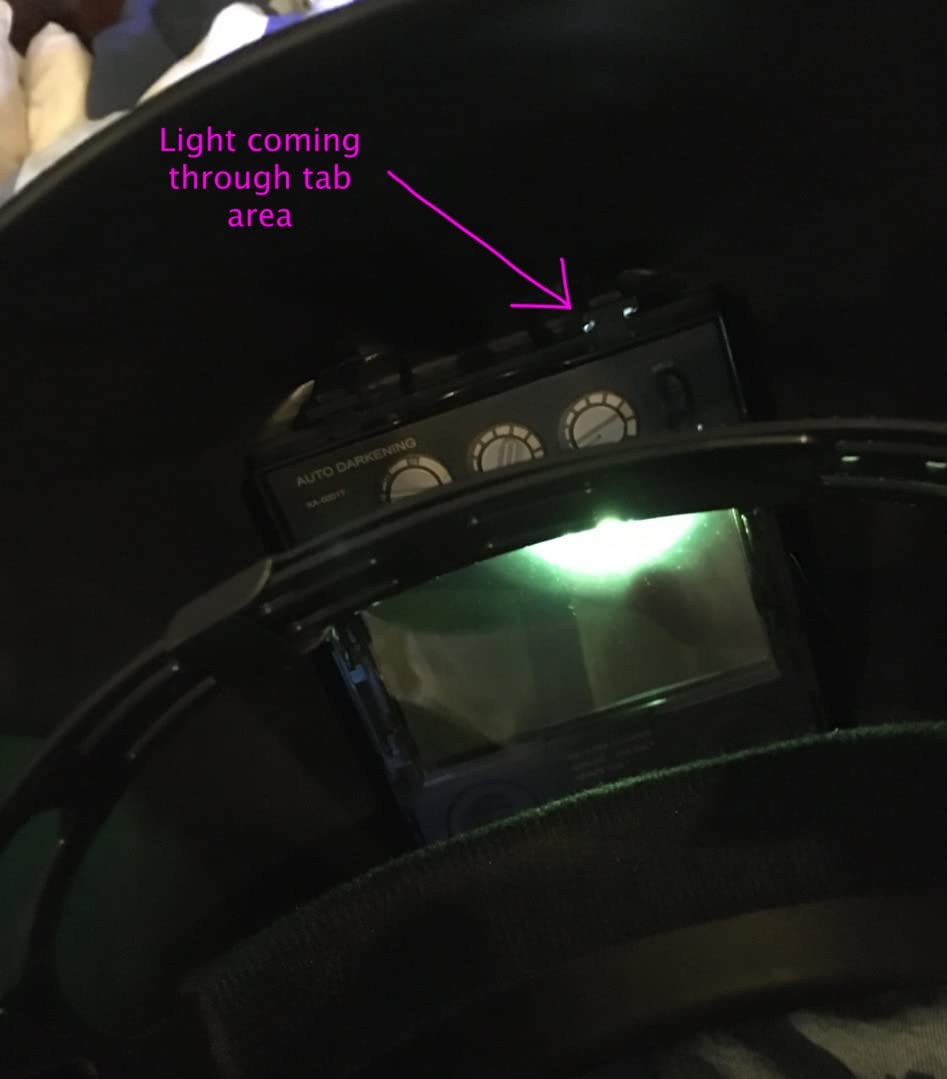
Materials are the issue. The headgear and shell feel flimsy, and the headband tension does not hold well enough that the hood stays up when you raise it, which is mildly annoying between passes. Owners also report that the included flash light is of poor quality, so treat the work light as a bonus rather than the reason for the purchase.
Two other cautions come straight from reviews: the lenses are thin and may wear quickly in professional shop use, and the shape is not suited to tight spaces. If you are welding in a confined area or grinding hard every day, pick one of the more rigid shells instead.
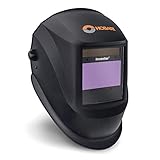
6. Hobart 770890 – Top Rated Traditional Brand Helmet
- ClearColor optics give a wide accurate view
- Four independent sensors react quickly
- Analog knobs are simple to learn
- Weld to grind switching without lifting the helmet
- Costs several times more than entry-level helmets
- Analog controls are less fine-grained than digital units
The Hobart 770890 is one of the highest-rated helmets in this roundup at 4.7, and it is the one I point people toward when someone wants a traditional brand name and a real warranty behind the purchase. Welders on welding forums single out this model as a dependable entry from a known manufacturer, and the build quality is a clear step up from anything else in the budget half of this list.
PureColor lens technology covers a 9.3 inch widescreen viewing area, which is the largest screen here, and four independent arc sensors handle detection. Power is controlled automatically at arc strike, so there is no on switch to forget, and shade, sensitivity and delay are set with straightforward analog knobs rather than a menu system.
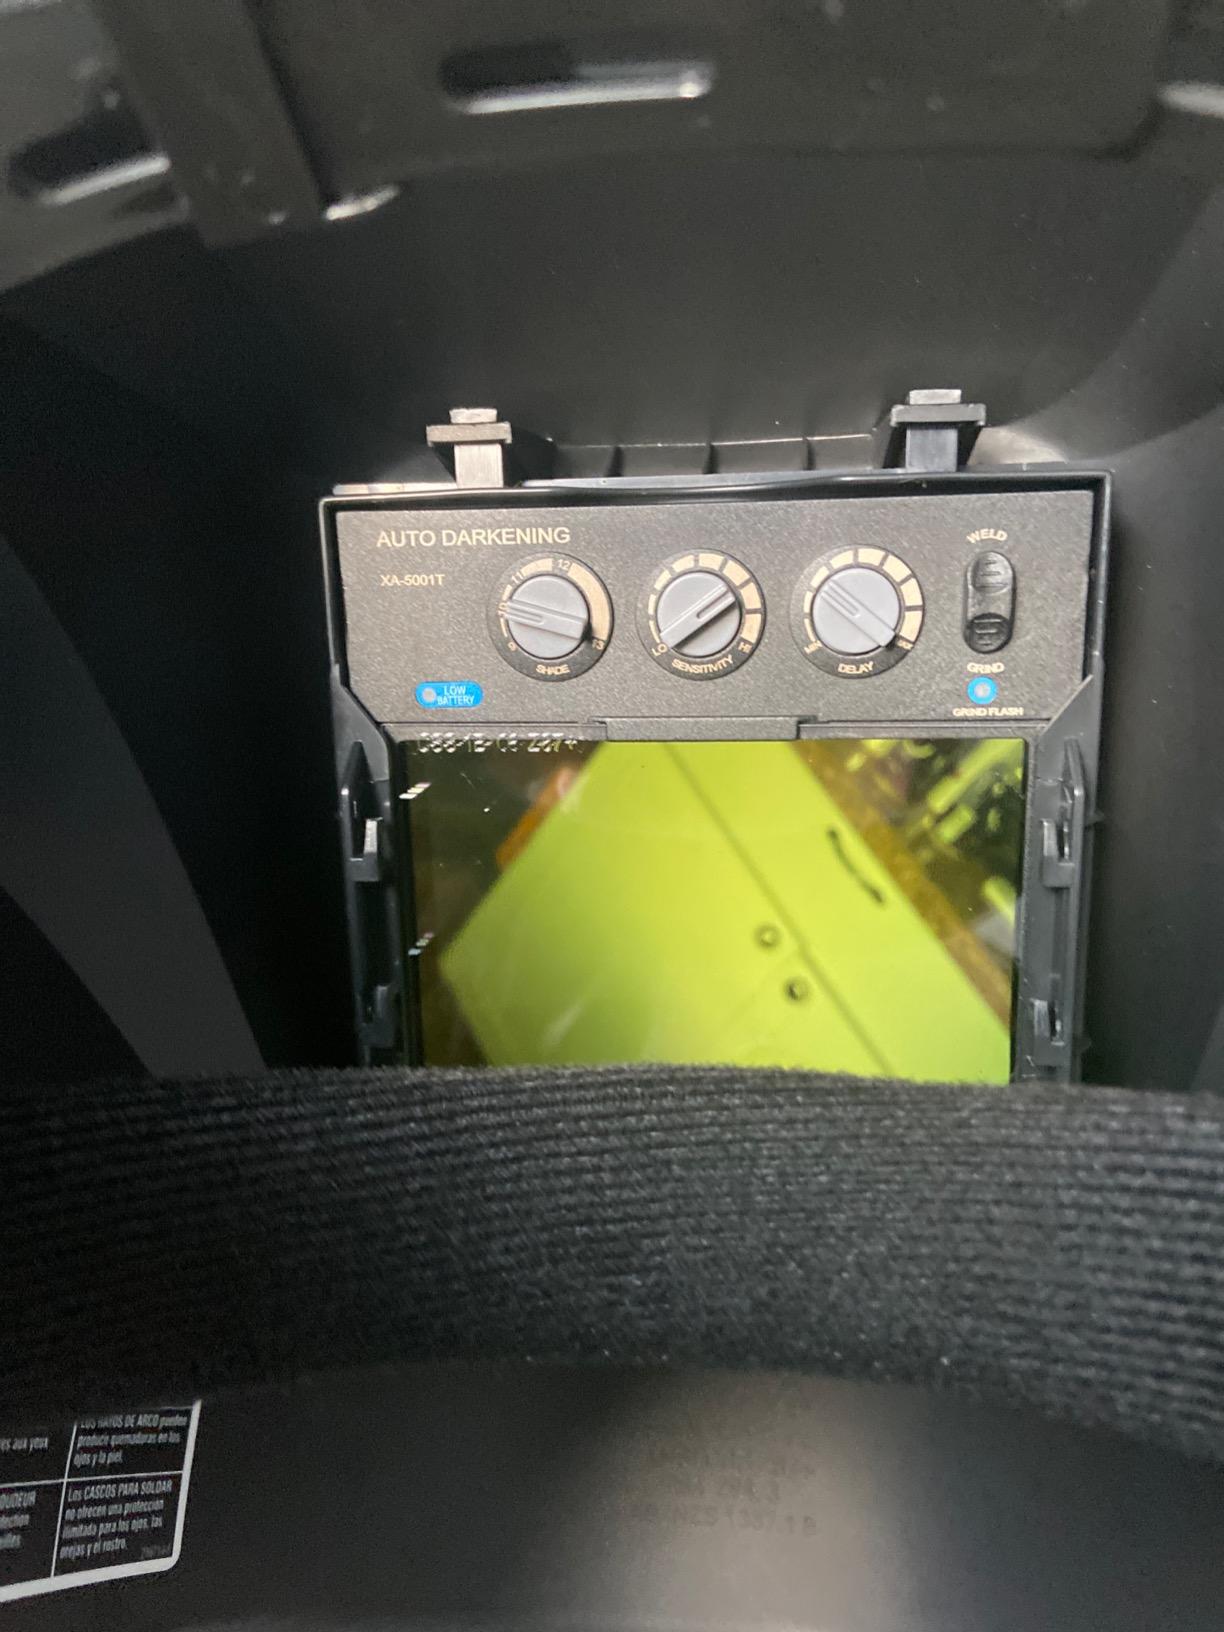
Those analog controls are a genuine advantage for a beginner. There is nothing to learn, no button sequence, and the adjustment is continuous, so you can find the shade you want without cycling through a list. A protective lens kit and a CR2 lithium battery are included, and the shell is polyamide nylon, which is why it still feels solid after heavy handling.
At 1.25 pounds it is light for its size, and the limited two-year manufacturer warranty is the shortest of the traditional-brand options here but still a meaningful difference from buying an unnamed shell with no support behind it.
Who should spend more here
Buy this one if you are buying once and want to stop thinking about it, if you already own Hobart or Miller equipment and want the brands to match, or if your workshop is shared and the helmet needs to survive being handled by people other than you. Nylon construction, four sensors, and a widescreen panel are exactly the combination that stays dependable through years of shop time.
It is also a strong recommendation for a student or apprentice whose program expects them to keep the same helmet for the length of the course. Starting with a durable unit avoids the re-buy cycle that catches people out later.
Where the extra money goes
Be clear-eyed about this: the protective performance is not several times better than the budget models. Any ANSI-rated auto-darkening helmet in this list filters ultraviolet and infrared light properly. What you are paying for is optical quality, screen size, sensor reliability, materials, and a company that answers the phone when something fails.
The other limitation is control granularity. Analog knobs are easy to learn but less precise than the digital shade settings on newer units, so if you like to fine-tune for very low amperage TIG, a digital model gives you a narrower step between shades. Owners who work almost entirely at higher amperages do not notice the difference.
7. Miller Classic ClearLight – Name Brand With a Three Year Warranty
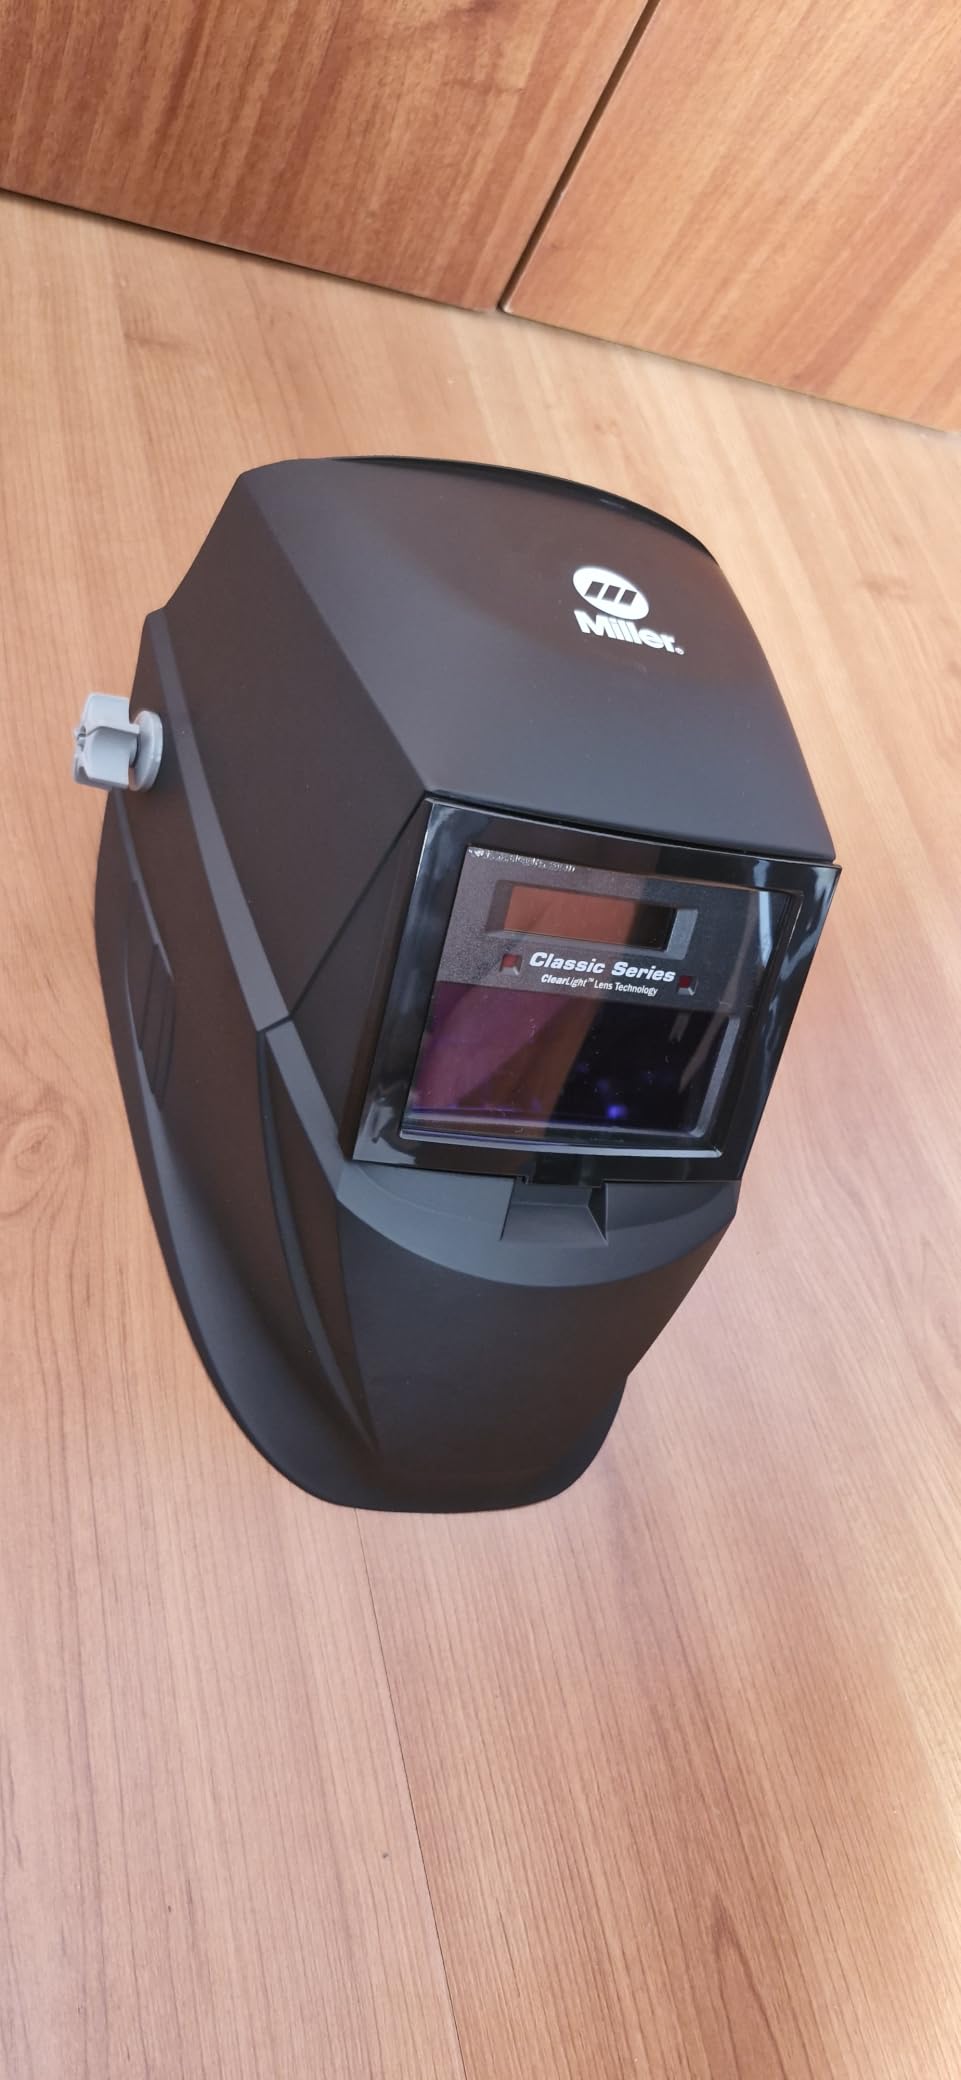
Miller Classic Series Welding Helmet, ClearLight™, Shade 8-13, Black
- ClearLight optics rated for high definition detail
- Ratchet headgear with digital shade delay and sensitivity
- Auto-on power at arc strike
- Three year warranty and three year spare part availability
- Smaller 6 sq in viewing area than modern large-view helmets
- Only two arc sensors can be slower in some positions
- Highest price tier of the group
This Miller Classic is a different proposition from the Hobart above. It is built for precision work at low amperage, and the manufacturer states it is ideal for welding at five amps or below. If you are moving toward TIG, thin stainless, or any job where the arc is small and faint, the ClearLight lens is the reason to choose this over a bigger-screen model.
Weld shades run 8 to 13, cut shades 5 to 8, and grind sits at shade 3. Two arc sensors switch in 1/23,000 of a second, and the 3.0 light state lets you keep the hood down between welds instead of raising it constantly. Digital controls handle shade, delay and sensitivity, and the ratchet headgear is comfortable and stays put.
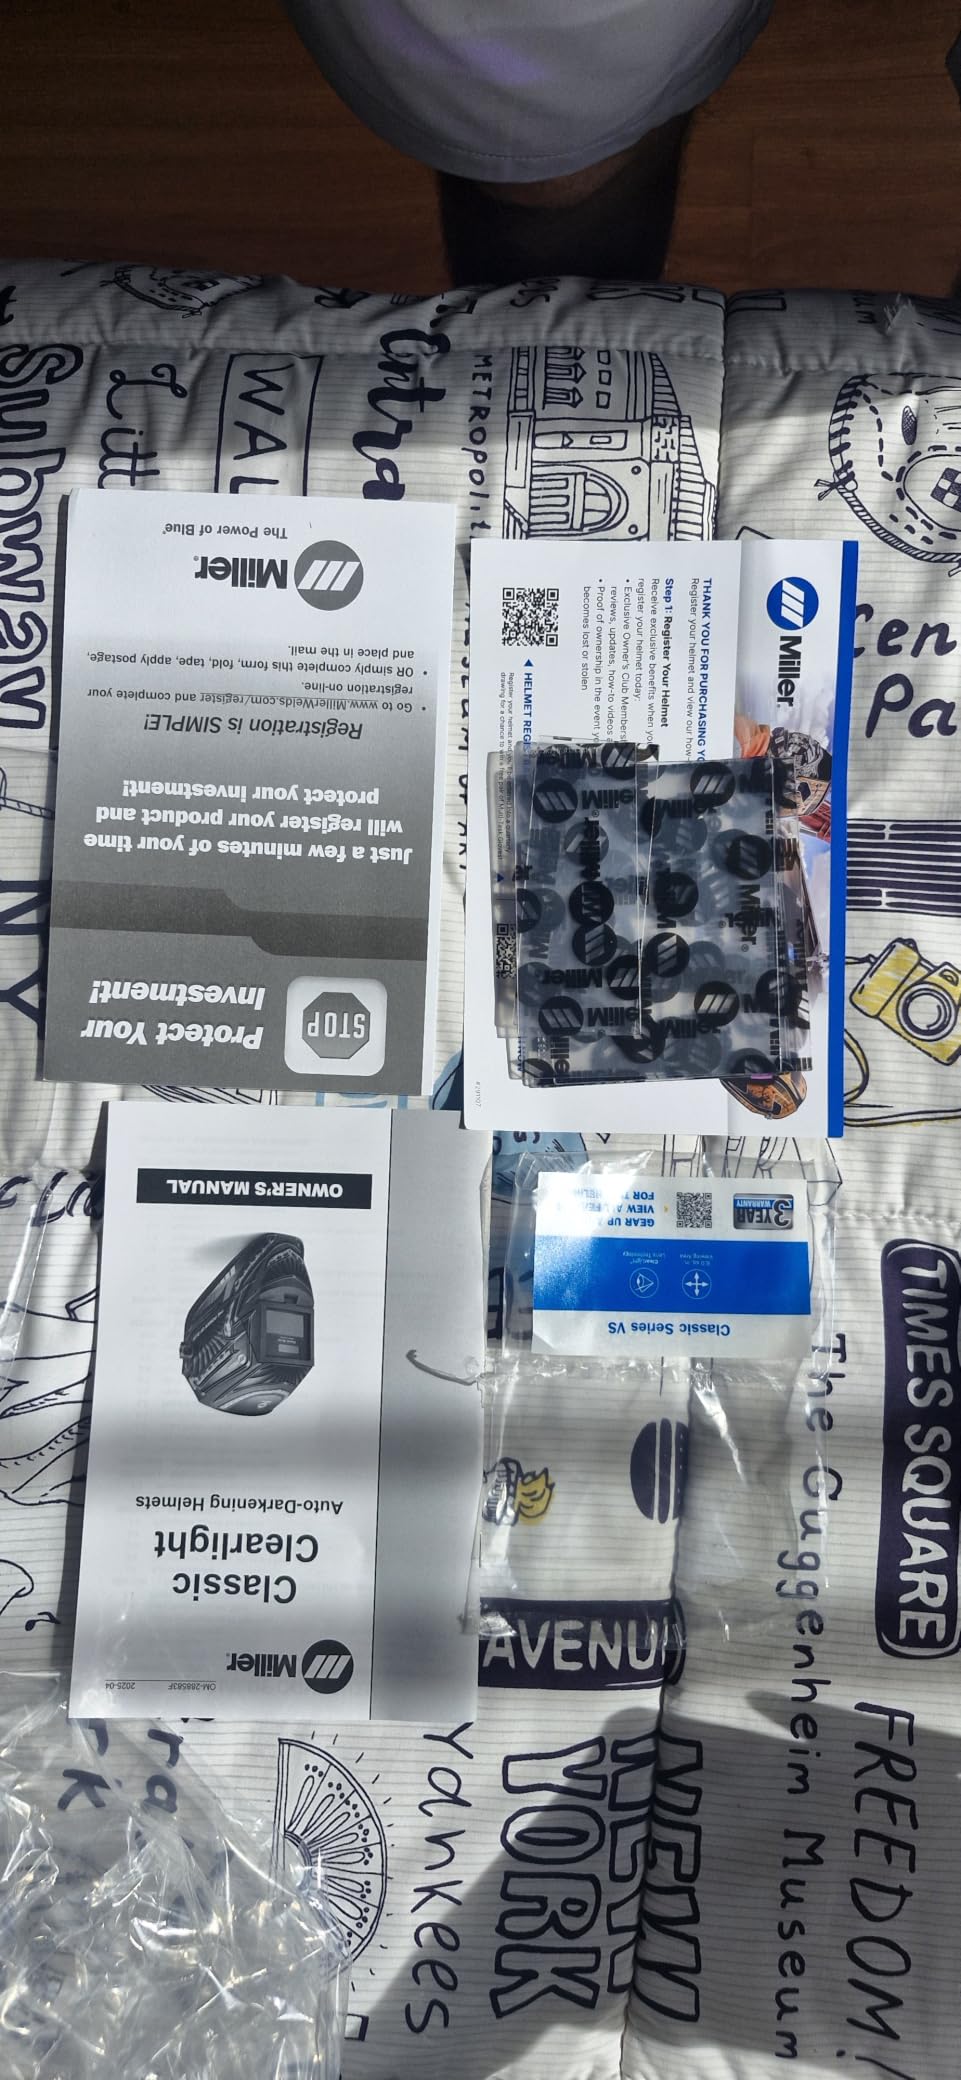
The warranty is the standout for a first purchase: three years, and Miller commits to three years of spare part availability. That matters more than it sounds, because it means a damaged shell or a failed control can be dealt with rather than discarded. It meets ANSI Z87.1+, CSA and CE standards, and the nylon construction is built for regular handling.
At 989 grams it is right in line with the ultralight shells, so you get a name-brand build without a neck penalty. Owners consistently report strong satisfaction with the optics and headgear comfort.
Best for precision and low amperage
Choose this when your work is small-scale: jewelry, model making, thin sheet, repair work on delicate assemblies, or a TIG class where the arc is a pinpoint. The ClearLight optics are described as high definition, and combined with digital shade steps you can dial in a setting close to the arc brightness rather than approximating it.
The auto-on power control is worth a mention for beginners. The helmet wakes at arc strike and sleeps on its own, so you cannot arrive at a job with a dead filter because you left it switched on overnight in the truck.
Where it will frustrate you
The 6 square inch viewing area is the smallest screen in this group by a wide margin, and it is the first thing owners who later move to bigger helmets mention. If you are welding wide plate, structural work, or anything where seeing the whole joint matters, look at the large-view options earlier in this list.
Two arc sensors are the other limitation. They can respond more slowly when the arc is partially shadowed, which shows up most on low-amperage TIG in tight corners. Some users prefer the four-sensor models for exactly that reason. And while the warranty is long, this is the highest price tier in the group, so for a beginner welding structural steel at moderate amperage, a four-sensor large-view helmet serves you better.
8. Sunstac Auto-Darkening Helmet with Light – Wide Shade Range for Plasma
Sunstac Auto-Darkening Welding Helmet 3.94 x 3.27″ View with Light
- Big true color screen with no darkening lag or over-darkening
- Rechargeable work light with two brightness modes
- Four sensors cover stick TIG MIG cut and plasma
- Dual power with lithium battery and solar backup
- Battery compartment is hard to access
- Head strap and side buttons feel fragile
- Shell depth can hit glasses on smaller heads
The Sunstac is built around the widest working shade spread in this group, which is what makes it the pick if you plan to do plasma cutting. The control runs shade 4 in the light state, then 5 to 9 for cutting work and 9 to 13 for welding, so a single helmet covers cutting, welding and grinding without hunting through settings.
The viewing screen is 3.94 by 3.27 inches with 1-1-1-1 true color optics and 1/30,000 second auto-darkening across four arc sensors. Owners specifically report no darkening lag and no over-darkening, and many bought it as an upgrade from an older or cheaper hood after noticing a dramatic difference in visibility.
The rechargeable auxiliary work light has two brightness modes and an adjustable swivel angle, so you can aim it at a floor cut or a floor-level joint rather than having it fixed forward. Power is dual, with a lithium battery and a solar backup, and a cheater lens is supported for close inspection of a cut edge.
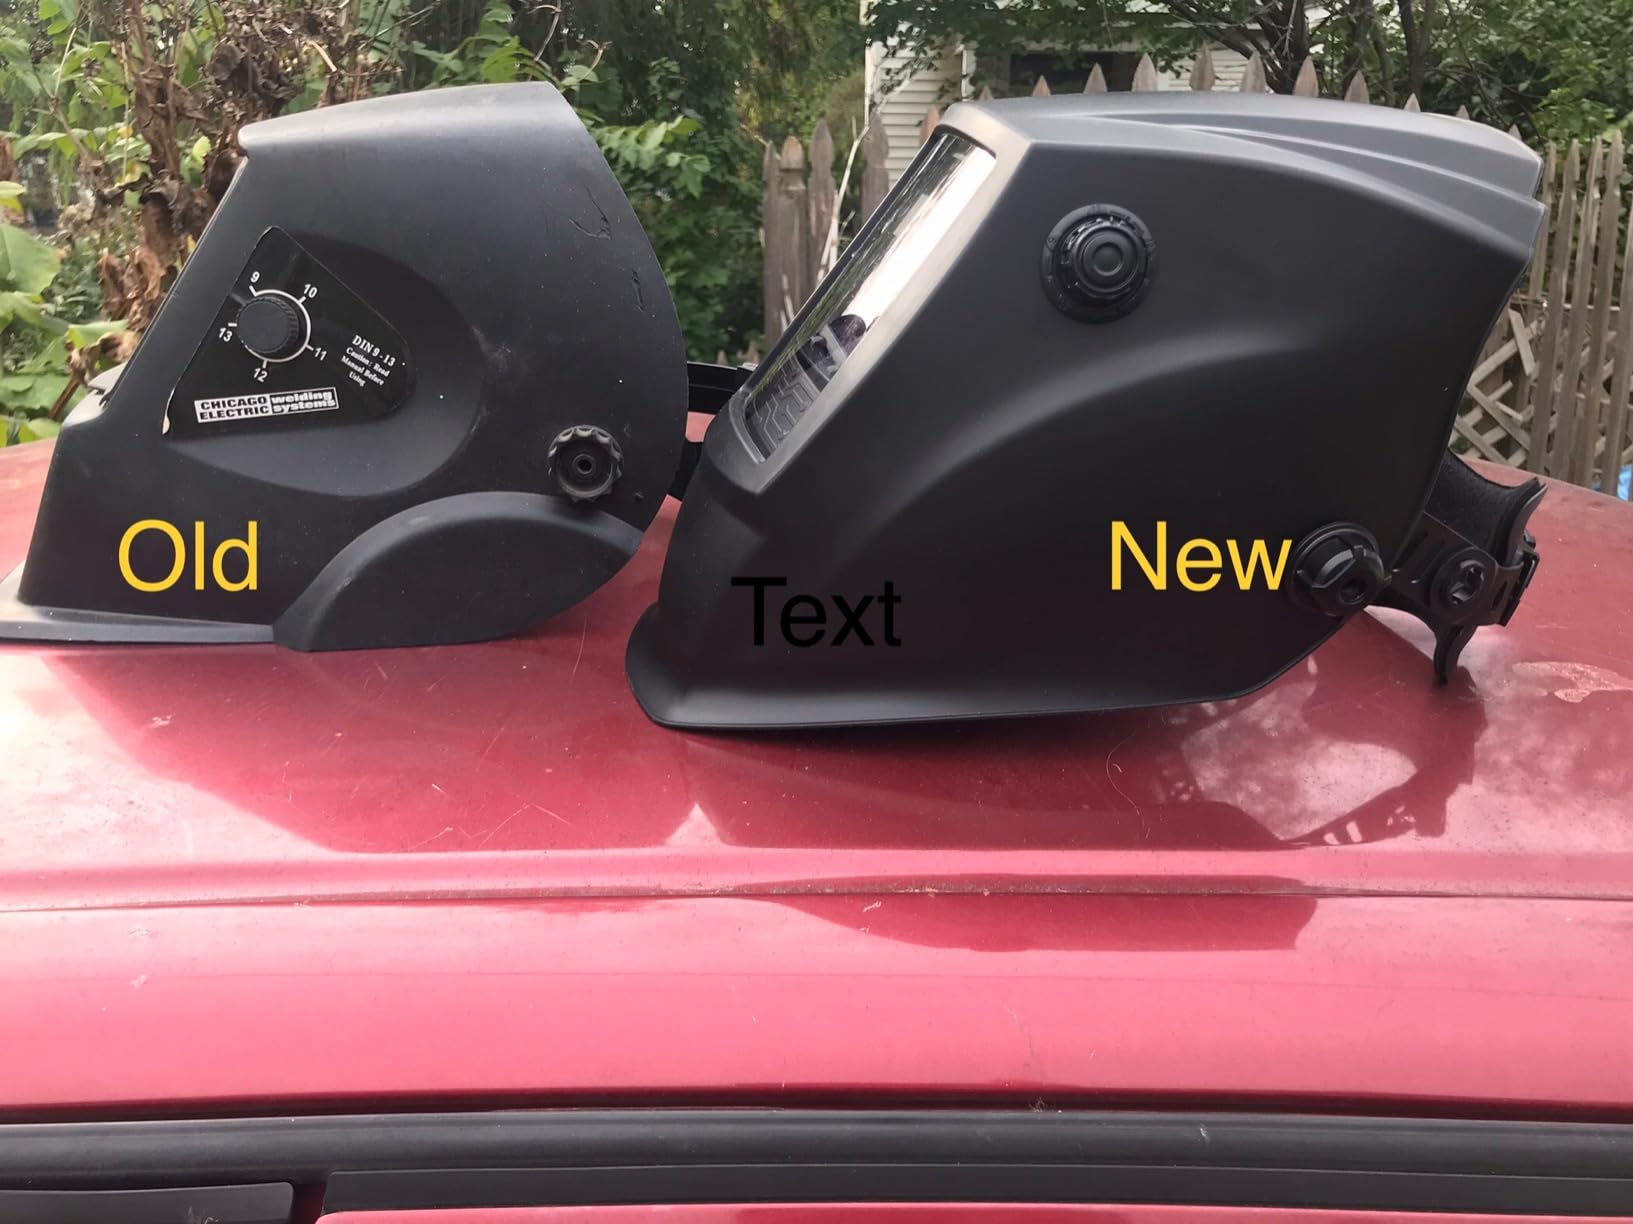
Fit is handled with multiple adjustments and internal padding, which is what you want in a shell this size. Listed weight is 2.23 pounds, heavier than the ultralight models, and that is the main reason this is not our first recommendation for long overhead sessions.
Where this helmet earns its place
Plasma and oxy-fuel cutting is the reason. A cutting shade of 5 to 9 is a proper dedicated range rather than a compromise, and the wide screen makes following a cut line on plate much easier than with a compact window. It also handles stick, TIG, MIG and MMA without any special setup.
For a hobbyist who does fabrication one weekend and cutting the next, having the work light and the wide shade spread in one unit is genuinely useful. The cheater lens compatibility matters when you want to inspect a cut edge for dross before you grind it.
What to fix before you rely on it
Two hardware issues come up repeatedly. The battery compartment is hard to access, so swap cells before a session rather than mid-job, and the head strap and side tension buttons feel fragile, with the hood able to flop forward if tension drops.
On smaller heads, the shell depth can press against the frame of your glasses, which is worth testing if you wear them under the helmet. Some buyers also found that first activation takes a moment and looks like a fault. Run the test function twice before your first weld and it settles immediately. The 2.23 pound weight is the real trade-off against the very light shells in this list.
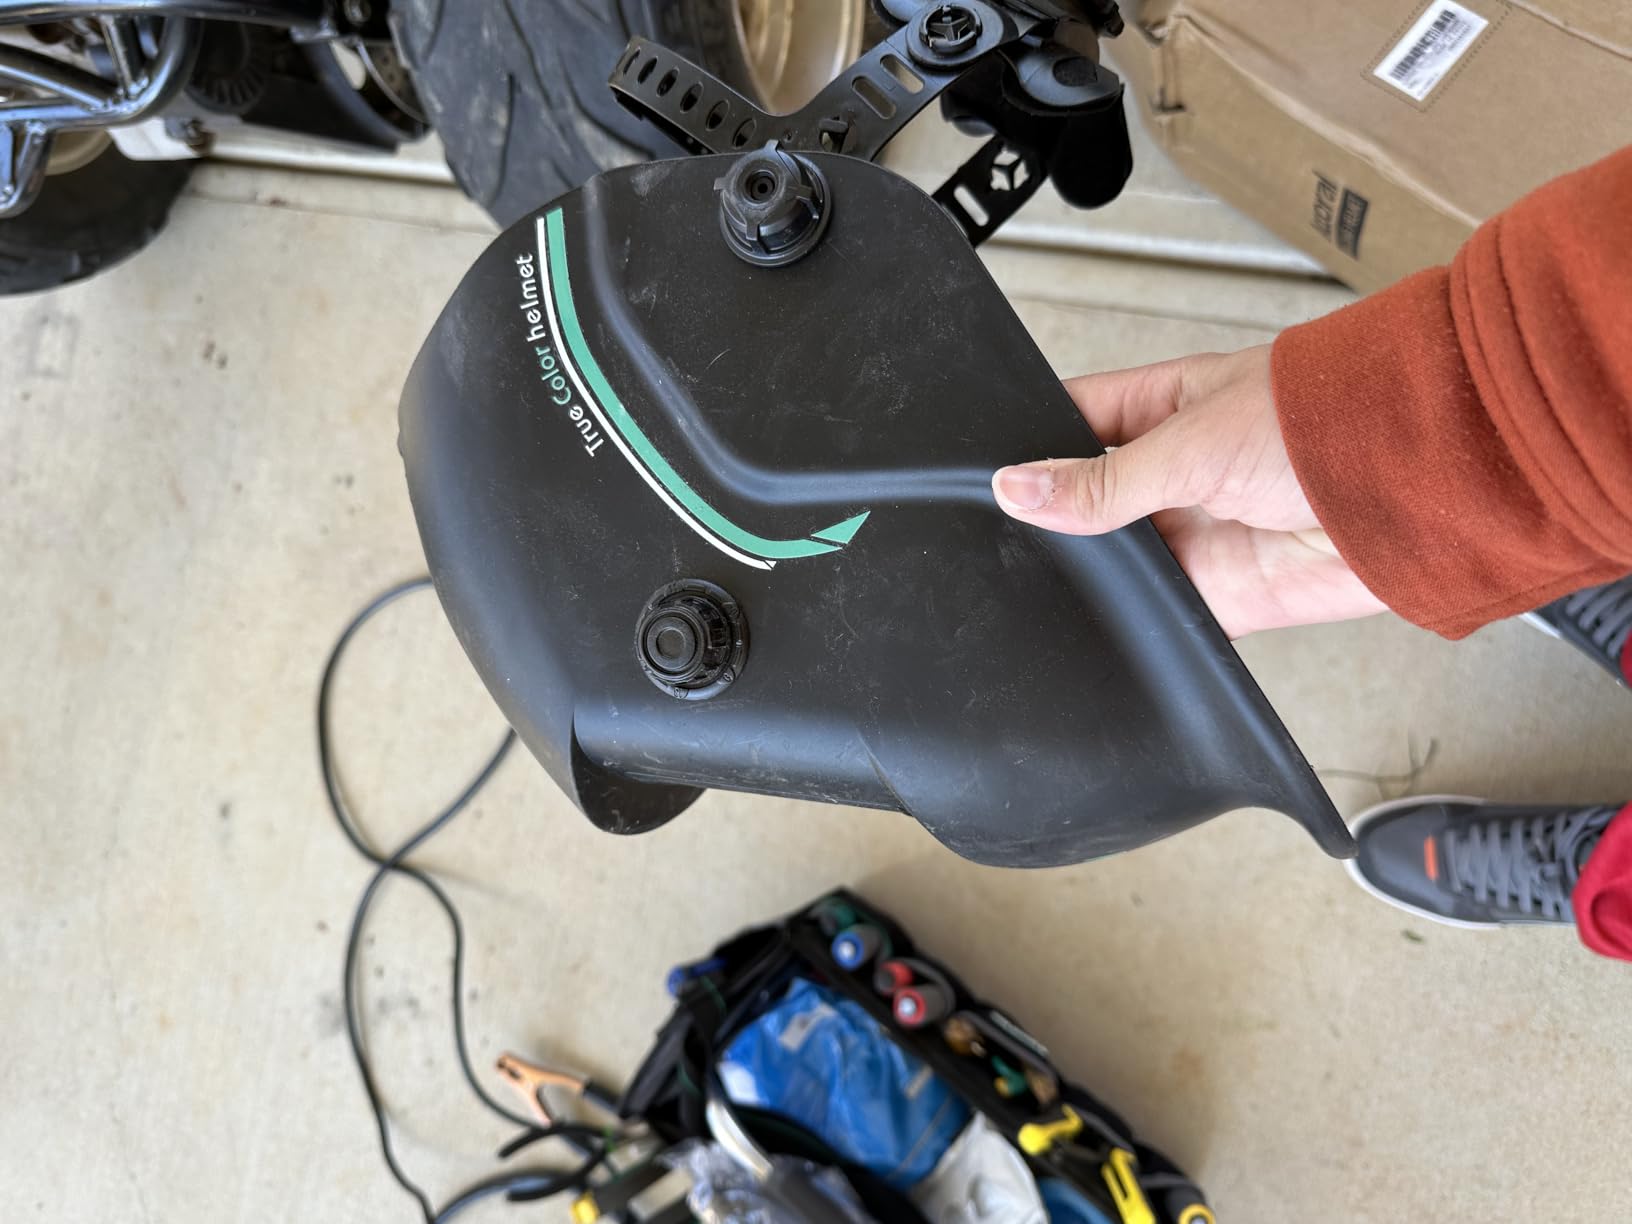
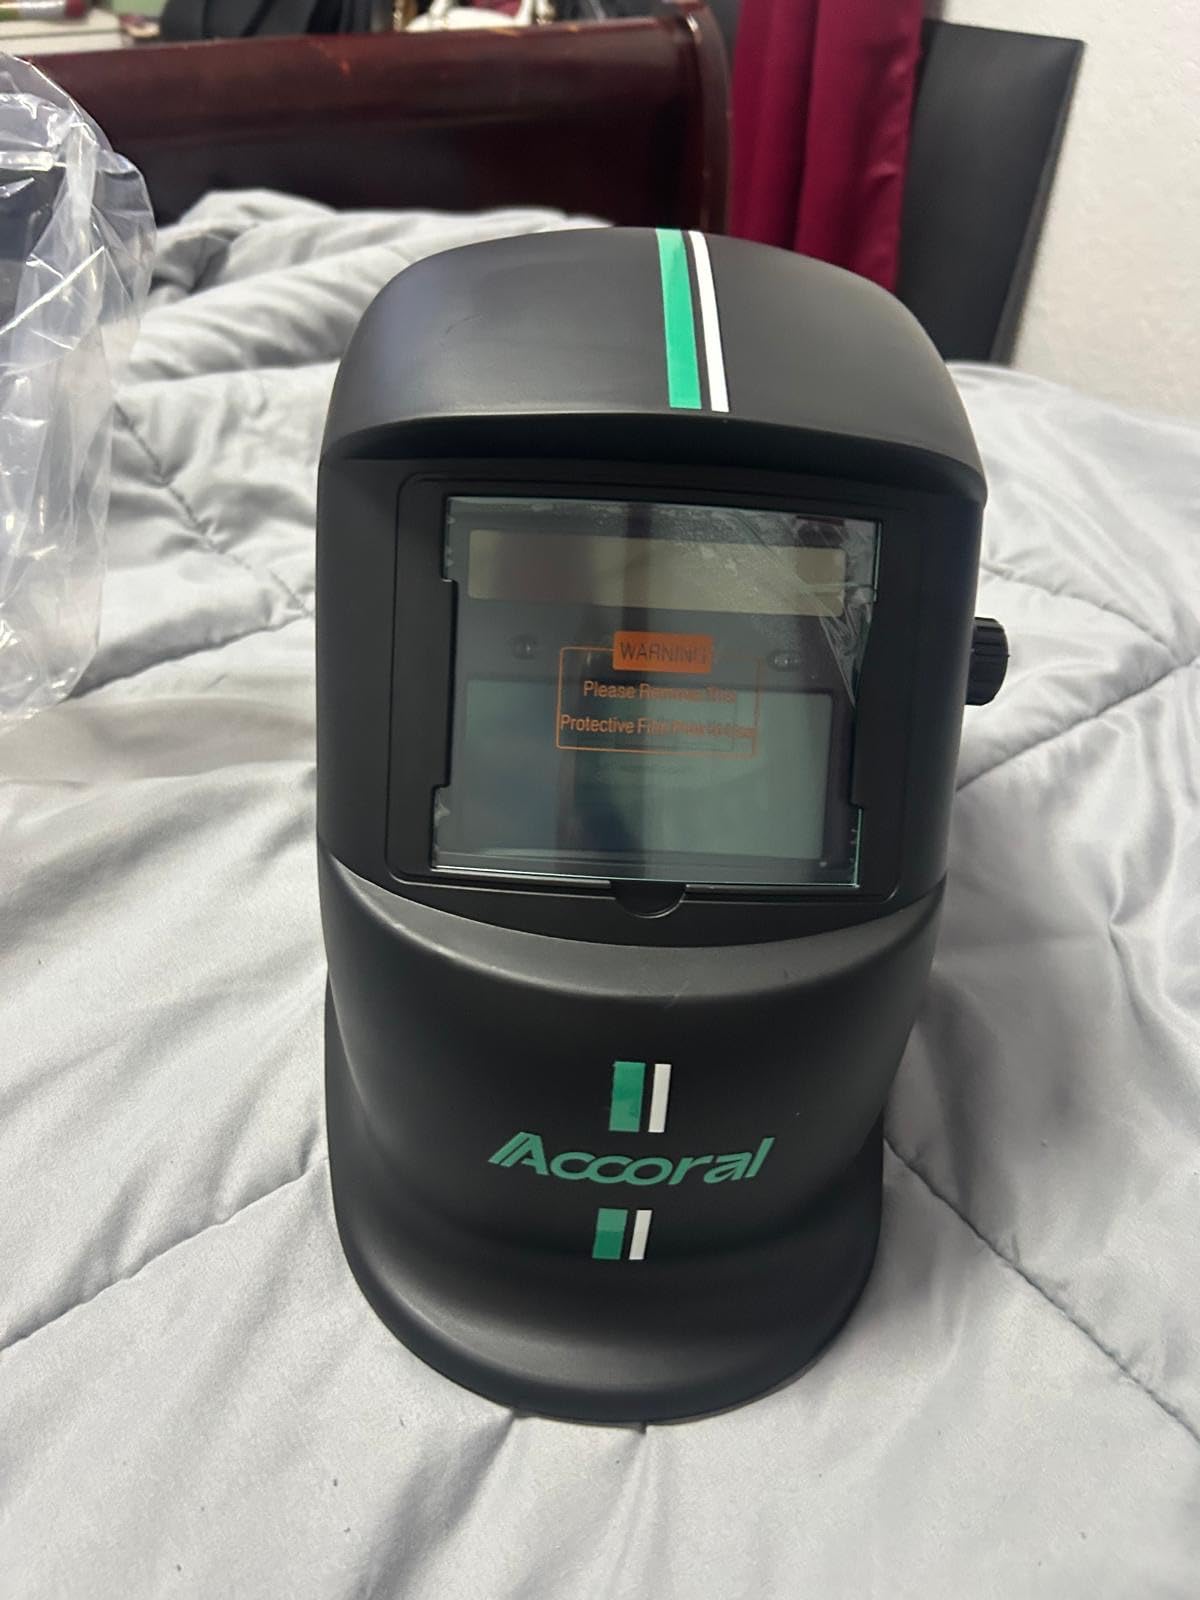
9. Accoral True Color Helmet – The Easiest Controls to Learn
- True color 1/1/1/1 optics make the joint easy to see
- Very fast darkening with two arc sensors
- External side buttons reachable while wearing the helmet
- Light pivoting adjustable headgear
- Headband adjustment loosens and needs re-tightening
- Takes a few attempts to dial in the settings
- Small viewing area
Everything on the Accoral is arranged to be learned in a couple of minutes. Shade, sensitivity and delay sit on an external side panel behind large buttons, positioned so you can reach them without taking the helmet off and without pinching the controls through a glove. For a beginner who is still working out what any of those settings mean, having them all in one obvious place is worth more than a fancier menu.
Optics are 1/1/1/1 with a true color view across a 3.64 by 1.67 inch screen, and two arc sensors deliver 1/25,000 second darkening. Shade 4 is the light state and 9 to 13 is the dark range, with a pivoting adjustable headgear that is light and comfortable for longer sessions. Power is solar with a high-capacity lithium battery backing it up.
Owners describe this as performing well above its price class, and a common theme in reviews is people replacing a decades-old fixed-shade hood with it. That comparison is telling. The jump from a dark window to a true color auto-darkening view is the single biggest quality-of-life change in the whole category, and this is one of the least expensive ways to make it.
Listed weight is 1.9 pounds, so it sits mid-pack, and the light pivoting headgear does most of the work in keeping the mass off your forehead. The lithium battery plus solar combination means you are not relying on a single cell to decide whether the helmet works on a given morning.
A good first true color helmet
If your previous experience is a fixed-shade window and you want the change without a steep price jump, this is a clean way to do it. The 1/25,000 second response is quick enough that you will not see your own arc, and two sensors are sufficient for open-arc MIG and stick work in a normal shop position.
It is also a sensible first helmet for a student who is not yet sure how much welding they will do. The controls are simple enough to reset later without frustration, which matters when you are still changing processes every few weeks.
The small print
The viewing area is the compact size, so wide plate and structural work will feel cramped compared with the large-view models. The headband adjustment loosens over a session and needs re-tightening, which is the most common complaint and a five-second fix.
Owners also note that it takes a few attempts to dial the settings in properly. Budget twenty minutes of practice with the test function before your first real weld rather than fighting the controls while trying to learn the process.
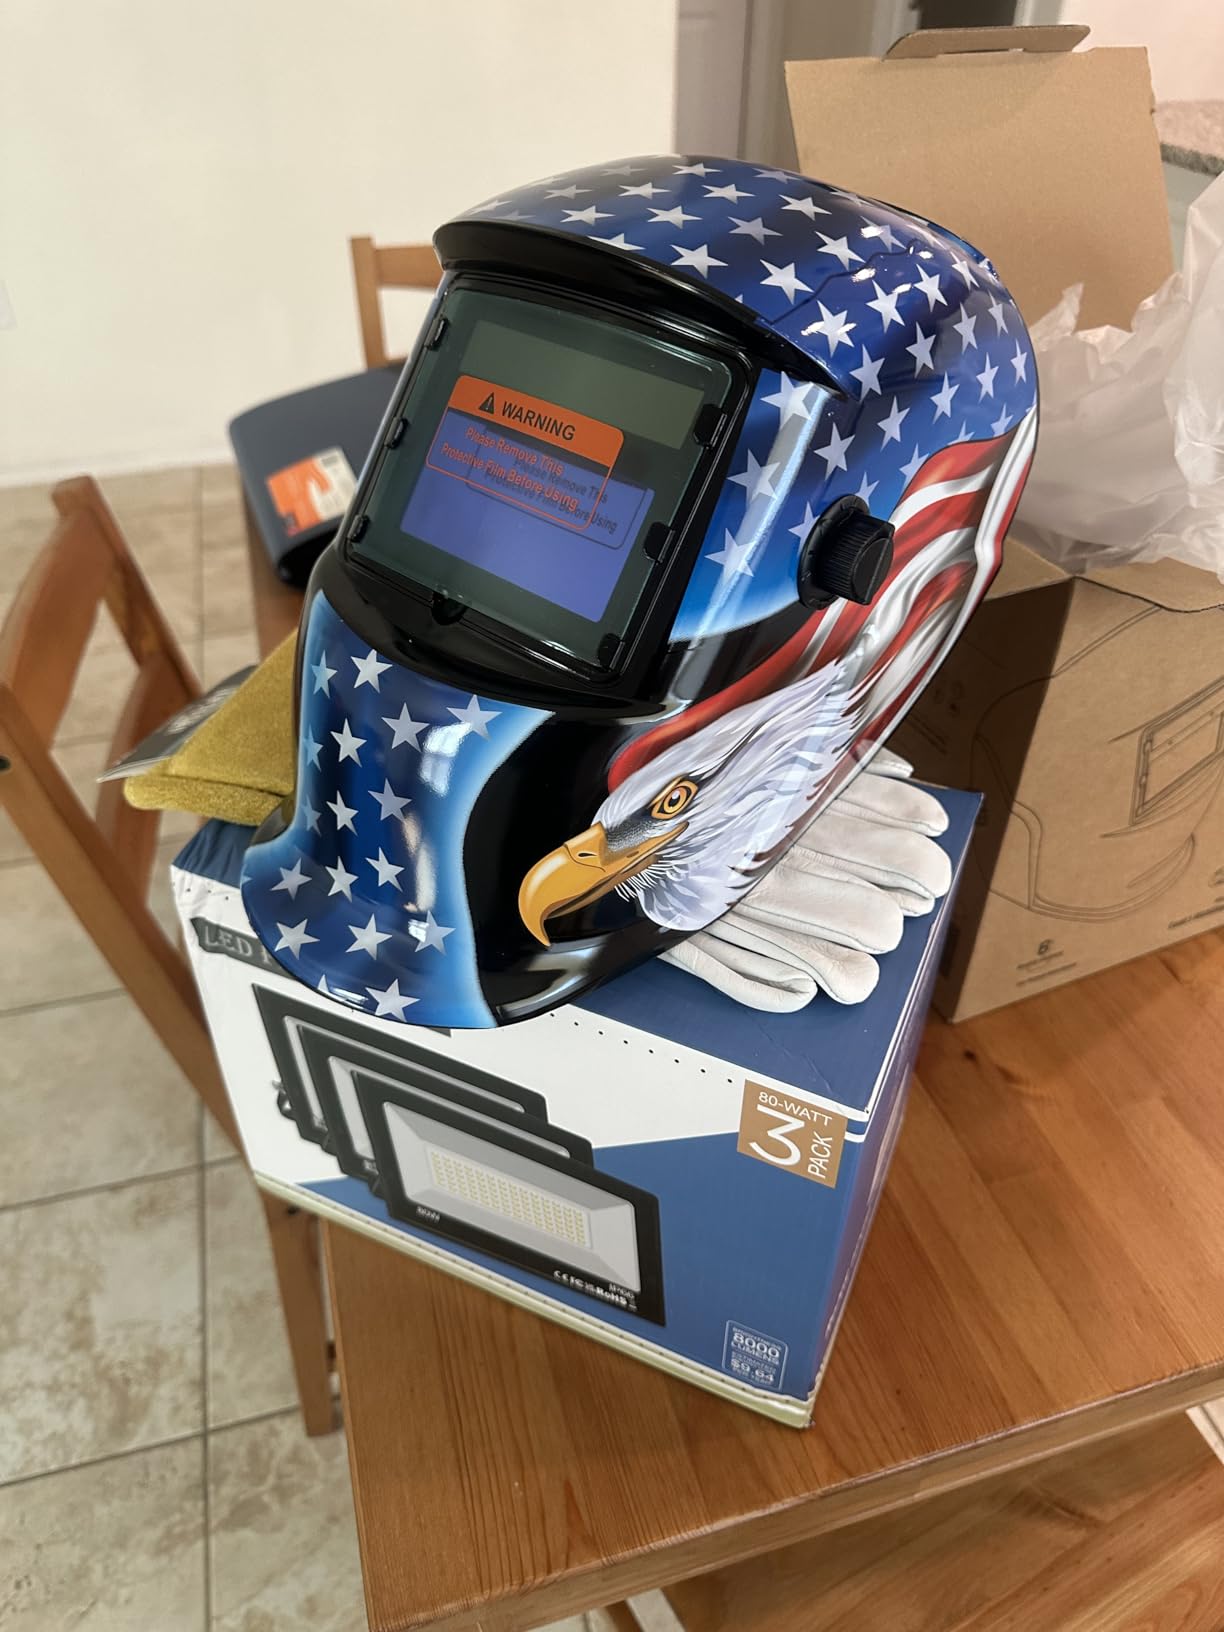
10. BESTCLUB True Color Solar Hood – Four Sensors on a Tight Budget
- True color optics remove the lime-green tint
- Four sensors fire even when partially blocked
- Weld grind and cut modes from external controls
- Pivot headgear balances weight to reduce neck fatigue
- Flexible shell can crease or deform
- Narrow interior over long sessions
- Adjustment hardware does not always hold
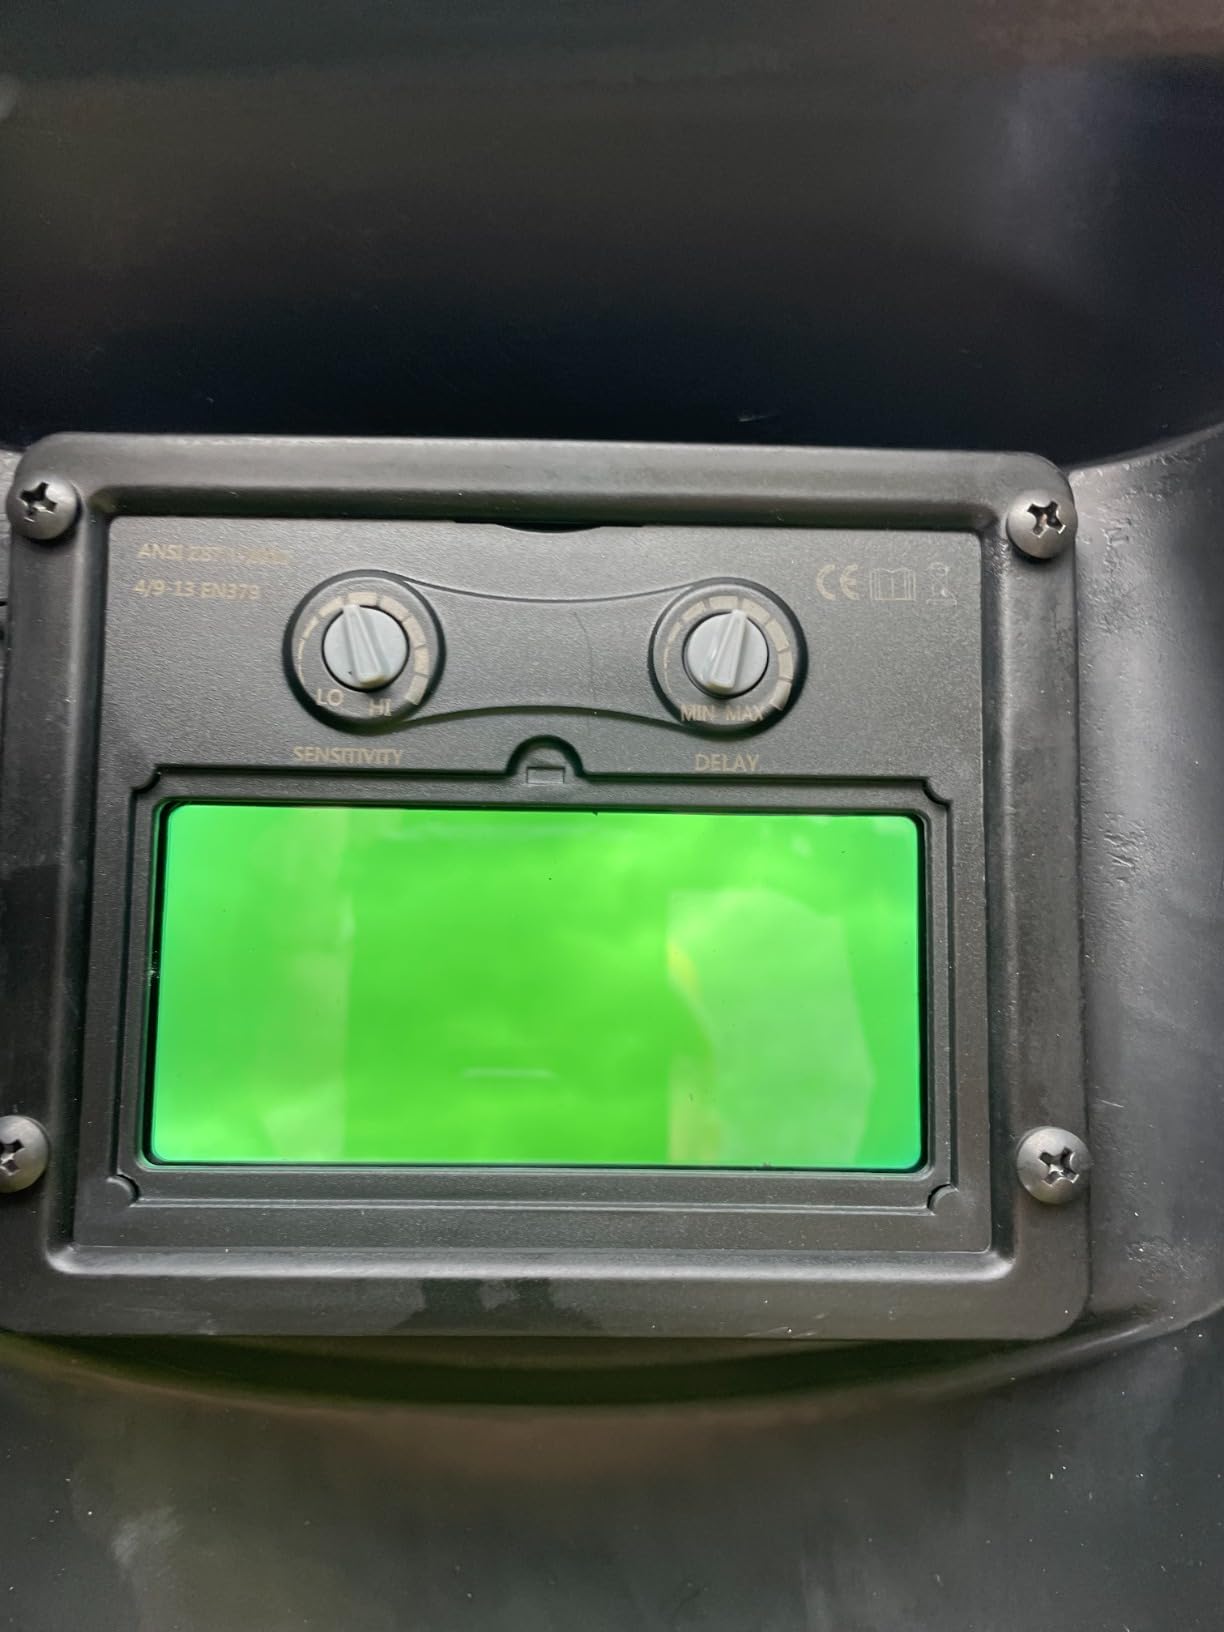
This is the helmet in the group that surprised us most. At a very modest price, it gives you four high-sensitivity arc sensors and 1/25,000 second switching, and those four sensors are the feature that sets it apart from other entry-level picks here. Most competitors at this level ship with two.
Optical classification is 1/1/1/2 with true color technology, which removes the traditional lime-green tint from the view. Shade range is adjustable DIN 9 to 13, and weld, grind and cut modes can be switched from both external and internal controls, so you can change process without lifting the helmet.
Owners highlight that the four sensors detect the arc instantly even when sensors are partially blocked, and that holds up on low-amperage work far better than the two-sensor designs it costs the same as. For a beginner heading into TIG, that reliability is the deciding factor.
The shell is a high-impact flame-retardant lightweight material that stands up to sparks and drops, and the ergonomic pivot-style headgear balances weight to reduce neck fatigue on longer shifts. At 0.73 kilograms it is among the lighter options here, which suits a full day of school or shop work.
Why four sensors matter for TIG
Arc sensing is the single technical difference that changes how a helmet feels day to day. Two sensors rely on both being hit by arc light, and on a faint TIG arc at low amperage, or when your torch angle shadows part of the lens, that trigger can be late. Four sensors spread across the panel give the helmet more chances to see the arc, and the difference shows up most on fine TIG and on work done in a corner.
Combined with the pivot headgear, this is the best combination in the list for a beginner who wants reliable sensing on a modest budget. If TIG is on your plan for the year ahead, this is the pick to make.
Build quality is the trade
The shell is flexible, and owners note it can crease or deform if you sit on it or wedge it into a tight truck bed. It is a helmet, not a seat, but it is worth knowing before you leave one in a hot car. The interior is also narrow enough to become uncomfortable over a very long session.
Adjustment hardware does not always hold, so some units lose settings during a session. Check your shade setting after a break rather than assuming it stuck. The 1/1/1/2 rating means the fourth figure, angle dependence, is a step below the 1/1/1/1 lenses elsewhere, which shows up as a small change in view quality when you tilt your head far from center. For most beginners at a bench, it is not noticeable.
What to Look For in a Welding Helmet as a Beginner
Here is the short version of everything that matters, written the way we would explain it to someone standing in front of a welding machine for the first time.
Buy an auto-darkening filter, not a fixed-shade window. A fixed-shade helmet is a dark piece of plastic you flip up and down. An auto-darkening filter sits light, darkens electronically when it detects an arc, and returns to light when you stop. You keep your head still, you keep your hands free, and you learn to watch the pool instead of learning to flip. Every helmet in this roundup is auto-darkening for that reason.
Look for 1/1/1/1 optical clarity. That rating comes from the EN 379 standard and covers how evenly the lens stays clear: optical class, diffusion of light, luminous transmittance variation and angle dependence. A 1/1/1/1 lens stays neutral and even when you tilt your head, which is exactly what you need to read a puddle. Budget lenses often drop to 1/1/1/2 or worse, and the fourth number is the one to watch.
Switching speed should be 1/20,000 of a second or faster. Anything in the 1/20,000 to 1/30,000 range is fast enough that you never see the arc. Anything slower, and you get the bloom and the headache that experienced welders complain about after a long session.
Weight matters more than beginners expect. The comfortable range is roughly 16 to 20 ounces, and the lightest shells in this roundup sit at 1.14 pounds. A heavy helmet is fine for a short afternoon and miserable for a full shift, especially if you work overhead or out of position.
Two sensors are enough for MIG and stick. Four sensors for TIG. Two sensors need both to catch arc light, and a faint low-amperage TIG arc does not always reach them. Four sensors spread across the lens fire reliably even when partially shadowed, and they also help in tight joints and out-of-position work.
Check the shade range and the modes. For MIG and stick, shade 9 to 13 covers nearly everything. For TIG you want access to lower shades, and for plasma cutting a dedicated cut range around 5 to 9 is useful. If you grind regularly, an external grind button saves you from removing the helmet each time.
Confirm the certification and the warranty. ANSI Z87.1 is the baseline, and EN 379 and CSA are useful additions. A two to three year warranty tells you the manufacturer expects the helmet to last, which matters more than any single specification when you are buying once.
How to Choose a Welding Helmet by Process
Most beginners end up doing more than one process, so match the helmet to what you will actually be doing rather than to a brand. Here is how the process changes the decision.
MIG welding. The easiest process to learn and the least demanding on a helmet. Shade 9 to 13, two sensors, any of the budget models in this list will serve you. Spend your attention on viewing area instead, because watching a wider area is what helps you learn bead placement.
TIG welding. The process that punishes a cheap helmet. Faint arcs at low amperage need four sensors, and you want shade control down toward 8 or below. If TIG is in your future, pick a four-sensor model even if you are doing MIG today. The models here built for that are the YESWELDER LYG-M800H, the Sunstac and the BESTCLUB.
Stick welding. Arc brightness is high, so almost any auto-darkening helmet handles it, including low-end models. Sensor count matters less here, which is why stick-only beginners can get away with the simplest two-sensor helmet in this list.
Flux core welding. Spatty, hot, and hard on lenses. A large viewing area helps you see the puddle through the mess, grind mode is useful, and true color optics make the arc more readable. The YESWELDER LYG-M800H and the TOOLIOM large-view model suit this work best.
Plasma cutting. You want a cut shade range, usually 5 to 9, in the same helmet. The Sunstac is built for this, and the TOOLIOM TL-M800D handles cut as a distinct mode rather than a dial you have to guess at.
Grinding. Any of these with a grind mode will save you buying a separate face shield. An external grind button is the convenience upgrade, and a shade 3 to 4 grind setting keeps you working without lifting the helmet between welds.
One more note on fume. Welding on galvanized or stainless material produces fumes that a helmet does nothing about, and a properly fitted respirator is a separate piece of safety equipment. If that is part of your work, plan for respiratory protection rather than expecting any welding helmet to cover it.
Helmet Care, Testing and Cover Lens Basics
Every helmet in this roundup will keep protecting you if you treat it like safety equipment rather than a hat. Three habits cover almost all of it.
Test before you rely on it. Use the test or solar activation function before every session: cover the sensors, press the test button, and confirm the lens goes dark. Then confirm the reverse, that it returns to the light state. Do this in shade, not in direct sunlight, because sunlight can make a working filter look unresponsive. If it does not darken at all, the electronics or the battery are the problem, not the sensors.
Keep the sensors clean. The arc sensors are small windows on the front of the filter. Weld spatter and grinding dust on them cause missed triggers, which beginners usually experience as the helmet going light mid-arc. Wipe them with a dry cloth before each session and treat that as part of your start-up routine.
Replace cover lenses before you need to. The outer lens is a consumable and it is designed to be thrown away rather than cleaned. Spatter pits it, the pits scatter light, and pitted lenses are a leading cause of the arc flash headaches that make beginners think a helmet is faulty. Most of the models here include spare outer lenses in the box, so replace the first one the moment it looks pitted rather than waiting for it to be unusable. The inner lens lasts far longer and only needs replacing when it is scratched enough to blur your view of the joint.
One last habit: store the helmet away from direct sun and heat when you are not wearing it, and check the battery before a long job rather than during it. Solar-powered designs with a spare cell will keep working when a coin cell dies, and knowing that in advance saves a frustrating afternoon.
Frequently Asked Questions
What color lens is best for welding?
True color technology is the best choice for beginners because it shows the arc and molten metal in a natural color instead of the traditional lime-green or grey tint. A lens rated 1/1/1/1 under the EN 379 standard keeps the view even when you tilt your head, which makes the puddle and the joint edges easier to read.
What is a good welding helmet for a beginner?
Any auto-darkening helmet with at least two arc sensors, a 1/1/1/1 optical rating, switching faster than 1/20,000 of a second and a shade range covering 9 to 13 will keep a first-time welder safe. Beyond that, viewing area and total weight matter far more than any other spec for someone learning.
Is shade 10 or 11 better for welding?
Neither is better in the abstract, because the correct shade depends on the process and the amperage. Most MIG and stick work sits comfortably in shade 10 to 12, and you move lighter as amperage drops. On an auto-darkening helmet, start around shade 11 and adjust by eye while you watch how clearly you can see the puddle.
What is the correct setting for an auto-darkening welding helmet?
Start with the manufacturer default and change one setting at a time. Set the light state between 3 and 4, choose a weld shade near 10 or 11, leave sensitivity in the middle of its range, and set delay long enough that the lens does not clear between passes. Adjust after a few minutes of welding, not before.
What should my sensitivity be on my welding helmet?
Beginners should leave sensitivity in the middle of its range. Turning it up helps the lens trigger in dim rooms or on faint arcs, and turning it down prevents false triggering from bright ambient light or reflections off a shiny workpiece. Only fine-tune it after you are comfortable with basic settings.
How many sensors do I need on a welding helmet?
Two arc sensors are sufficient for MIG and stick welding in normal positions. Four sensors are worth paying for if you plan to do TIG, work in tight joints, or weld out of position, because they trigger reliably when part of the lens is shadowed or the arc is faint.
Is a cheap auto-darkening helmet safe?
Yes, provided it carries a proper certification such as ANSI Z87.1. The ultraviolet and infrared filtering does not become less effective on a budget model, so an inexpensive auto-darkening helmet protects your eyes the same way an expensive one does. The differences show up in clarity, sensor reliability and comfort rather than in protection.
Final Verdict for Beginners in 2026
The best welding helmets for beginners come down to what you are welding. Start with the YESWELDER LYG-L600A if you want one dependable hood with true color optics and the largest owner base of anything in this roundup. Pick the YESWELDER LYG-M800H when you want a bigger view and four sensors, the TOOLIOM solar model when your neck is the weak point, and the Hobart 770890 or Miller Classic when you would rather buy once and stop thinking about it.
Whatever you choose, get it certified, keep the sensors clean, and swap the cover lens the moment it pits. That is a full afternoon of reading, and by the second week you will be focused on the weld again.