
There is a moment every new stargazer remembers. The first time you point a telescope at Saturn and realize the rings are real, not a picture in a book. Or the first time Jupiter’s tiny moons line up like a string of pearls across the eyepiece. That single moment is what turns a casual curiosity into a lifelong hobby.
Finding the best telescopes for beginners is harder than it should be. Most department-store scopes promise “525x magnification” and deliver a blurry, wobbly image that makes you want to quit before you start. The good news is that beginner astronomy has never been more affordable or more approachable, with quality optics and even smartphone-guided scopes now widely available in 2026.
Our team spent weeks digging through Reddit’s r/telescopes, Cloudy Nights, and thousands of Amazon reviews to find the scopes real beginners actually love. We compared 8 popular options priced from under $100 up to premium computerized models, looking at aperture, mount stability, ease of setup, and how each performs under typical suburban light pollution. Below you’ll find our honest picks for the best telescopes for beginners in 2026, plus a buying guide that explains what actually matters (hint: it’s aperture, not magnification).
Table of Contents
Top 3 Picks for Best Telescopes for Beginners
If you just want a quick recommendation, here are the three scopes we recommend most often. Each one earns its spot for a different reason, so pick based on how you plan to use it.

Celestron StarSense Explorer DX 130AZ
- 130mm Newtonian reflector
- App-guided navigation
- Slow-motion controls

Sky-Watcher Heritage 130mm Tabletop Dob
- 5-inch aperture
- No assembly needed
- Collapsible design

Each of these serves a different beginner. The Celestron StarSense Explorer DX 130AZ is our overall top pick because it pairs serious 5-inch optics with a smartphone app that literally points you to the right spot in the sky. The Sky-Watcher Heritage 130mm is the community favorite Dobsonian that costs less and works out of the box. And the Gskyer 70mm is the cheapest scope we’d actually recommend, perfect for kids or anyone testing the waters.
Best Telescopes for Beginners in 2026: Quick Comparison
Before we dive into full reviews, here is a side-by-side comparison of all 8 telescopes we tested. This should help you scan specs quickly and find a few models worth reading about in detail.
| Product | Specifications | Action |
|---|---|---|
| Celestron StarSense Explorer DX 130AZ |
|
Check Latest Price |
| Sky-Watcher Heritage 130mm Dobsonian |
|
Check Latest Price |
| Gskyer 70mm AZ Refractor |
|
Check Latest Price |
 Dianfan 90mm 800mm Refractor Dianfan 90mm 800mm Refractor |
|
Check Latest Price |
 Celestron Travel Scope 80 Celestron Travel Scope 80 |
|
Check Latest Price |
 Celestron StarSense Explorer LT 114AZ Celestron StarSense Explorer LT 114AZ |
|
Check Latest Price |
 Celestron PowerSeeker 127EQ Celestron PowerSeeker 127EQ |
|
Check Latest Price |
 Celestron NexStar 8SE Computerized Celestron NexStar 8SE Computerized |
|
Check Latest Price |
Notice how aperture climbs steadily as you move down the list. That’s not a coincidence. In our reviews you’ll see why a larger aperture almost always beats a fancier mount or higher advertised magnification.
1. Celestron StarSense Explorer DX 130AZ — Best Overall for Beginners
- StarSense app points you to targets with on-screen arrows
- 130mm aperture shows Saturn rings and Jupiter cloud bands clearly
- Curated list of tonight's best targets based on location
- Works with both iPhone and Android
- Manual mount keeps it usable even without the phone
- Smartphone required to unlock the navigation features
- App needs initial night-sky calibration
- Heavier than travel scopes at 18 pounds
This is the scope I recommend most often when friends ask me what to buy as a first telescope. The Celestron StarSense Explorer DX 130AZ sits right at the sweet spot between serious optics and approachable tech. The 130mm (5-inch) Newtonian reflector gathers enough light to show Saturn’s rings, Jupiter’s cloud belts, and bright deep-sky objects like the Orion Nebula without strain.
The headline feature is the StarSense app. You dock your iPhone or Android on the side of the scope, and after a quick calibration, the app uses your phone’s camera to recognize the sky. It then shows you exactly which way to push the tube to land on tonight’s best targets. For a beginner who has never star-hopped before, this removes the single biggest reason people give up on astronomy: not being able to find anything.
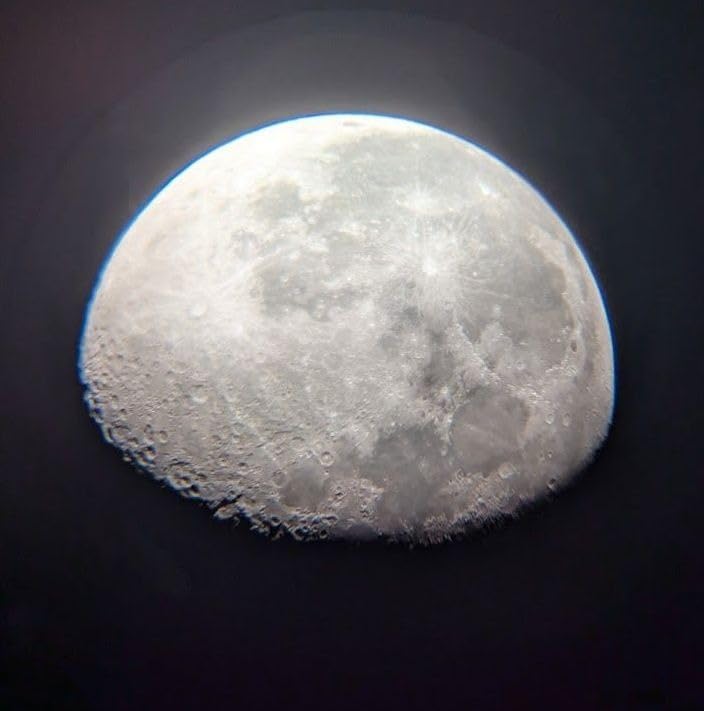
What I appreciate most is that this is not a true GoTo telescope. The mount is manual with dual-axis slow-motion controls, so you do the aiming and tracking yourself. That means you actually learn the sky instead of letting a motor do all the work. The app just guides your hands, which I think is the perfect bridge for someone who wants to grow into a more capable observer.
Build quality matches Celestron’s usual standard. The aluminum tripod is steady enough for visual work, the focuser is smooth, and the included 25mm and 10mm eyepieces are genuinely useful rather than throwaway accessories. With around 1,600 reviews and a 4.2-star average, real users consistently praise how the app “transforms any beginner into an instant astronomer.”

Who Should Buy This
The DX 130AZ is ideal for adults and older teens who want their first real telescope and don’t mind spending a bit more for guided help. It’s the scope I’d hand to someone who tried a cheap department store model once, got frustrated, and gave up. The app fixes the finding-things problem while the 130mm aperture fixes the seeing-things problem.
It is also a smart choice for suburban observers dealing with moderate light pollution. The 5-inch mirror pulls in enough light to punch through glow that would wash out a smaller refractor, and the app shows you exactly which targets are visible from your location tonight.
Setup and Learning Curve
Plan on about 30 to 45 minutes for the first assembly. The instructions are clear and the only tool you need is a Phillips screwdriver for the tripod. After that, the StarSense app calibration takes about five minutes under a clear sky. Most users report being ready to observe on the first night.
The one skill to practice is the slow-motion tracking. Once you center an object, you’ll need small adjustments to keep it in view as the Earth rotates. It takes a session or two to get smooth, but the dual-axis controls make it manageable even for total beginners.
2. Sky-Watcher Heritage 130mm Tabletop Dobsonian — Best Value
- 5-inch aperture at an unbeatable price
- No assembly required out of the box
- Collapsible design fits in a closet or car trunk
- Solid Dobsonian base is rock-steady
- Genuine community favorite on Reddit and astronomy forums
- Tabletop base needs a sturdy surface
- Manual star-hopping required (no app assist)
- Eyepieces included are basic
- may want upgrades
If you asked the regulars on r/telescopes what one scope to buy as a beginner, the Sky-Watcher Heritage 130mm tabletop Dobsonian would dominate the answers. This is the modern descendant of the famous “Dobsonian” design that revolutionized amateur astronomy by putting a large mirror on a simple, stable base. You get the same 130mm (5-inch) aperture as our top pick, but without the app, and at a lower price.
Out of the box, there is literally no assembly. You unfold the collapsible tube, plop the base on a sturdy table, pop in an eyepiece, and you’re observing in under five minutes. That simplicity is exactly what most beginners need. No tripod to wobble, no equatorial mount to polar align, no electronics to charge. Just point and look.
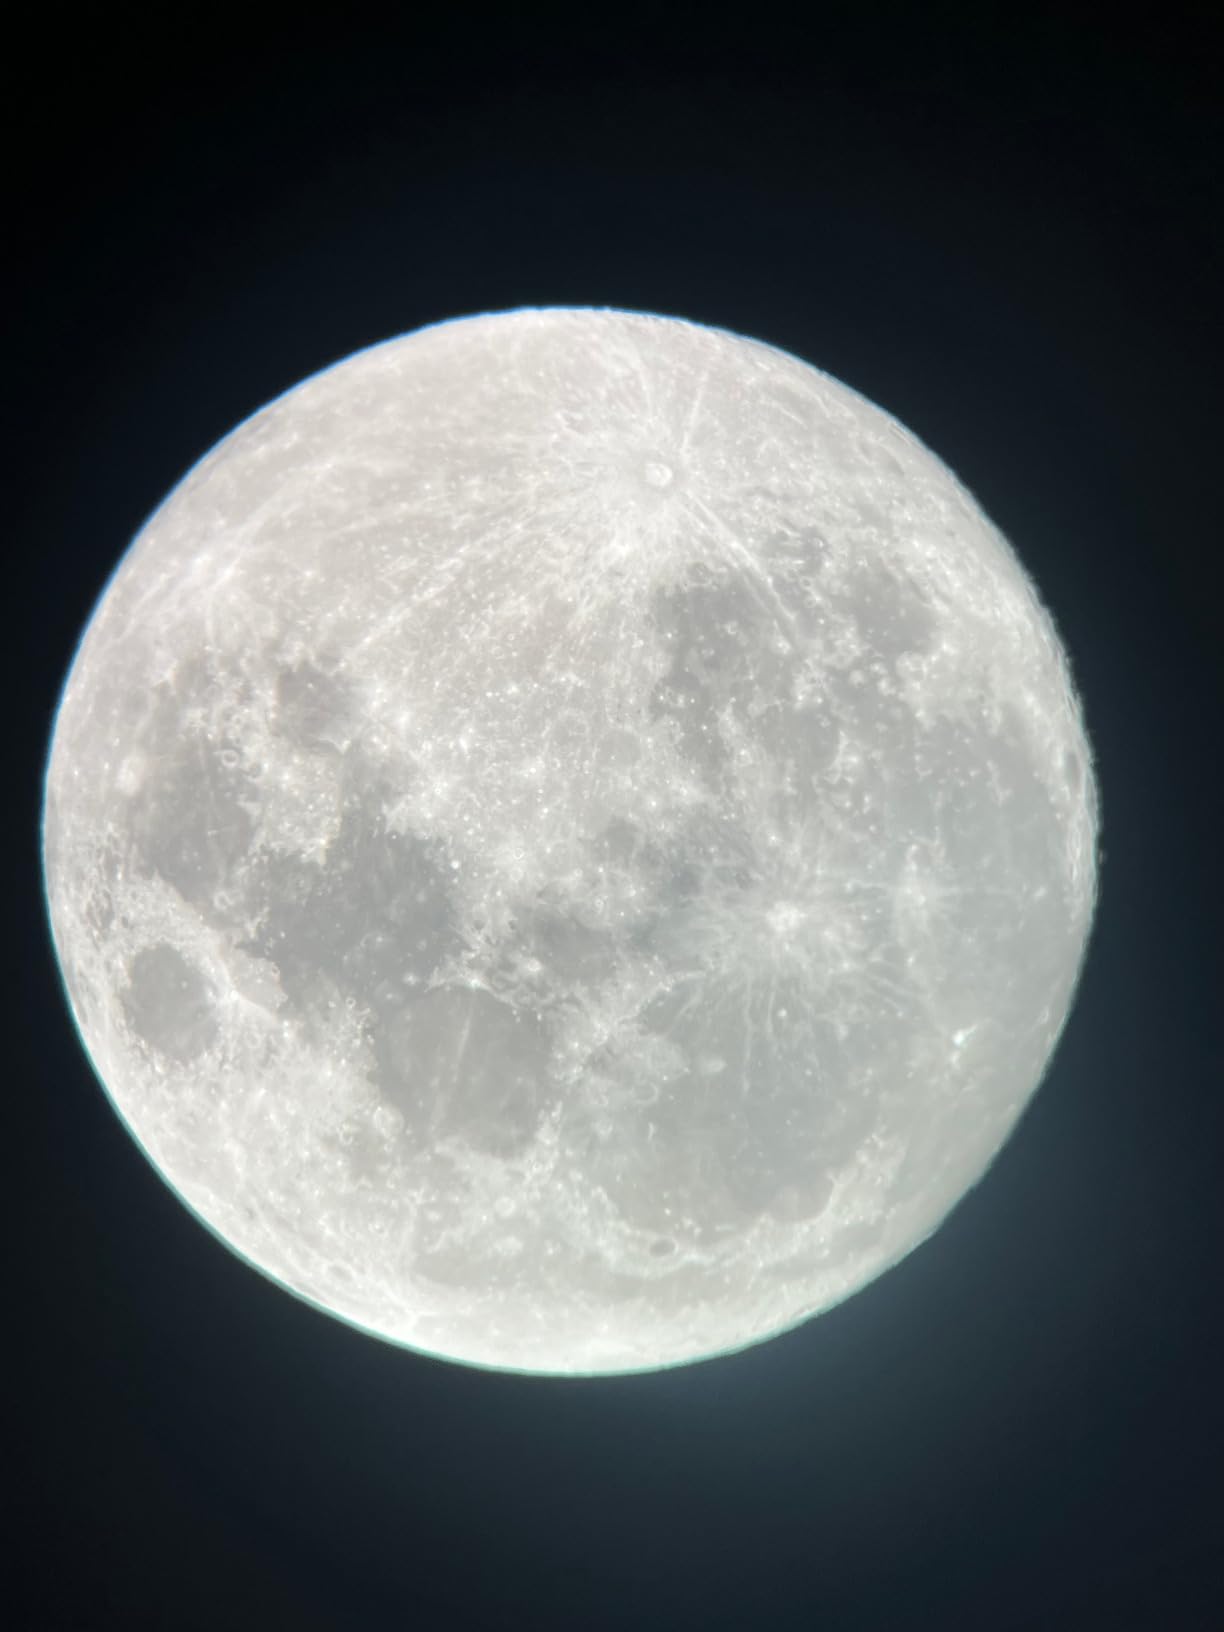
The collapsible tube is a clever touch. When you’re done, the upper half of the optical tube slides down, shrinking the whole scope to about 15 inches tall. It stores easily and travels well in a car. At around 19 pounds, it’s not feather-light but it’s far more portable than a full-size 8-inch Dobsonian.
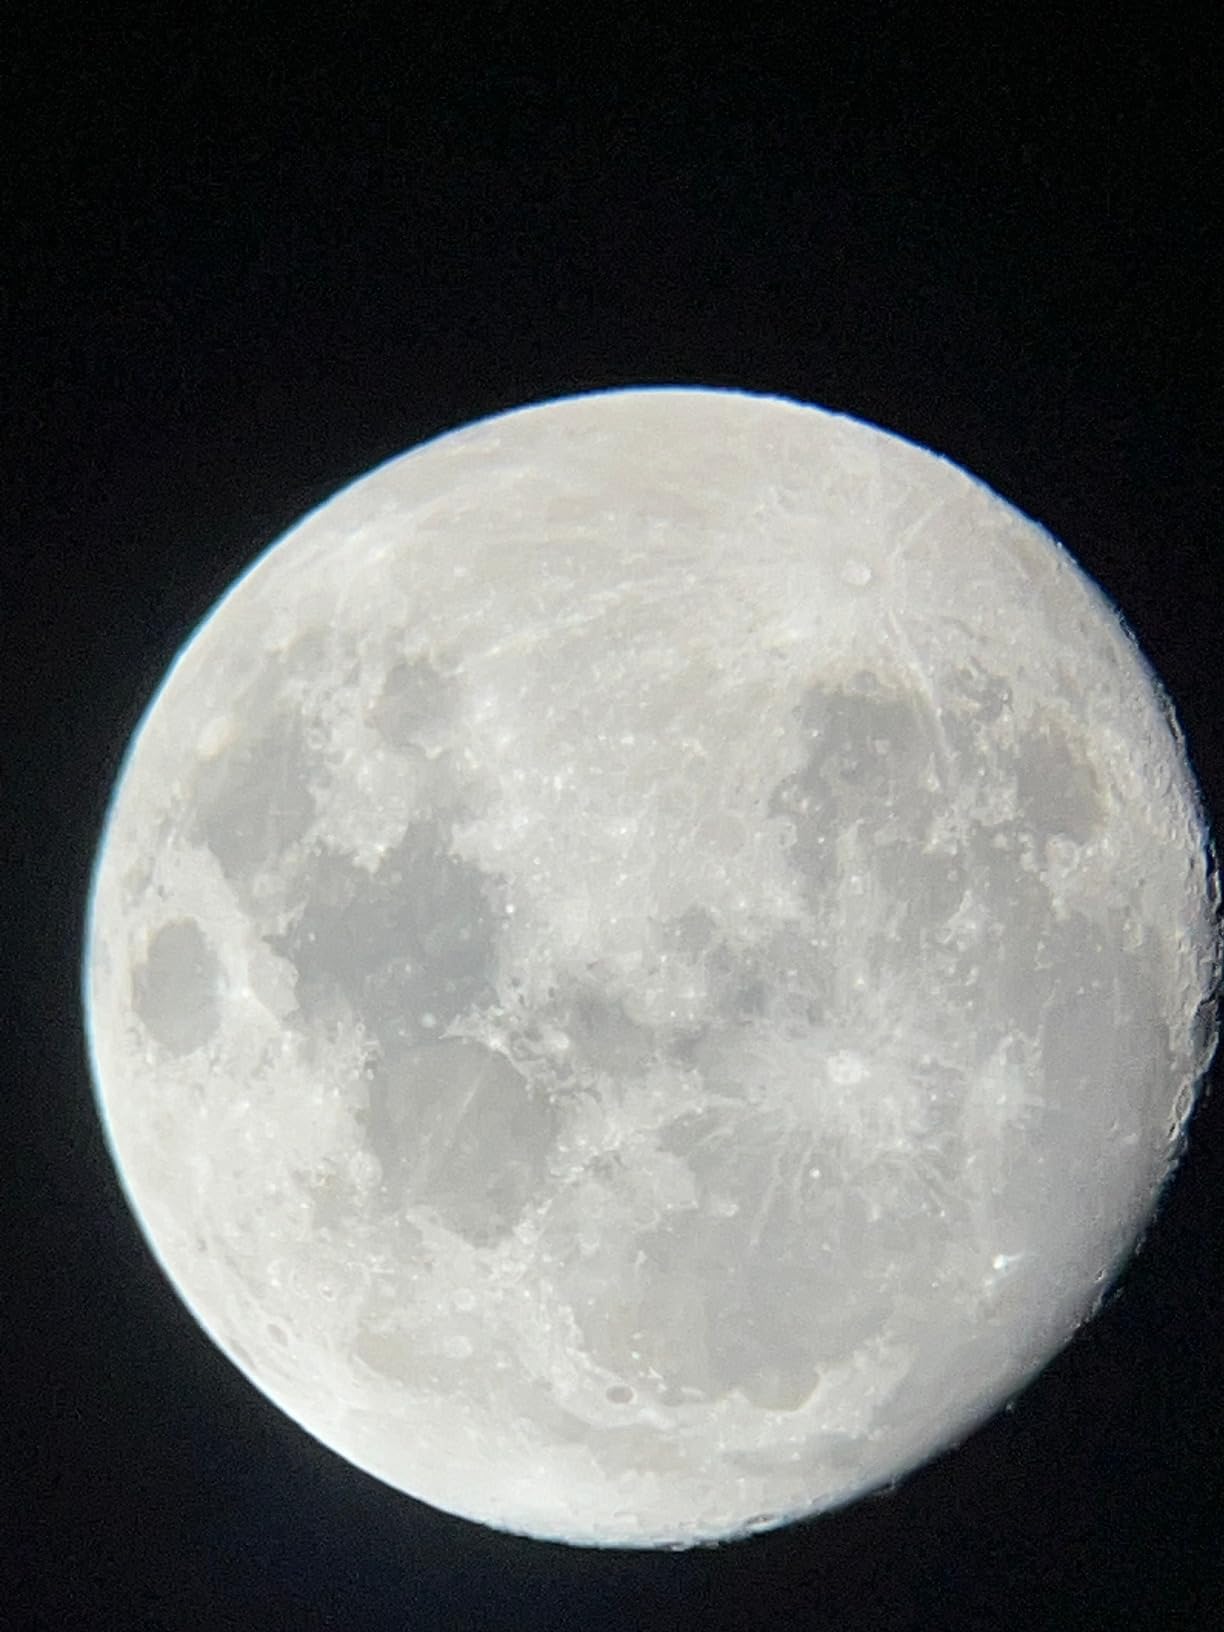
Optically, you get the same light-gathering power as the more expensive StarSense DX 130AZ. Saturn’s rings, Jupiter’s moons, lunar craters, and the brighter Messier objects are all on the table. The trade-off is you’ll need to learn star-hopping, which is using a star chart or app on a separate phone to navigate the sky. Many experienced observers argue this is actually better for beginners because it builds real skills.
Who Should Buy This
This scope is perfect for value-focused beginners who want maximum aperture per dollar and don’t need a smartphone to hold their hand. It’s also a great pick for apartment dwellers or anyone with limited storage, since the collapsible design tucks away easily.
If you have a sturdy picnic table, deck railing, or even a low wall outside, you have a mount. That’s the only real constraint. If you don’t have a flat, stable surface at comfortable viewing height, you may want to budget for a small folding camp table to set the scope on.
Setup and Learning Curve
There is essentially no setup. You unfold, point, and observe. The only skill to pick up is collimation, which is the periodic alignment of the mirrors. The Heritage comes with a simple collimation cap, and there are dozens of YouTube tutorials that walk you through it in under 10 minutes.
For navigation, download a free star-chart app like Stellarium or SkyView on your phone. Use it to find what’s up tonight, then push the scope toward that area and use the low-power eyepiece to scan. It’s old-school, but it works and it teaches you the sky in a way an app-guided scope never will.
3. Gskyer 70mm AZ Refractor — Best Budget Pick
- Most affordable scope we'd actually recommend
- Lightweight and easy for kids to handle
- Includes phone adapter for capturing moon shots
- Two eyepieces and a 3x Barlow lens included
- Carry bag makes it genuinely portable
- 70mm aperture limits deep-sky viewing
- Finder scope can be tricky to align
- Mount feels light and may shake in wind
The Gskyer 70mm AZ is the best-selling beginner telescope on Amazon, and there’s a reason for that. At well under $100 with over 22,000 reviews, it’s the scope most people end up buying first. While our team generally prefers larger reflectors, we recognize that not every beginner wants to spend $300 or more to find out if they even enjoy astronomy. For that audience, this Gskyer refractor is a legitimate pick.
What you get is a classic 70mm refractor on an altazimuth mount with an adjustable aluminum tripod. The optics are fully coated, and the 400mm focal length is well-suited to wide-field views of the Moon, the brighter planets, and star clusters. You won’t see detail in distant galaxies, but you will get crisp views of lunar craters that look stunning the first time.
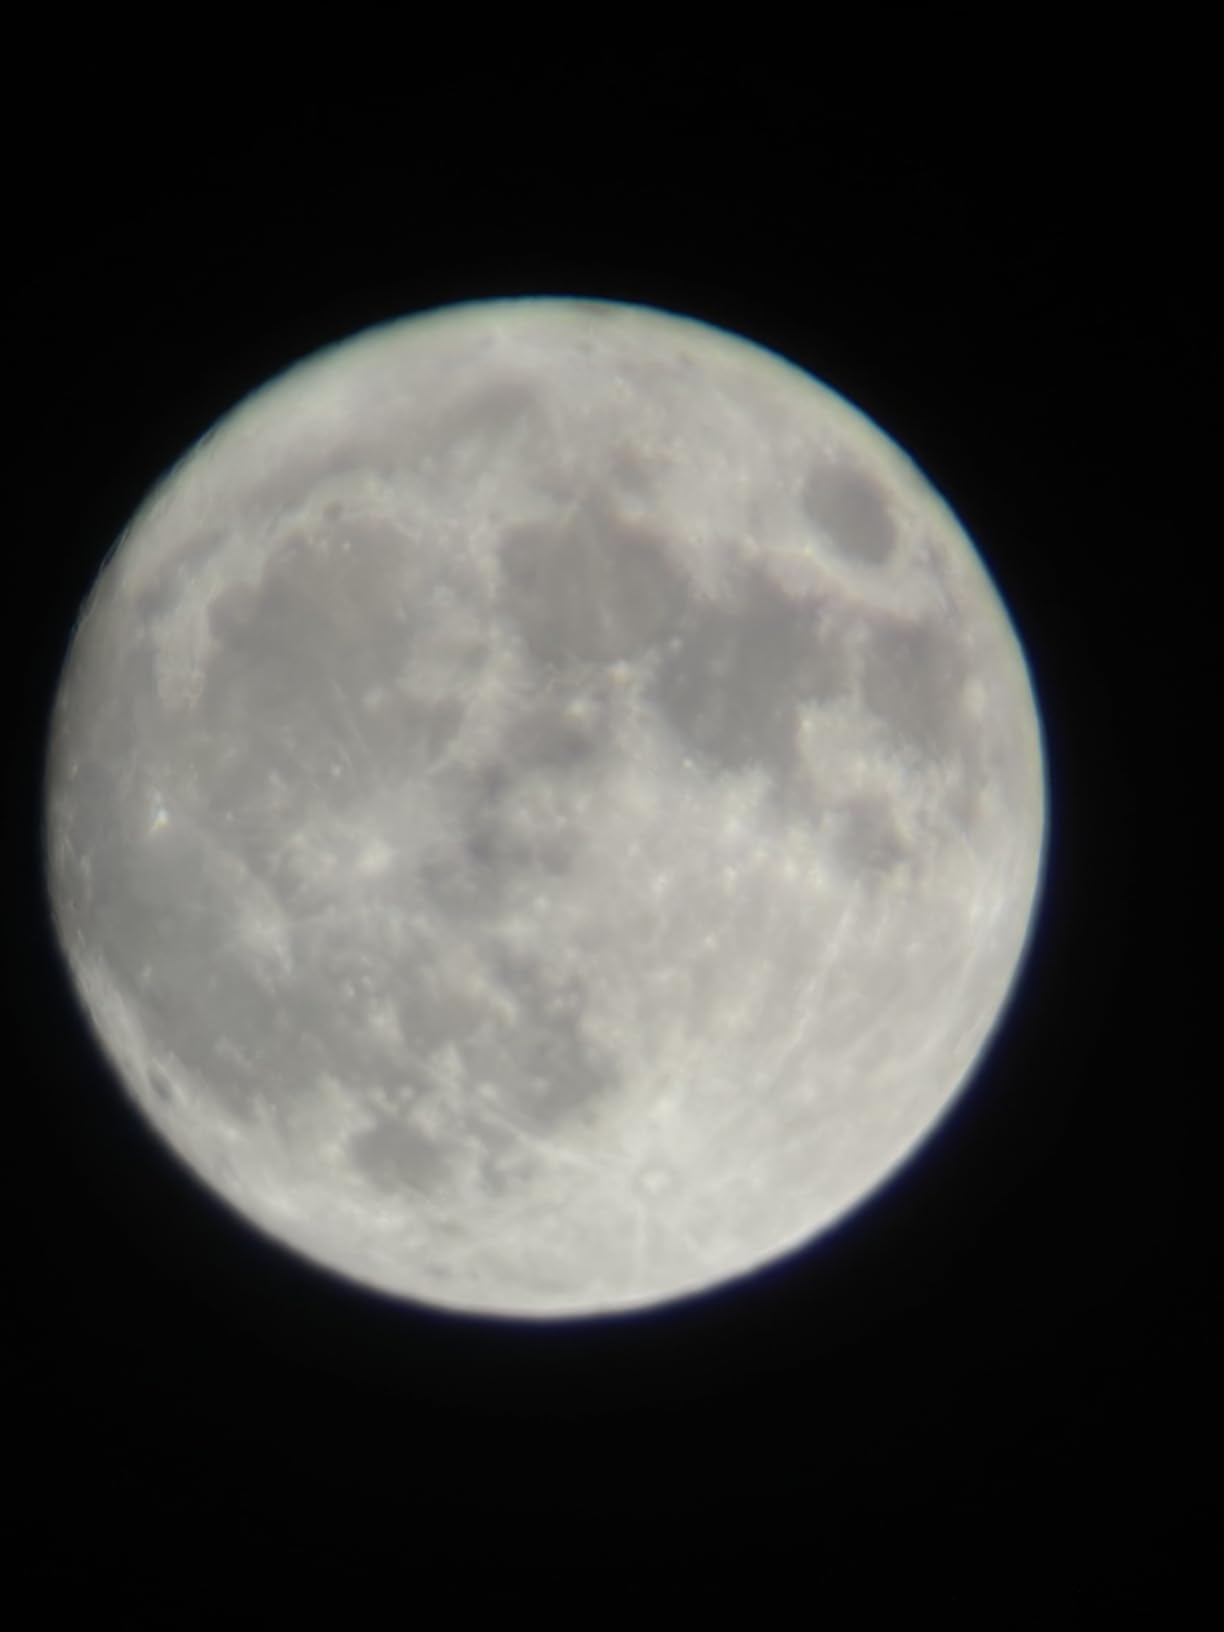
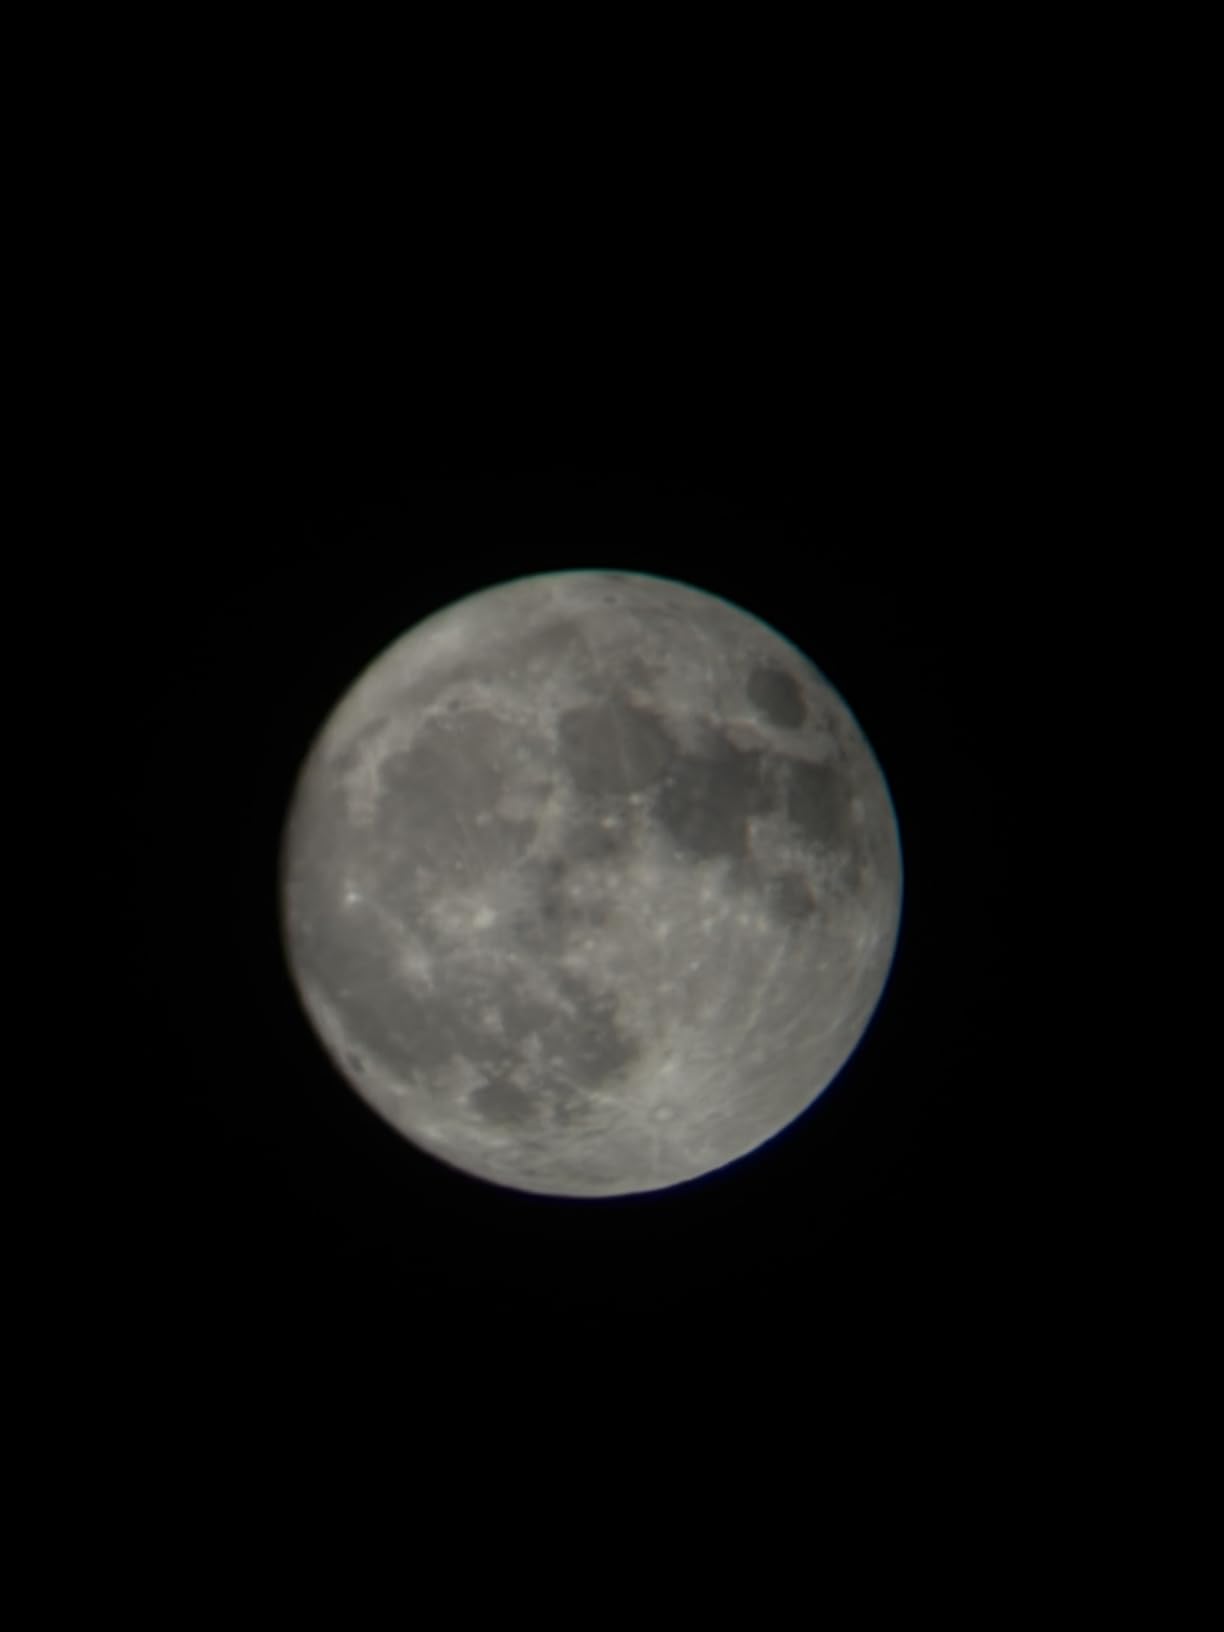
The included accessories punch above the price tag. Two eyepieces (10mm and 25mm) plus a 3x Barlow lens give you a useful range of magnifications. There’s a 5×24 finderscope for aiming, a smartphone adapter, and a wireless remote for snapping photos of the Moon through the eyepiece. A carry bag rounds out the package so you can take it on a camping trip without hassle.
The honest trade-off is the 70mm aperture. That’s small by serious astronomy standards, and it means faint deep-sky objects like nebulae and galaxies will stay elusive. The mount is also lightweight, which is great for portability but means you’ll feel every vibration on a breezy night. For casual family astronomy, none of that is a deal-breaker.
Who Should Buy This
The Gskyer 70mm is best for kids, families, and casual observers who want to test whether astronomy is for them without a big investment. It’s also a solid choice for daytime terrestrial viewing, since refractors produce correct-image views with the right diagonal.
If you already know you want to see Saturn’s rings in detail or chase down faint galaxies, save up for one of the reflectors on this list. But if your goal is moonlit nights on the back porch with the kids, this scope delivers more than enough to spark the hobby.
Setup and Learning Curve
Plan for about 20 minutes of first-time assembly. Everything is tool-free and the instructions are straightforward. The trickiest part is aligning the finder scope to match the main scope’s view, a step many beginners skip and then regret. Take 10 minutes during daylight to point at a distant chimney or telephone pole and line them up.
After that, operation is genuinely simple. Loosen the altitude rod, point at the Moon, tighten, and focus. The wireless remote is a fun bonus for phone photography, though you’ll want to manage expectations on image quality.
4. Dianfan 90mm 800mm Refractor — Best Mid-Range Refractor
- 90mm aperture gathers noticeably more light than 70mm models
- Sturdy stainless steel tripod is a real step up
- 800mm focal length gives higher useful magnification
- 45-degree zenith mirror for comfortable daytime use
- Excellent 4.5-star average from nearly 800 reviews
- Heavier than travel refractors at about 10 pounds
- Straight-through finder can be awkward
- Barlow lens quality is average
The Dianfan 90mm 800mm refractor flies under the radar compared with the big Celestron and Sky-Watcher names, but our research turned up an impressive 4.5-star average across nearly 800 reviews. That’s a strong signal that real beginners are happy with this scope. Stepping up from a 70mm to a 90mm aperture gives you noticeably brighter views and a real shot at Jupiter’s cloud belts and Saturn’s rings as more than tiny dots.
The 800mm focal length is the other key number. Longer focal lengths allow higher useful magnification, and the included Kellner eyepieces plus 3x Barlow deliver a stated range of 32x to 240x. In practice you’ll use 50x to 150x most nights, since atmospheric turbulence usually limits how much power is helpful. The 45-degree zenith mirror is a thoughtful inclusion that makes both astronomical and terrestrial viewing comfortable without craning your neck.
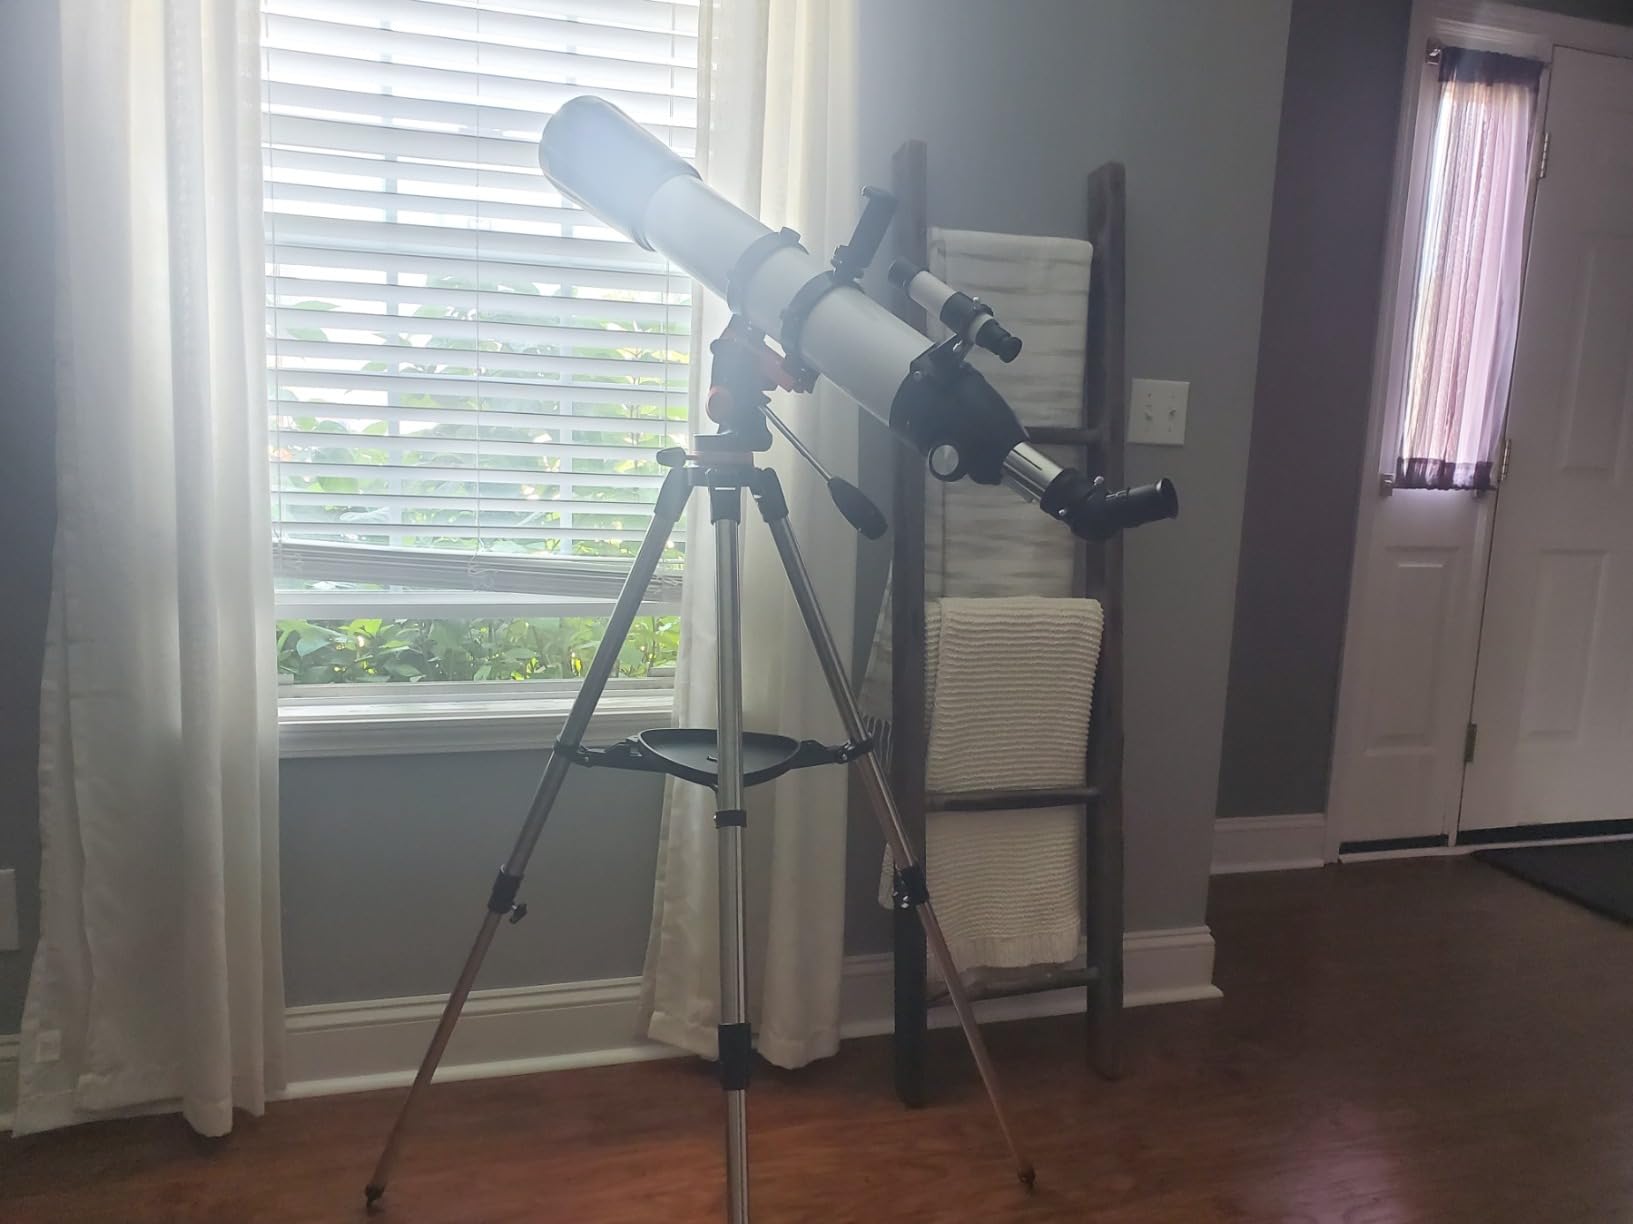
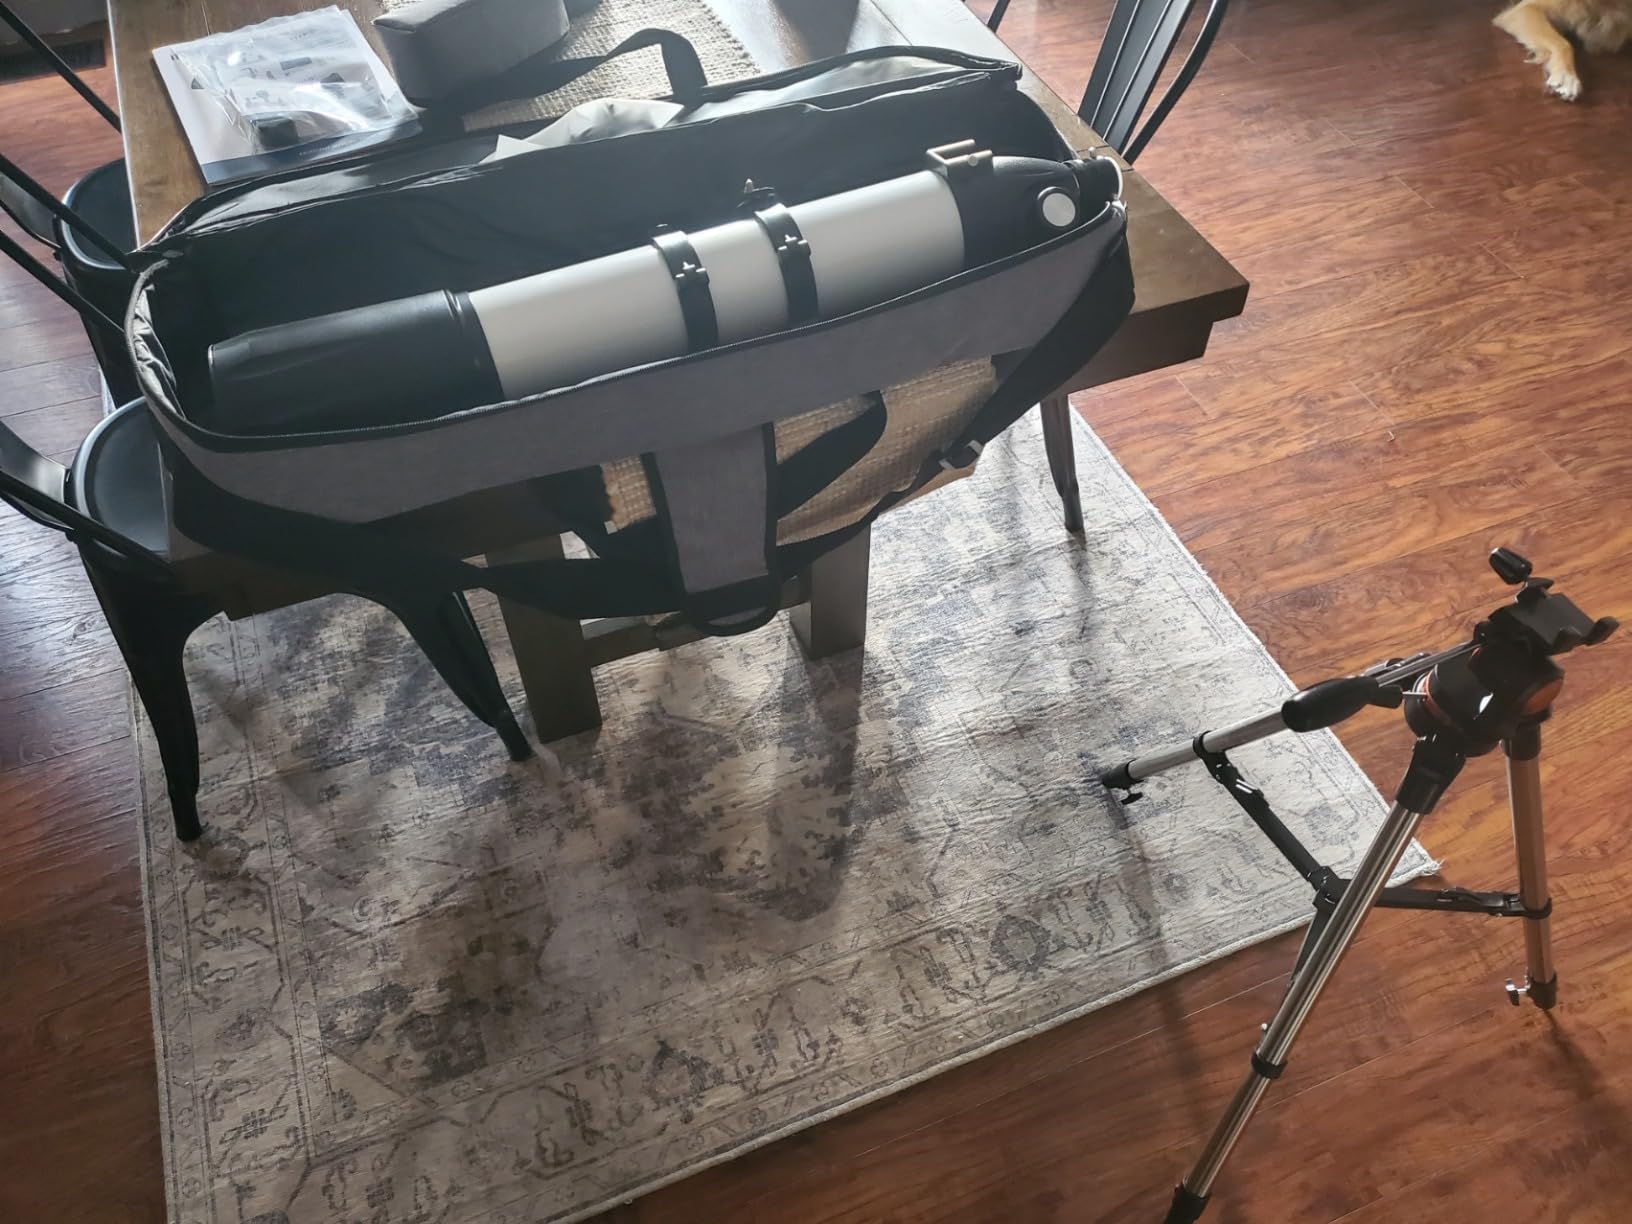
What sets this scope apart from cheaper refractors is the tripod. Most sub-$200 refractors ship with a flimsy aluminum tripod that wobbles at the slightest touch. The Dianfan includes a stainless steel tripod that’s noticeably steadier, which matters a lot when you’re trying to focus at high magnification.
The trade-off is weight. At roughly 10 pounds total, it’s not a toss-in-the-backpack scope like the Celestron Travel Scope 80. But that weight is exactly what gives it stability, and most users report being able to set it up solo in about 15 minutes with the included instructions.
Who Should Buy This
The Dianfan 90mm is a great pick for adult beginners who want a refractor (low-maintenance, no collimation, sharp images) with more light-gathering than a 70mm but without paying for app features. It’s also a solid dual-purpose scope since refractors work well for daytime birding or scenic views.
If you live in a light-polluted area, the extra aperture helps offset the sky glow. And if you think astrophotography might be in your future, a sturdy refractor like this is a friendlier starting point than a reflector that needs frequent collimation.
Setup and Learning Curve
First assembly takes about 15 minutes and requires no tools. The stainless tripod goes together intuitively, and the mount attaches with a single bolt. The included Kellner eyepieces are a noticeable upgrade in eye relief compared to the cheap Huygens or Ramsden eyepieces often bundled with budget scopes.
One tip from the reviews: spend time aligning the finder scope during daylight before your first night out. The straight-through finder can be awkward at certain angles, but once it’s dialed in, locating targets is quick.
5. Celestron Travel Scope 80 — Best Portable Telescope
- Backpack makes it genuinely travel-ready
- No-tool setup in minutes
- 80mm aperture is a step up from 70mm models
- Doubles as a spotting scope for terrestrial use
- Celestron brand with 2-year warranty
- Tripod is light and can shake in wind
- Smartphone adapter can be finicky
- Limited useful magnification for serious astronomy
The Celestron Travel Scope 80 is built for one specific purpose: grab-and-go astronomy and daytime viewing anywhere you happen to be. Celestron designed the entire package to fit in the included backpack, which means you can take it camping, on road trips, or to a dark-sky site without wrestling with a bulky case. The 80mm aperture gives you a real bump in light gathering over the 70mm Gskyer while still keeping the scope light at just 4.5 pounds.
What I like about this scope is the completeness of the kit. You get the optical tube, the altazimuth mount, the tripod, two eyepieces (20mm and 10mm), a 5×24 finderscope, an erect-image diagonal, a smartphone adapter, a backpack, and a free download of Celestron’s Starry Night software. For someone buying their first telescope, that’s a confidence-inspiring package. Nothing else to buy before your first night out.

The 80mm aperture is genuinely useful. You’ll see sharp views of the Moon’s terminator, Jupiter as a small disk with up to four Galilean moons, and Saturn as a tiny oval with rings visible on a steady night. Brighter star clusters like the Pleiades resolve beautifully in the wide 1.7-degree field of view.
The honest limitation is the tripod. To keep weight down for travel, Celestron ships a lightweight aluminum tripod that’s fine on calm nights but vibrates noticeably in wind. Many users eventually upgrade to a sturdier tripod. The smartphone adapter also has a learning curve, and reviews mention it can be tricky to align with the eyepiece.

Who Should Buy This
This is the right scope if your top priority is portability. Campers, RV owners, hikers, and travelers who want a quality scope they’ll actually take with them will appreciate the backpack-friendly design. It’s also a strong choice for a shared family scope, since the lightweight build means kids can help carry it.
It also shines as a dual-use instrument. Refractors produce correct-image views with the right diagonal, so you can use this as a long-range spotting scope for birding, whale watching, or scenic observation during the day. That flexibility makes the price easier to justify.
Setup and Learning Curve
Setup is genuinely tool-free and takes about five minutes once you’ve done it once. Extend the tripod, attach the mount, slide in the optical tube, pop in an eyepiece, and you’re observing. The erect-image diagonal means there’s no mental gymnastics required when aiming, which is helpful for kids and absolute beginners.
For best results, observe on calm nights and avoid fully extending the tripod’s thinnest leg sections, which are the wobbliest. Keeping the tripod slightly lower trades a bit of comfort for much steadier views.
6. Celestron StarSense Explorer LT 114AZ — Best App-Guided Reflector Under $250
- StarSense app turns beginners into confident navigators fast
- 114mm aperture at a budget-friendly price
- 1000mm focal length enables higher useful magnification
- Lightweight at 10.4 pounds total
- Includes 25mm and 10mm eyepieces plus 2x Barlow
- Lightweight LT-series tripod can vibrate
- Requires smartphone to unlock the navigation feature
- App needs night-sky calibration before each session
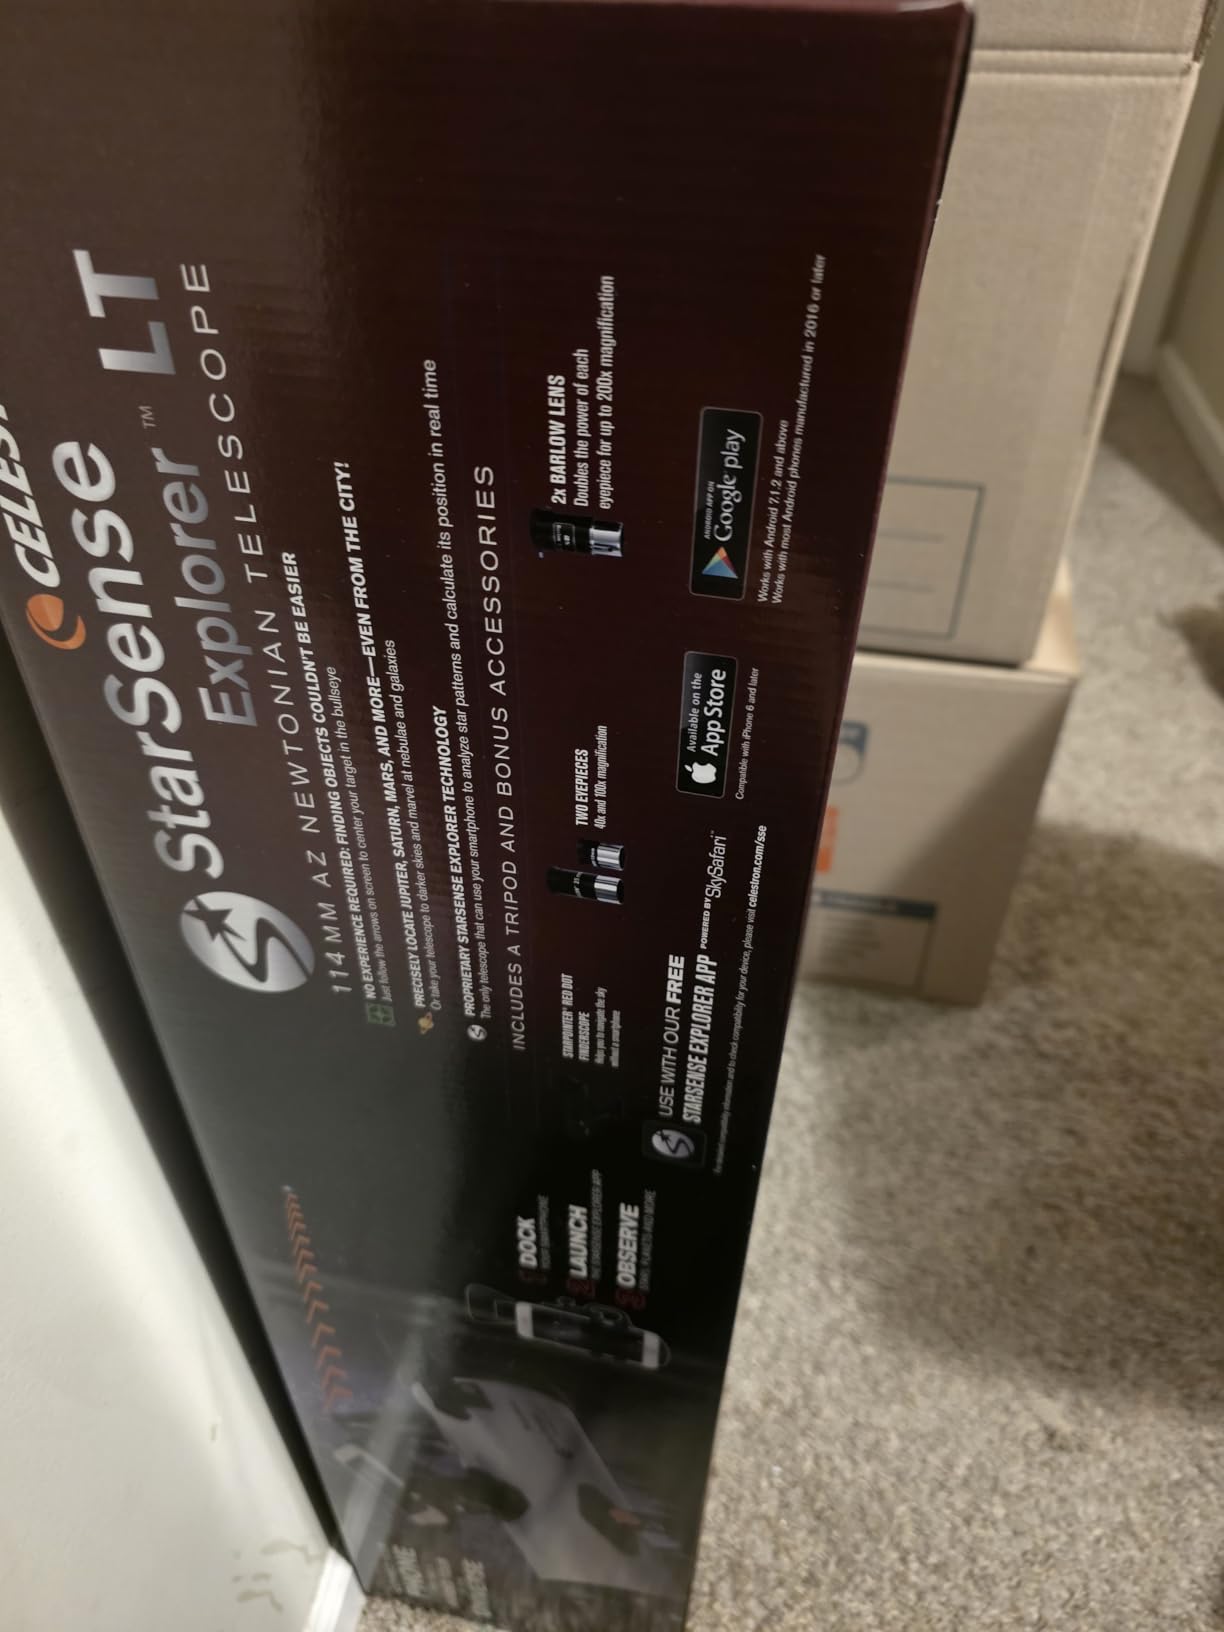
The Celestron StarSense Explorer LT 114AZ is the smaller sibling of our top pick. You get the same patented StarSense sky-recognition technology at a lower price by stepping down to the LT-series mount and a slightly smaller 114mm mirror. For beginners who want the app-guided experience without paying for the heavier DX-series mount, this is the model to look at.
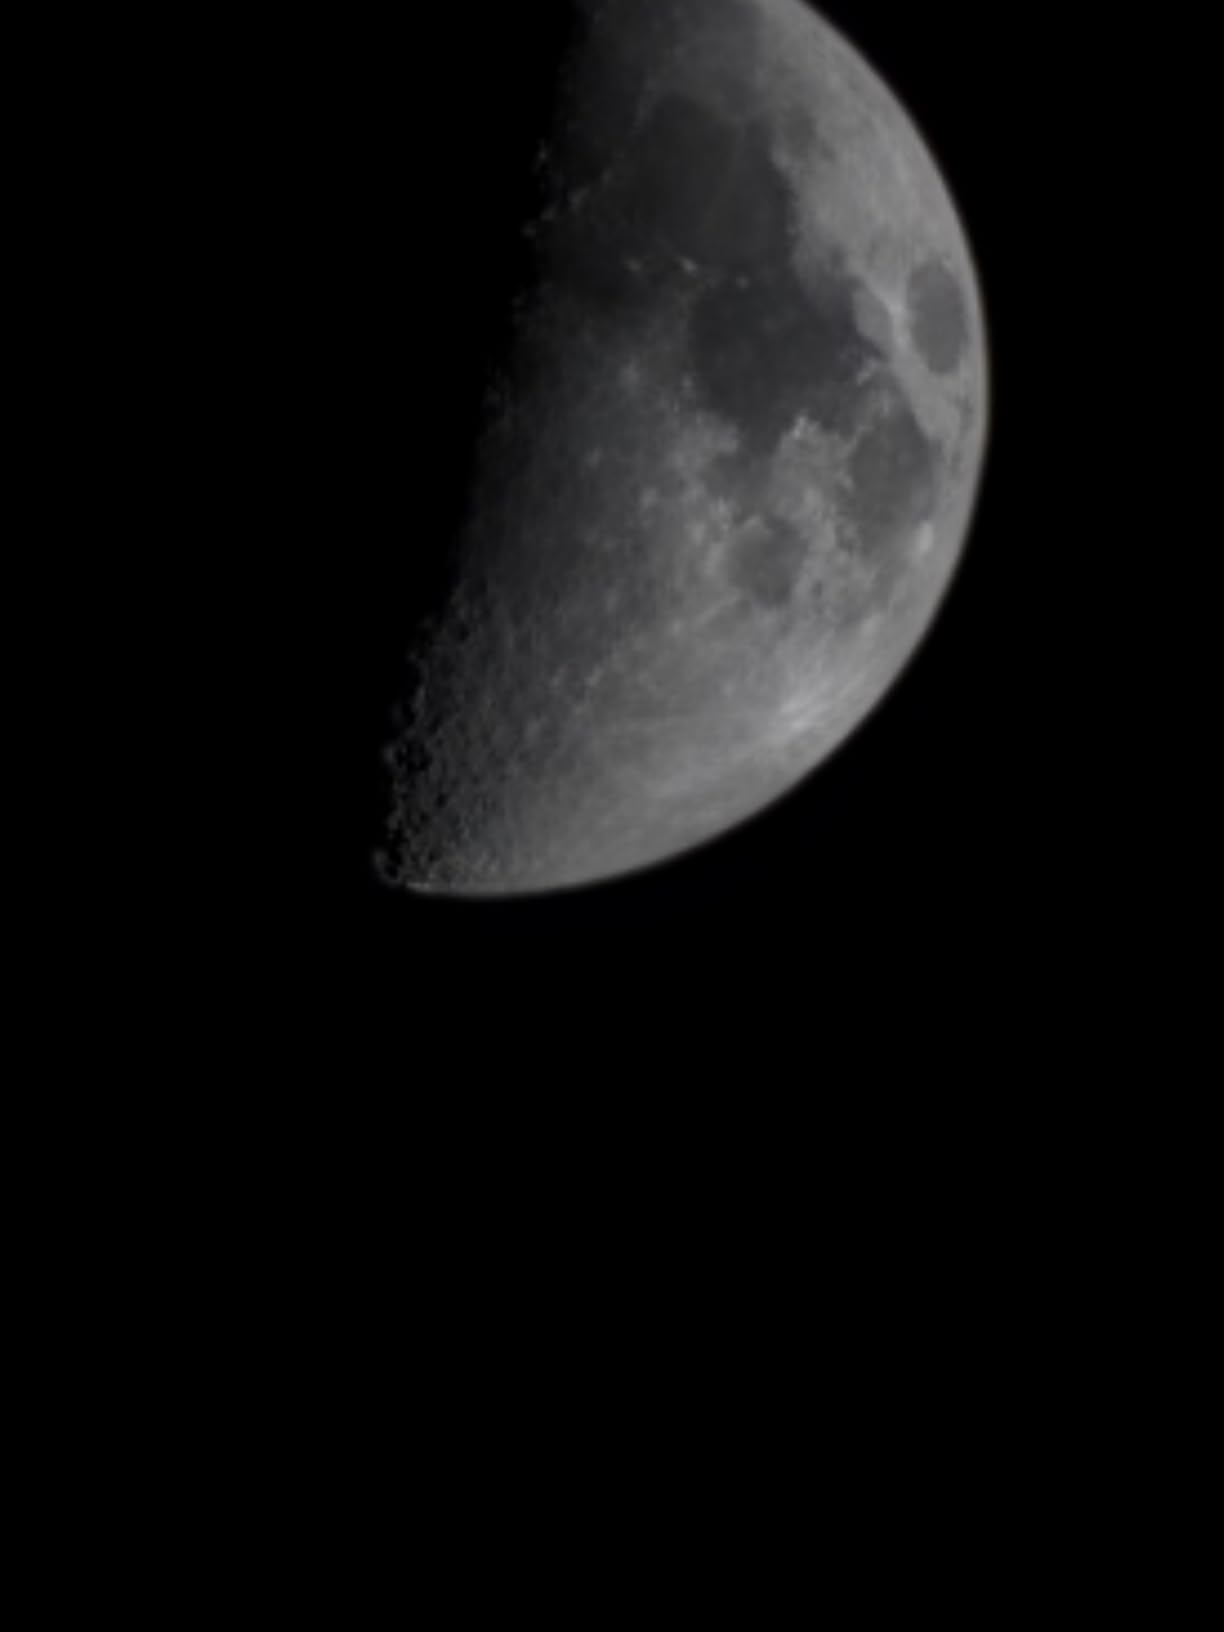
The 114mm aperture is plenty for a satisfying first telescope. You’ll resolve Saturn’s rings as a clear oval, see Jupiter’s major cloud belts, watch Mars as a small reddish disk, and pull in brighter deep-sky objects like the Orion Nebula and Pleiades. The 1000mm focal length means you can push magnification higher than shorter-focal-length reflectors, which helps on nights when the atmosphere cooperates.
The StarSense app works the same way as on the DX version. Dock your phone, let the app “see” the sky, and follow the on-screen arrows to your target. The app generates a curated list of what’s visible from your location tonight, which solves the eternal beginner question of “what should I even look at?”
The trade-off versus the DX 130AZ is the mount. The LT series uses a lighter altazimuth tripod that’s more prone to vibration at high power. Most users compensate by keeping magnification moderate and observing on still nights. You also get 16mm less aperture, which matters more for deep-sky than for planetary viewing.
Who Should Buy This
The LT 114AZ is ideal for budget-conscious beginners who want the StarSense app experience and don’t need the heaviest mount. It’s also a smart pick for younger teenagers or smaller adults, since the lighter weight makes it easier to carry outside solo.
If you mostly want to view the Moon and planets from a reasonably dark suburban backyard, this scope will keep you busy for years. If you live under very dark skies and want to chase fainter deep-sky objects, the larger DX 130AZ or a tabletop Dobsonian would serve you better.
Setup and Learning Curve
Assembly takes about 20 minutes the first time and is well documented. The LT-series tripod is tool-free, with aAccessory tray that adds stability when loaded. Once assembled, the StarSense calibration takes about five minutes under a clear sky, and then you’re navigating.
The one skill to develop is gentle handling at the eyepiece. The lighter mount means a heavy hand on the focuser will shake the image. Use slow, deliberate motions and let vibrations settle, and you’ll be rewarded with sharp views.
7. Celestron PowerSeeker 127EQ — Best Equatorial Mount for Beginners
- 127mm aperture is the largest in the sub-$200 reflector category
- German equatorial mount tracks the sky's rotation smoothly
- Includes 20mm and 4mm eyepieces plus 3x Barlow
- Decades-old bestseller with over 9
- 000 reviews
- Free astronomy software download
- Equatorial mount is harder to learn than altazimuth
- Some users report mirror alignment issues out of box
- Heavy at 13 pounds
- no-frills accessory package
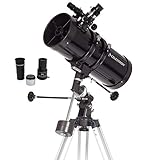
The Celestron PowerSeeker 127EQ has been one of the most popular beginner telescopes in the world for over a decade, and it’s still a fixture on best-seller lists. With a 127mm (5-inch) aperture and a German equatorial mount at a price under $200, it offers the largest mirror per dollar on this list. That light-gathering power is the main reason it remains a top pick for budget-conscious beginners.
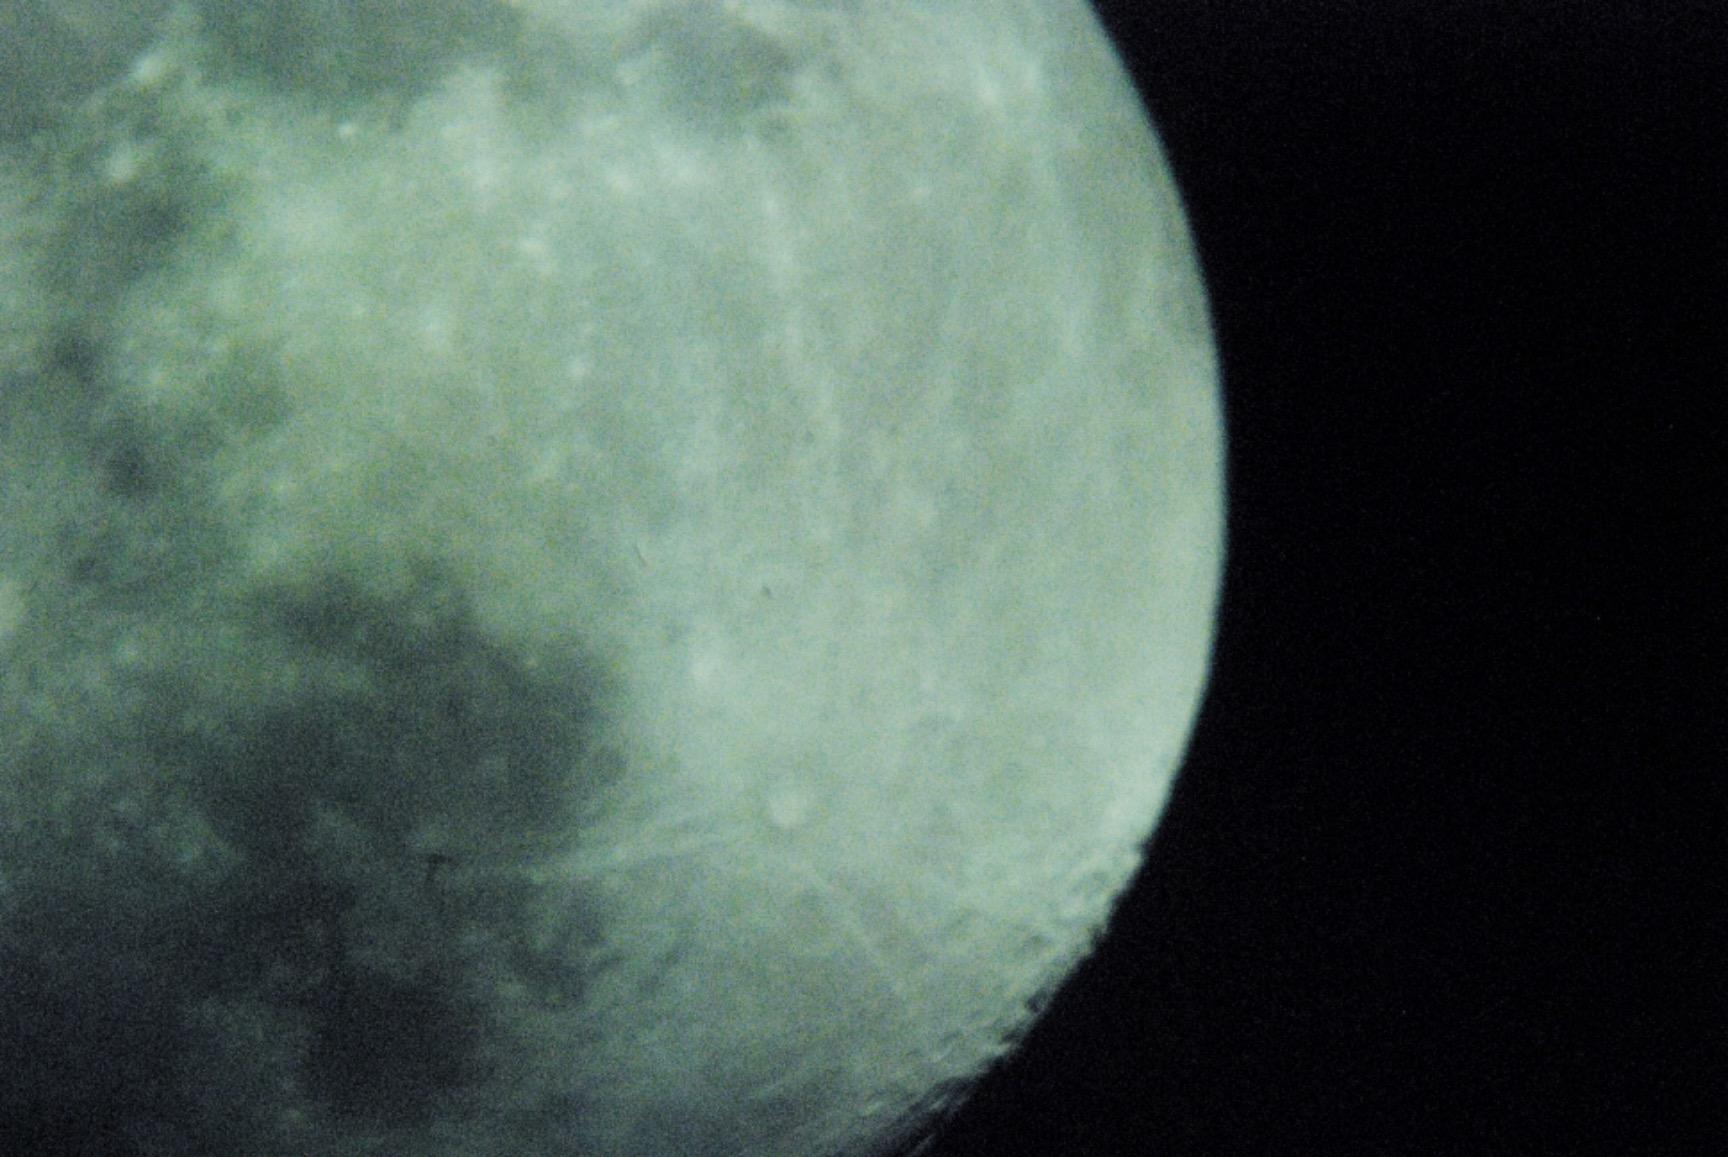
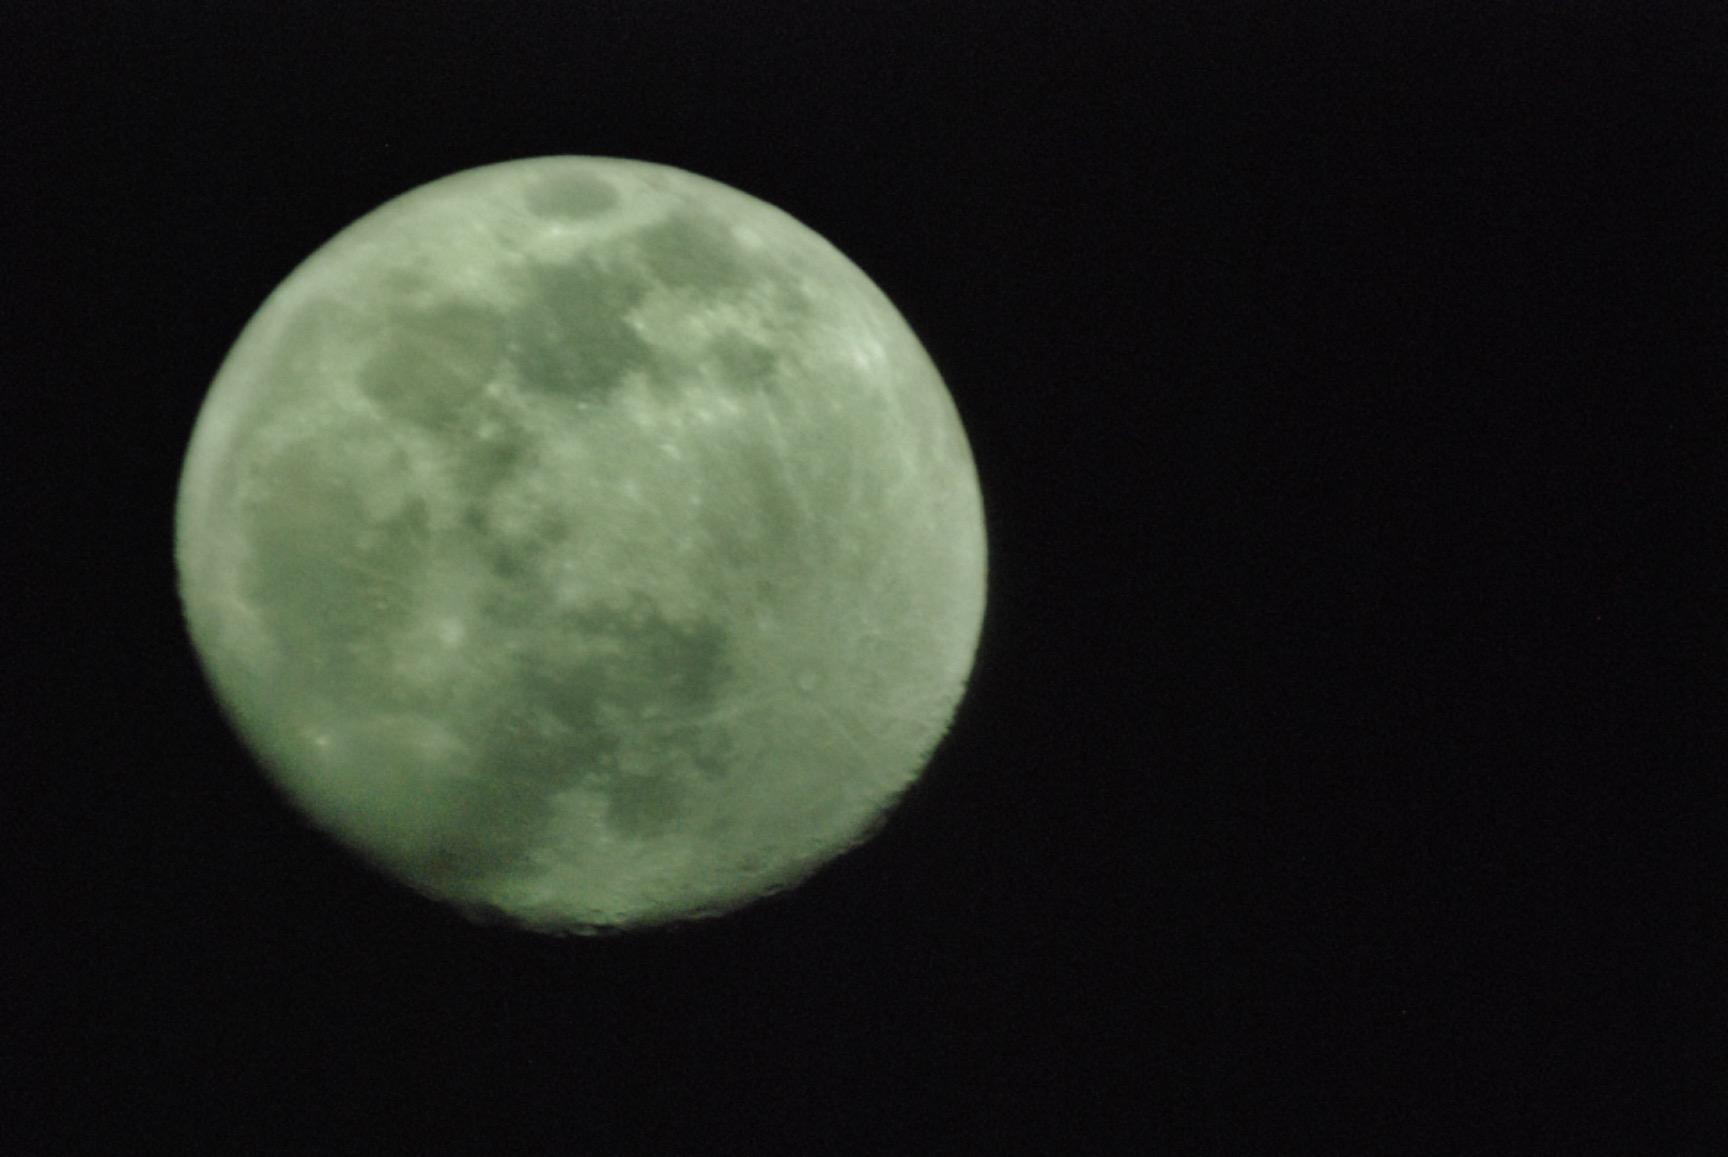
The 127mm aperture pulls in noticeably more light than 114mm or 90mm scopes. You’ll see Saturn’s rings clearly, watch Jupiter’s moons shift position over a single evening, study the Moon’s rugged terminator in detail, and pick out brighter deep-sky objects like the Orion Nebula and the Andromeda Galaxy from a reasonably dark site.
The defining feature here is the German equatorial mount. Unlike an altazimuth mount that moves up-down and left-right, an equatorial mount is aligned with Earth’s rotation axis. Once polar-aligned, you track objects by turning a single slow-motion knob. This makes high-magnification viewing much smoother and is the natural stepping stone toward astrophotography.
The honest challenge is the learning curve. Polar alignment intimidates many beginners, and the PowerSeeker’s mount is basic enough that the process takes patience. Reviews also mention occasional quality control issues with mirror alignment (collimation) out of the box. Plan to learn basic collimation early, since a miscollimated reflector underperforms no matter how large the aperture.
Who Should Buy This
The PowerSeeker 127EQ is best for motivated beginners who want maximum aperture on a tight budget and are willing to invest time learning an equatorial mount. It’s also a solid pick for someone who already knows they want to try basic astrophotography later, since equatorial mounts are friendlier for tracking objects during long exposures.
If you want pure point-and-look simplicity, the tabletop Dobsonian or a StarSense model will be less frustrating. But if you’re the type who enjoys learning how the equipment works and doesn’t mind reading a manual, this scope rewards you with serious light-gathering at a low price.
Setup and Learning Curve
Plan for 45 to 60 minutes of first-time assembly, plus another session to learn polar alignment. Celestron includes clear instructions, and the slow-motion altitude rod helps you fine-tune tracking once aligned. Take the time to balance the mount properly; an unbalanced scope fights you at every turn.
For collimation, budget for an inexpensive collimation tool (a Cheshire sight tube runs about $20) and watch a tutorial before your first night. Once aligned, the views through 127mm of aperture are genuinely impressive for the price.
8. Celestron NexStar 8SE — Best Premium Computerized Telescope
- 8-inch aperture reveals stunning lunar and deep-sky detail
- Fully automated GoTo mount finds and tracks 40000+ objects
- SkyAlign setup takes minutes with any 3 bright objects
- Compact fork-arm design is portable for its aperture
- Iconic orange tube with StarBright XLT coatings
- Premium price point well above beginner scopes
- Power source not included (batteries or AC adapter required)
- Heavier at 24 pounds
- Not Prime eligible
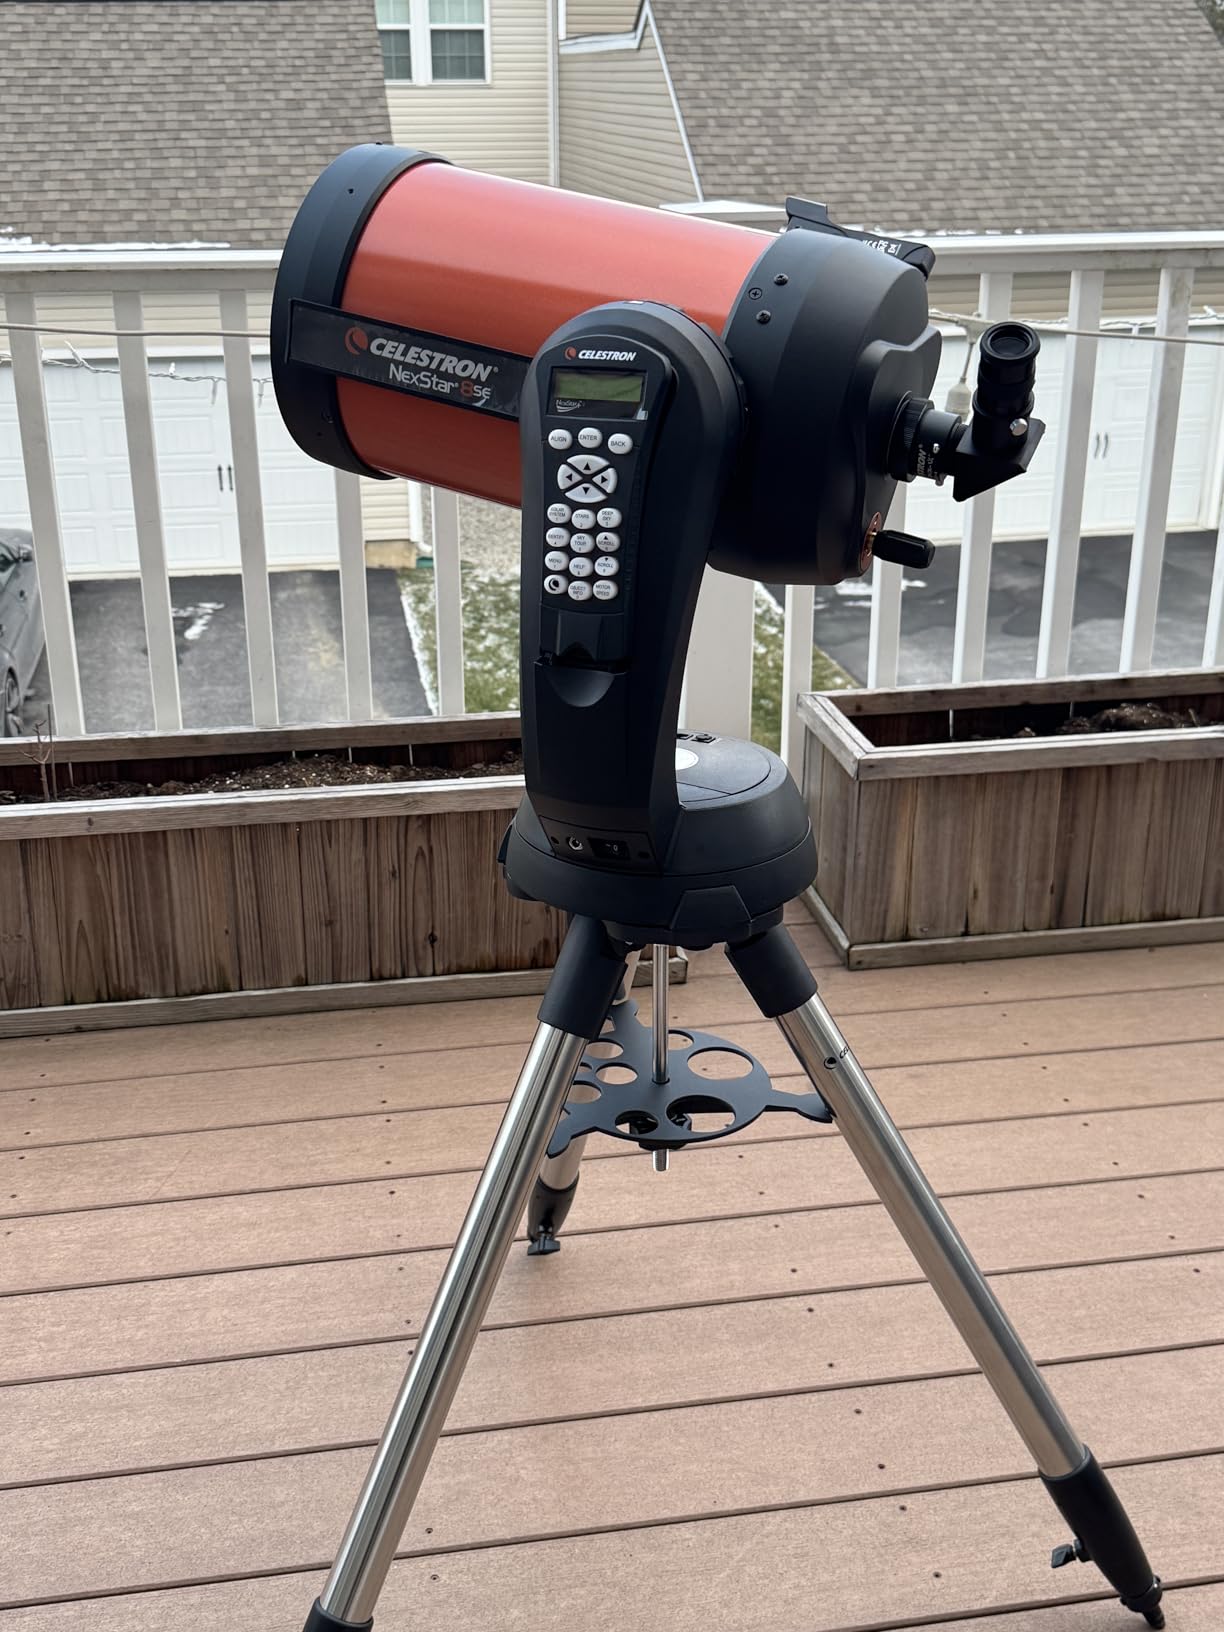
The Celestron NexStar 8SE is not a budget telescope by any measure, but for the right beginner it is a lifetime instrument that you may never outgrow. This is the famous orange-tube Schmidt-Cassegrain that has been a fixture at star parties for two decades, paired with a fully computerized GoTo mount that can automatically locate over 40,000 celestial objects. If your budget allows and you want the best beginner telescope money can buy, this is it.
The headline is the 8-inch (203mm) aperture. That’s roughly 2.5 times the light-gathering power of a 5-inch reflector, and it transforms what you can see. Lunar craters snap into razor-sharp focus. Saturn’s Cassini division becomes visible in the rings. Jupiter shows multiple cloud belts and the Great Red Spot. Brighter globular clusters resolve into thousands of pinpoint stars instead of fuzzy smudges.
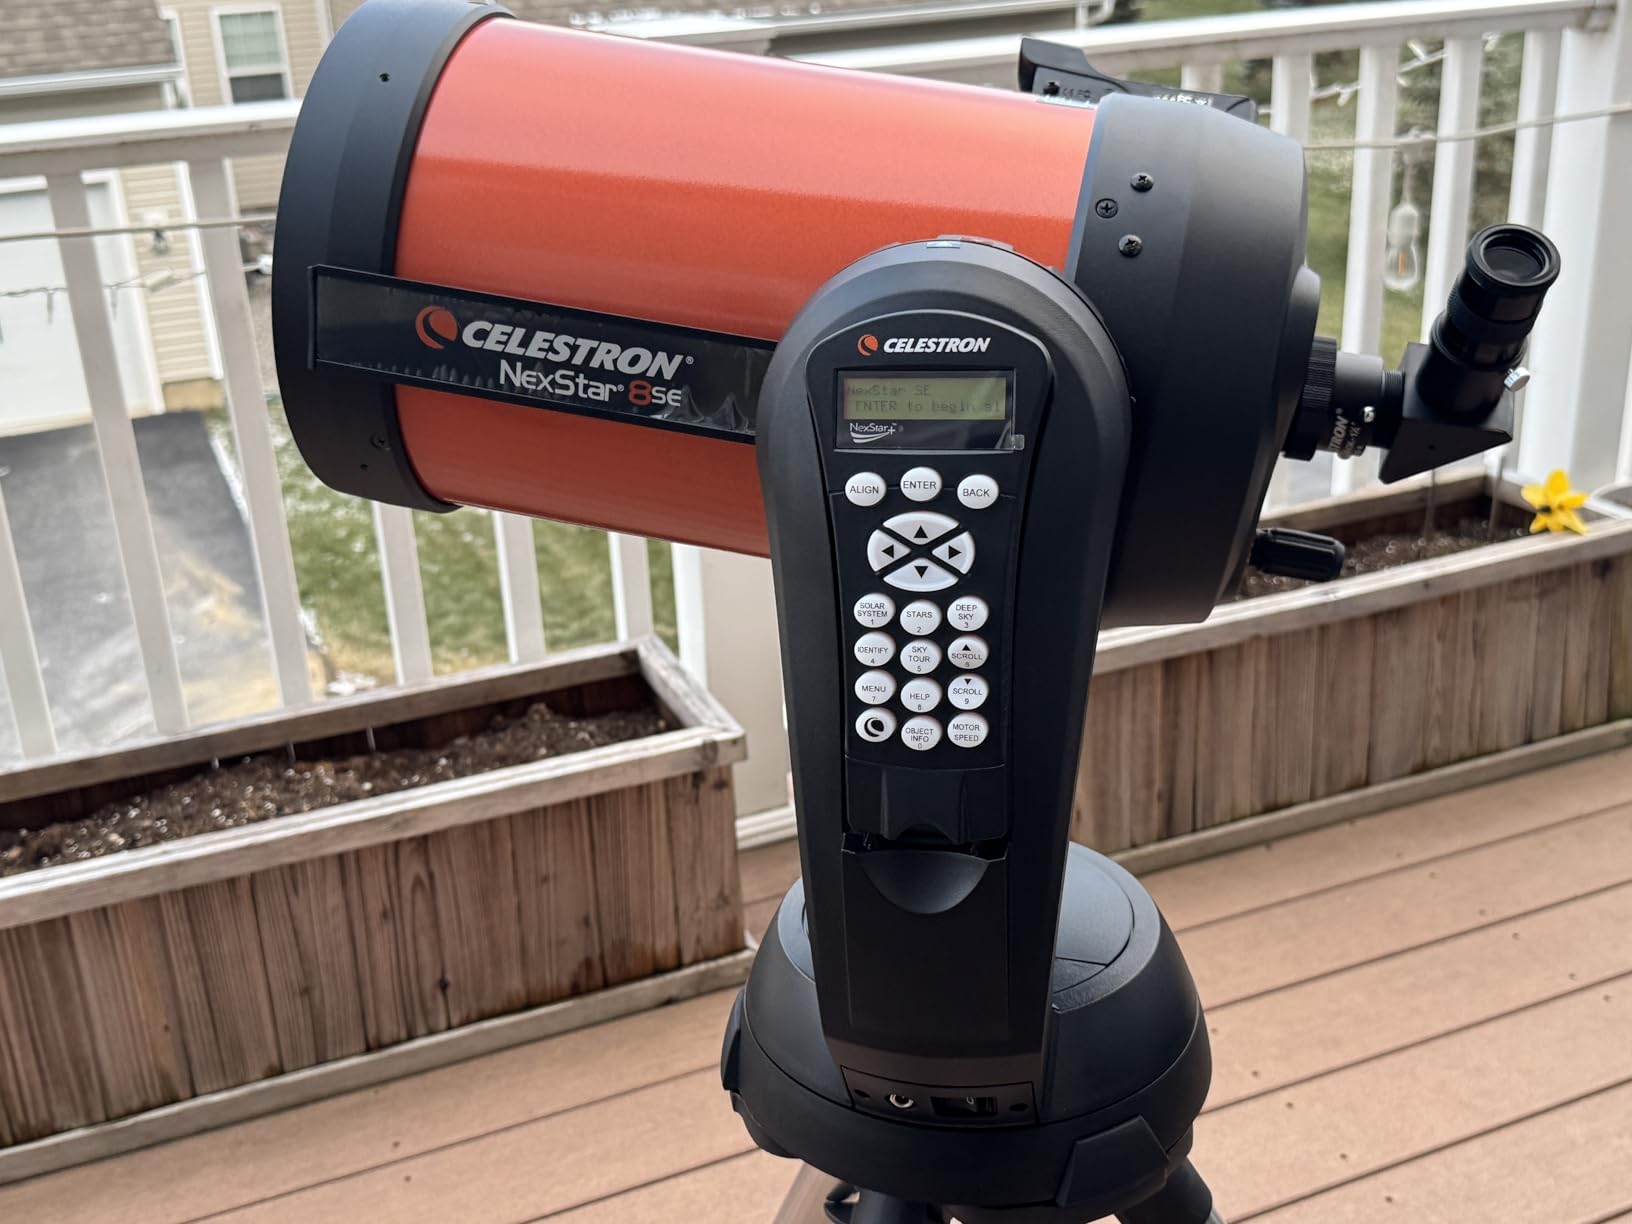
The GoTo mount is what makes this beginner-friendly despite the price. Celestron’s SkyAlign technology lets you point at any three bright objects (stars, the Moon, even planets) and the scope figures out where it is and what time it is. From there, the hand controller or the Celestron app lets you select a target, and the motors slew the scope to it automatically. Once centered, tracking keeps the object in the eyepiece for as long as you want to observe.
The trade-offs are real. You need a power source (8 AA batteries work but drain quickly; most users upgrade to a 12V PowerTank). The scope weighs 24 pounds and needs careful handling. And at this price, you’re paying for capability most casual beginners won’t fully exploit. But for the committed beginner who has done their homework, the NexStar 8SE is a “buy once, cry once” instrument that delivers a decade of use.
Who Should Buy This
The NexStar 8SE is best for committed beginners who have a larger budget, want serious aperture, and value the convenience of automated GoTo tracking. It’s also a strong pick for retirees, professionals, or anyone who has the resources to start at the top of the hobby rather than upgrading multiple times.
If you live under genuinely dark skies (or travel to them), the 8-inch aperture will keep you busy for years. And because Schmidt-Cassegrain optics are compact for their focal length, this scope takes up far less room than an equivalent Dobsonian reflector.
Setup and Learning Curve
Assembly takes about 30 minutes the first time, mostly attaching the fork arm to the tripod and installing the optical tube. After that, each observing session takes about 10 minutes: place the scope, level the tripod, point roughly north, run SkyAlign, and you’re ready to slew to any of 40,000 objects.
Budget for a couple of accessories with your initial purchase. A 12V power supply (the Celestron PowerTank or a third-party equivalent) is essentially mandatory, and a good quality eyepiece in the 15mm to 25mm range will give you better views than the single 25mm Plossl that ships in the box.
How to Choose Your First Telescope (Buying Guide)
Choosing your first telescope comes down to understanding a few key specs, matching them to your budget, and being honest about how much effort you’re willing to put in. Here’s how our team thinks about it.
Why Aperture Is the Most Important Number
Aperture is the diameter of the main lens or mirror that gathers light. It is the single most important specification on any telescope, far more important than magnification. A larger aperture collects more light, which means brighter images, finer detail, and the ability to see fainter objects like nebulae and galaxies.
A 70mm refractor is fine for the Moon and brighter planets. A 114mm to 130mm reflector opens up Saturn’s rings and Jupiter’s cloud belts with real detail. An 8-inch scope (203mm) reveals globular clusters as resolved star fields and shows structure in brighter nebulae. As a rule of thumb, buy the largest aperture you can afford and comfortably transport.
Telescope Types Explained: Refractor, Reflector, Dobsonian, and Catadioptric
Refractors use lenses at the front of the tube. They’re low-maintenance, give sharp high-contrast images, and never need collimation. They’re ideal for lunar and planetary viewing and for beginners who want simplicity. The downside is that large apertures become long and expensive.
Reflectors (Newtonian design) use mirrors. They deliver the most aperture per dollar and are excellent for deep-sky viewing. The trade-off is that they require periodic collimation (mirror alignment) and the open tube can collect dust.
Dobsonian telescopes are simply Newtonian reflectors mounted on a simple, stable altazimuth base instead of a tripod. They offer the largest aperture per dollar of any design and are beloved by experienced observers. Our Sky-Watcher Heritage pick is a tabletop Dobsonian.
Catadioptric scopes (like the Schmidt-Cassegrain NexStar 8SE) combine lenses and mirrors to fold a long focal length into a compact tube. They’re versatile and portable for their aperture but tend to be the most expensive per inch of aperture.
Mount Types: Altazimuth, Equatorial, and GoTo
The mount matters as much as the optics. A great scope on a wobbly mount is frustrating to use. Altazimuth mounts move up-down and left-right and are the simplest for beginners. Equatorial mounts align with Earth’s rotation and allow tracking with a single knob, but they require polar alignment and are steeper to learn. GoTo mounts are motorized and computerized, automatically slewing to and tracking any object in their database.
For most first-time buyers, an altazimuth mount (or a tabletop Dobsonian) is the friendliest starting point. Step up to equatorial if you plan to try astrophotography, and consider GoTo if you have the budget and want to spend more time observing and less time hunting.
Budget Guidance: How Much Should You Spend?
Under $200 is the entry tier. Look for a 70mm refractor like the Gskyer, the Celestron Travel Scope 80, or the PowerSeeker 127EQ. These are great for testing the hobby and for casual family use.
$200 to $500 is the sweet spot for serious beginners. The Sky-Watcher Heritage 130mm, StarSense Explorer LT 114AZ, and StarSense Explorer DX 130AZ all live here. You get real aperture and either a stable Dobsonian base or app-guided navigation.
Above $500 is enthusiast territory. The NexStar 8SE is the obvious pick if your budget allows. You’re buying a scope that can serve you for a decade or more.
Common Mistakes to Avoid When Buying a Beginner Telescope
1. Chasing advertised magnification. Any scope claiming “600x” or “power” above roughly 50x per inch of aperture is misleading you. Useful magnification is limited by aperture and the atmosphere.
2. Buying a department store scope with a flimsy tripod. Wobbly mounts make focusing impossible and are the number one reason beginners quit.
3. Skipping the finder scope alignment. A misaligned finder means you can’t aim the main scope. Take 10 minutes during daylight to align it on a distant object.
4. Ignoring light pollution. Even a great scope struggles under bright city skies. Plan trips to darker sites for the best deep-sky views, and focus on the Moon and planets when you’re stuck at home.
5. Forgetting that reflectors need collimation. Budget for a basic collimation tool and learn the process. A miscollimated reflector performs far below its potential.
Light Pollution: What You Can Realistically Expect to See
Light pollution is the glow from streetlights, buildings, and cities that washes out faint objects. Under a typical suburban sky, the Moon, brighter planets, double stars, and the brightest star clusters remain excellent targets. Fainter nebulae and galaxies need darker skies, so plan a trip to a Bortle Class 4 or better site for those.
You can check your local sky brightness on the Light Pollution Map website. Knowing your Bortle class helps set realistic expectations and tells you which targets are worth attempting from home.
Frequently Asked Questions
What is the best telescope for beginners to see planets?
For planetary viewing as a beginner, prioritize aperture and a long focal length. A 114mm to 130mm Newtonian reflector like the Celestron StarSense Explorer DX 130AZ or the Sky-Watcher Heritage 130mm tabletop Dobsonian will show Saturn’s rings, Jupiter’s cloud belts and moons, and Mars as a small reddish disk. Refractors of 90mm or larger also perform well on planets thanks to their high-contrast images.
What to avoid when buying a telescope?
Avoid scopes that advertise extreme magnification (anything over 50x per inch of aperture is misleading), flimsy department-store tripods, and unknown brands with no warranty support. Skip equatorial mounts if you’re not willing to learn polar alignment. Also avoid buying accessories you don’t understand yet; start with what ships in the box.
Can I see planets with a cheap telescope?
Yes, with realistic expectations. A 70mm refractor under $100 like the Gskyer will show the Moon in crisp detail, Jupiter as a small disk with up to four Galilean moons, and Saturn as a tiny oval with rings visible on steady nights. Larger apertures (114mm and up) deliver more detail and are a better long-term investment if your budget allows.
How do you pick your first telescope?
Decide your budget, then buy the largest aperture that fits it and that you can comfortably carry and store. Choose an altazimuth mount or tabletop Dobsonian for simplicity, or a StarSense app-guided scope if you want help finding objects. Plan for at least one extra eyepiece and a finder scope alignment session before your first night out. A 130mm reflector in the $250 to $450 range hits the sweet spot for most beginners.
Are Dobsonian telescopes good for beginners?
Yes. Dobsonians are widely recommended as the best beginner telescope design because they offer the largest aperture per dollar, sit on a stable base instead of a wobbly tripod, and require almost no setup. A tabletop Dobsonian like the Sky-Watcher Heritage 130mm is ideal for apartments and smaller budgets, while a full-size 8-inch Dobsonian is the most-recommended scope on Reddit’s r/telescopes community.
Conclusion
The best telescopes for beginners in 2026 all share one thing: they prioritize aperture, stability, and ease of use over flashy magnification claims. Our overall top pick is the Celestron StarSense Explorer DX 130AZ because it pairs a serious 5-inch reflector with smartphone-guided navigation that solves the biggest beginner pain point. For unbeatable value, the Sky-Watcher Heritage 130mm tabletop Dobsonian delivers the same aperture for less. And for budget-conscious families, the Gskyer 70mm AZ refractor remains the most accessible entry point into the hobby.
Whichever scope you choose, give yourself permission to start with visual astronomy before chasing astrophotography. Spend your first nights learning the Moon, the brighter planets, and a handful of easy star clusters. The night sky has been waiting for you for 13.8 billion years; it’s not going anywhere tonight.