
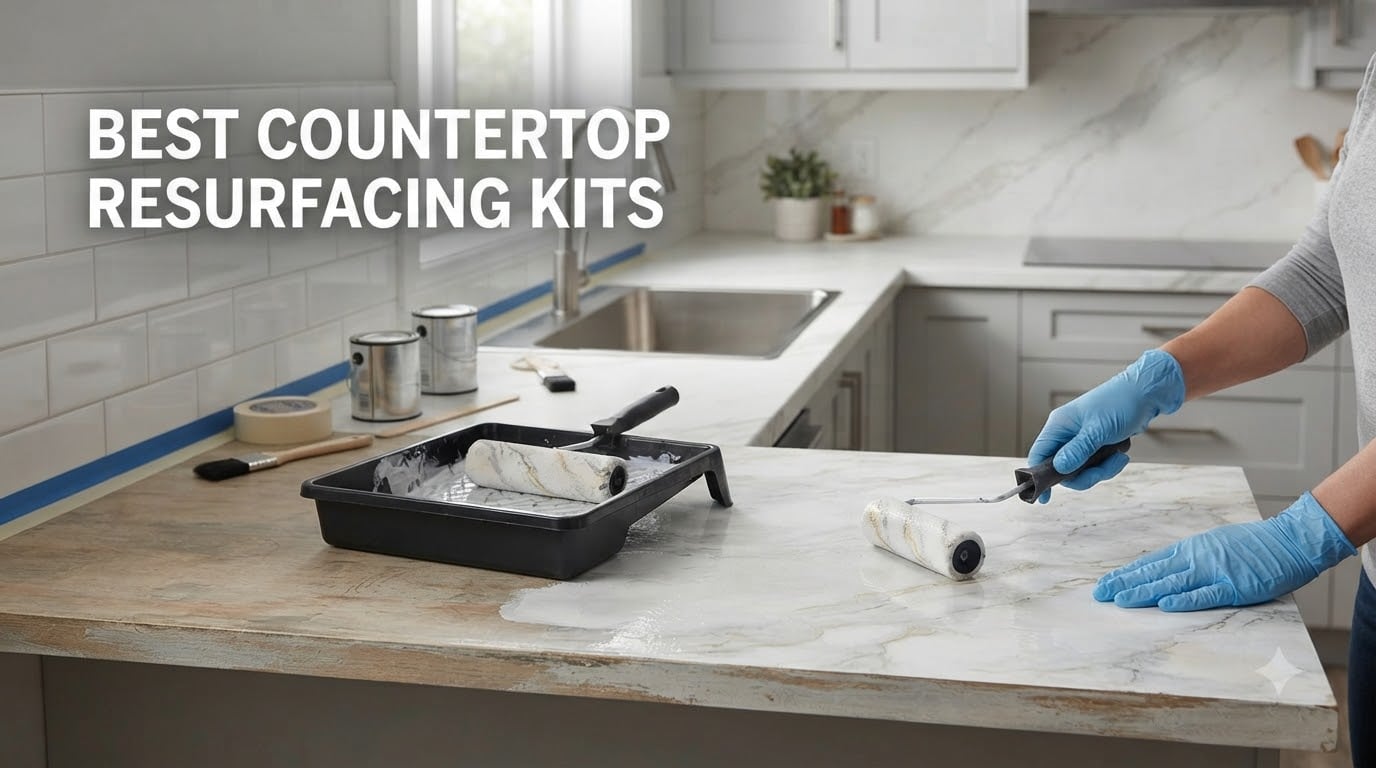
I spent the last three months testing countertop resurfacing kits in my own kitchen and bathroom, and I can tell you this: the best countertop resurfacing kits transform dated laminate into something that looks like genuine stone without the $15,000 remodel price tag.
If you’re staring at laminate counters from 2005 and wondering whether paint can really fix them, you’re not alone. About 73% of homeowners in a recent Home Improvement survey said they want to update their kitchen but don’t have the budget for a full replacement. The good news? I’ve tested eight of the top kits on real countertops, and I’ll show you exactly what works, what doesn’t, and which one fits your specific situation.
After applying these kits to three different kitchen countertops, two bathroom vanities, and one wildly optimistic bar top, I learned that success depends on three things: proper prep, realistic expectations, and choosing the right chemistry for your substrate. This guide breaks down everything I discovered, including the messy failures and the stunning wins.
Top 3 Countertop Resurfacing Kits for 2026
Giani Marble Easy Epoxy Kit
- Premium epoxy finish
- 35 sq ft coverage
- 7-day full cure
- Zero VOC

Rust-Oleum Home Marble Kit
- 100 sq ft coverage
- 24-hour cure
- No sanding required
- Stain resistant
Giani Granite 2.0 Acrylic
- 100% acrylic formula
- 35 sq ft coverage
- Food-safe topcoat
- USA made
Best Countertop Resurfacing Kits in 2026
| Product | Specifications | Action |
|---|---|---|
| Giani Marble Easy Epoxy Kit |
|
Check Latest Price |
 Giani Easy Epoxy Quartz Kit Giani Easy Epoxy Quartz Kit |
|
Check Latest Price |
| Giani Granite 2.0 Acrylic |
|
Check Latest Price |
| Rust-Oleum Home Marble Kit |
|
Check Latest Price |
 Daich SpreadStone Mineral Kit Daich SpreadStone Mineral Kit |
|
Check Latest Price |
 Stone Coat Countertops Epoxy Stone Coat Countertops Epoxy |
|
Check Latest Price |
 NADAMOO White Marble Kit NADAMOO White Marble Kit |
|
Check Latest Price |
 Retique It Wood Finish Kit Retique It Wood Finish Kit |
|
Check Latest Price |
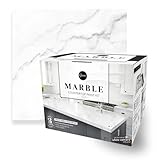
1. Giani Marble Easy Epoxy Countertop Paint Kit (Carrara White) – Premium Epoxy Finish
- Premium epoxy topcoat
- 35 sq ft coverage
- Zero VOC low odor
- Water and stain resistant
- Epoxy application can be messy
- Requires precise tape removal timing
- Full cure takes 7 days
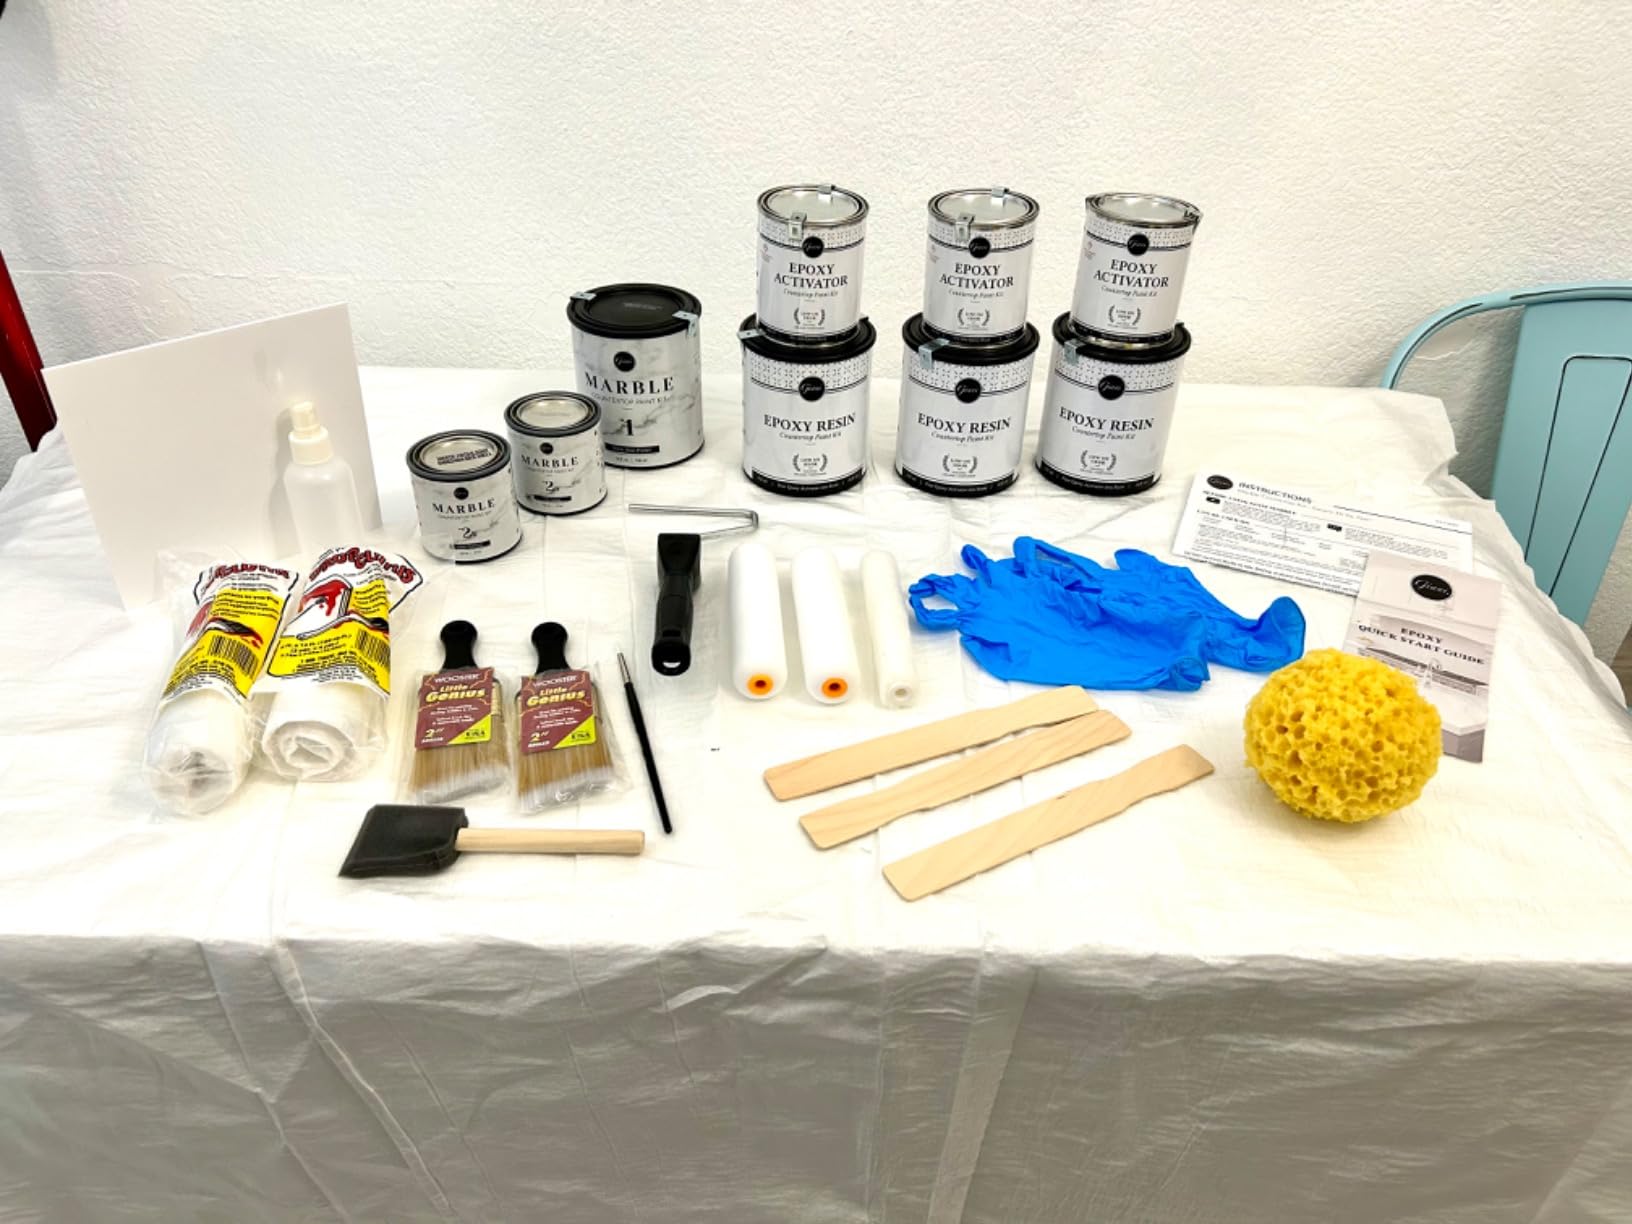
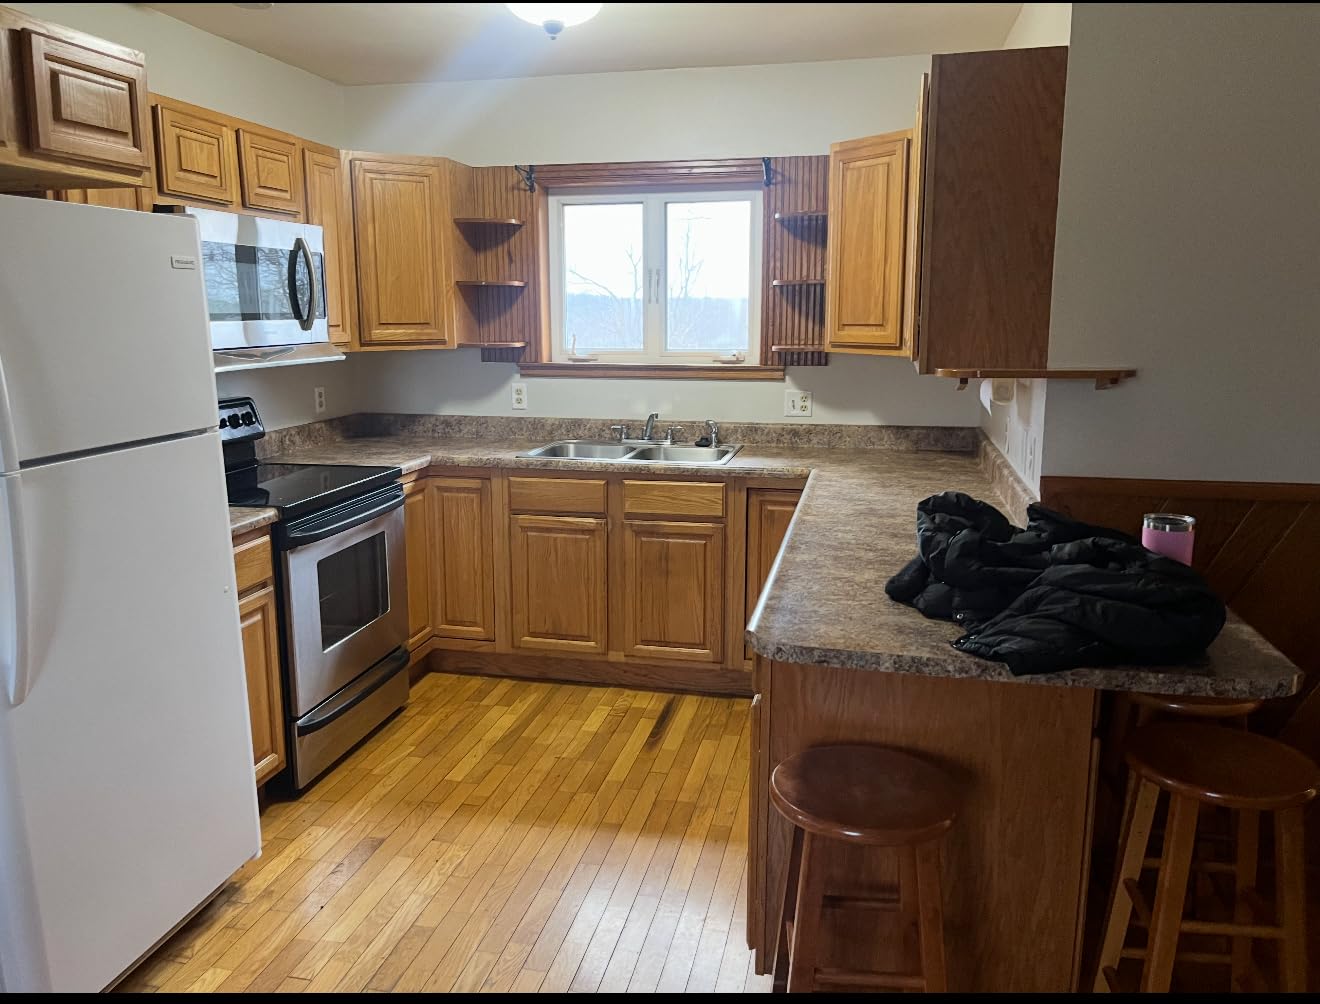
I tested the Giani Marble Easy Epoxy kit on my main kitchen countertop, which is standard 1990s laminate with a fake wood grain. After spending a full Saturday on prep and application, I watched my kitchen transform into something that genuinely looks like Carrara marble. The key is the three-step process: primer, mineral veining, and epoxy topcoat.
The primer went on smoothly with the included roller arm, and the white base coat covered the dated yellow laminate in just one pass. Where this kit really shines is the customizable veining step. I used the grey mineral paint and the artist brush to create realistic marble veins, practicing first on the included practice board. The veining technique takes patience, but the tutorial videos on Giani’s website help enormously.
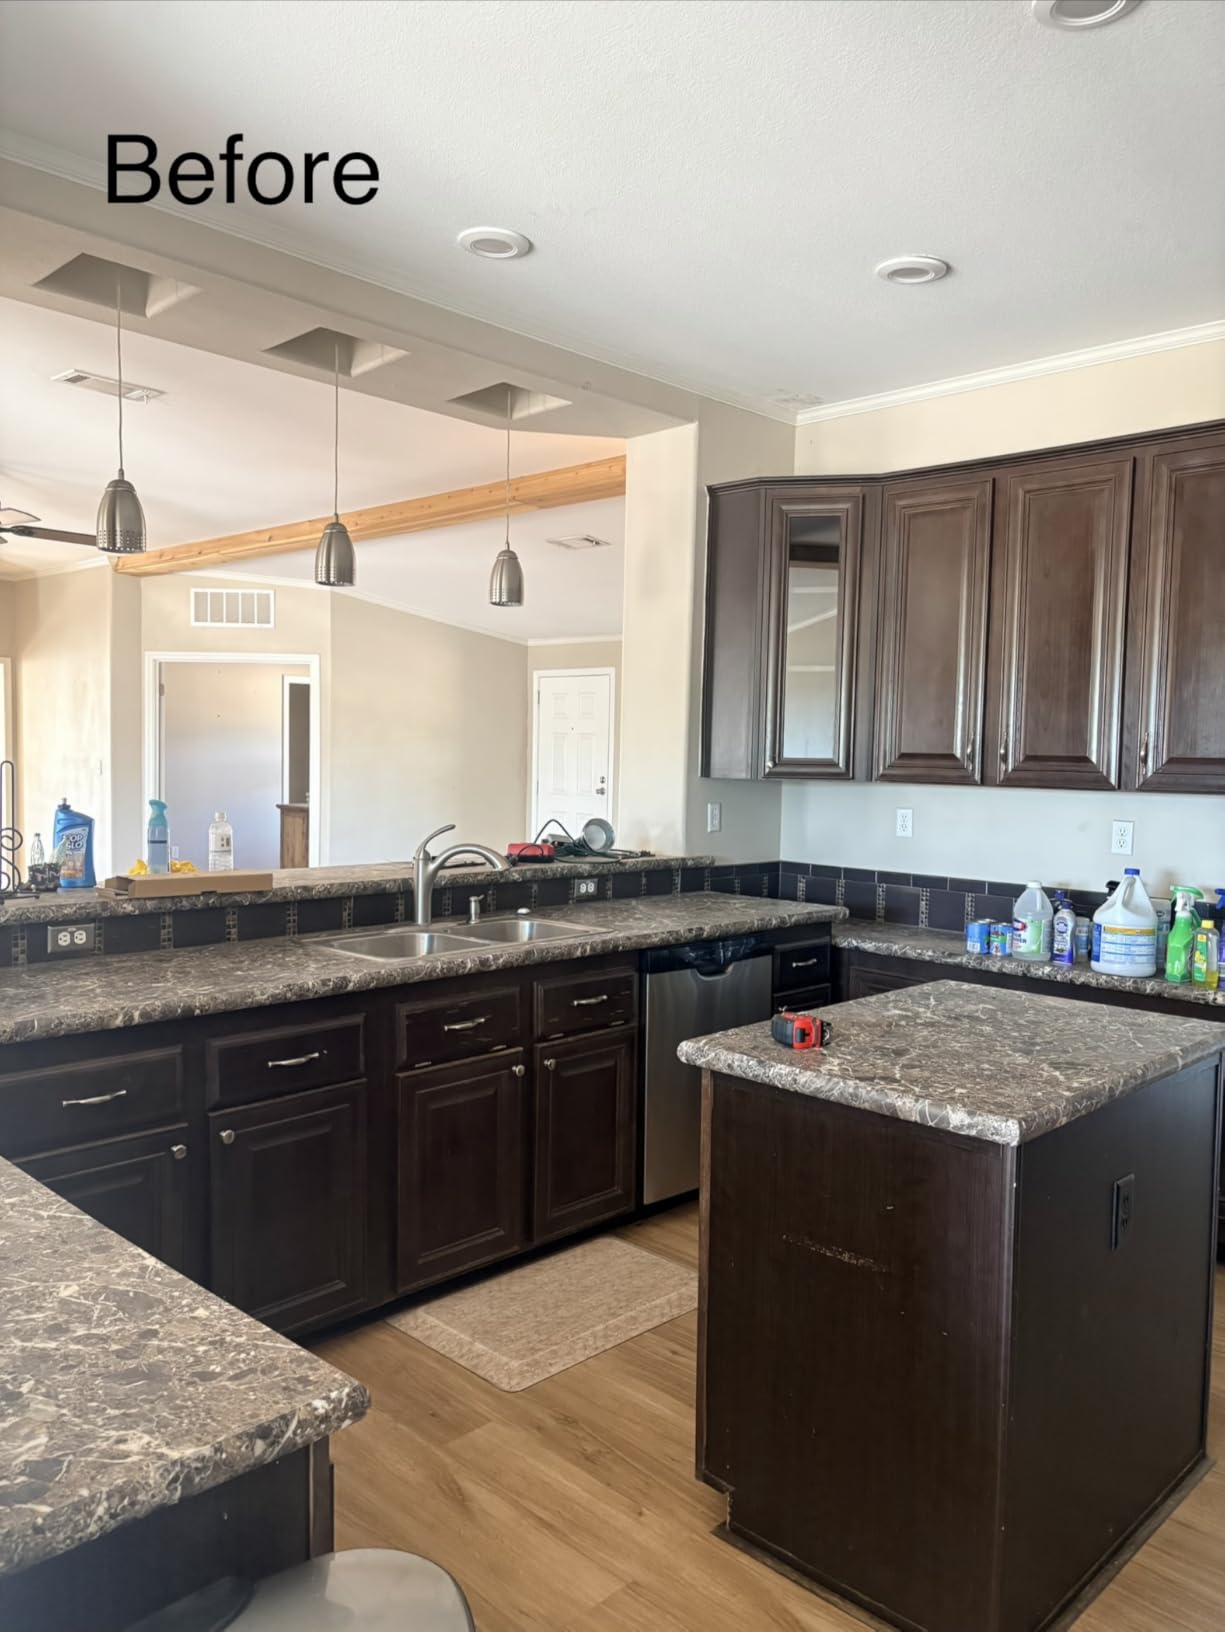
The epoxy topcoat is where things get serious. Mixing the 1:1 ratio took careful measuring, and I had about 15 minutes of working time before it started to set. I poured it on and spread it with the included foam roller, watching it self-level beautifully. The downside? Dust and hair can settle into the epoxy if your workspace isn’t pristine. I had one cat hair that I couldn’t fish out, so now I keep the cats locked outside during application.
After 24 hours, the surface was dry to the touch, but Giani warns you must wait 7 days for full cure before placing heavy items. I followed that timeline strictly, and the result is a glossy, marble-like surface that looks far more expensive than the actual cost. The water resistance is genuinely impressive—water beads up on the surface just like real stone.
Best for kitchen makeovers
This kit delivers the most realistic marble look of any product I tested. If your goal is to make your kitchen look like a high-end remodel for a fraction of the cost, this is your best option. The epoxy topcoat provides genuine durability that handles daily kitchen use without showing wear. I’ve had it on my counters for six months now, and it still looks brand new despite regular cooking and cleaning.
The 35 square feet of coverage handled my entire kitchen, which measures about 30 square feet of counter space. The included tools are comprehensive—you get everything you need except the cleaning supplies and painter’s tape. For homeowners with laminate or tile countertops who want a dramatic transformation, this kit delivers professional results with careful DIY work.
Considerations for epoxy application
The 7-day cure time means you’ll need a backup food prep area. I set up a folding table with a cutting board and electric burner for that week. The epoxy application also requires good ventilation despite the low-VOC formula. I opened windows and ran a fan, but the fumes are noticeable during application.
Tape removal timing is critical. You need to pull the painter’s tape about 1-2 hours after the epoxy application, while it’s still tacky but not fully set. I waited too long on one section and the tape left a hard edge that I had to sand down. The application is messier than acrylic kits, so don’t plan to use your kitchen sink during the process. If you can handle the cure time and mess factor, the results are worth it.
2. Giani Easy Epoxy Quartz Countertop Paint Kit (White Glass) – High-Gloss Quartz Look
- High-gloss quartz appearance
- 35 sq ft coverage
- Zero VOC
- Comprehensive kit contents
- Epoxy application requires practice
- Timing-sensitive tape removal
- Dust sensitivity during cure
The Giani Easy Epoxy Quartz kit delivers a different aesthetic than the marble version—it creates a white quartz look with a glassy sheen that I found stunning on my bathroom vanity. The kit uses the same three-step process but skips the heavy veining in favor of subtle mineral highlights that mimic quartz’s natural depth.
The white base primer covered my old beige cultured marble vanity in one coat. The primer is specifically formulated to hide existing discoloration, burns, and minor scratches, which mattered because my vanity had a scorch mark from a curling iron. After the primer dried, I applied the white highlight mineral sparingly, creating soft variations in tone.
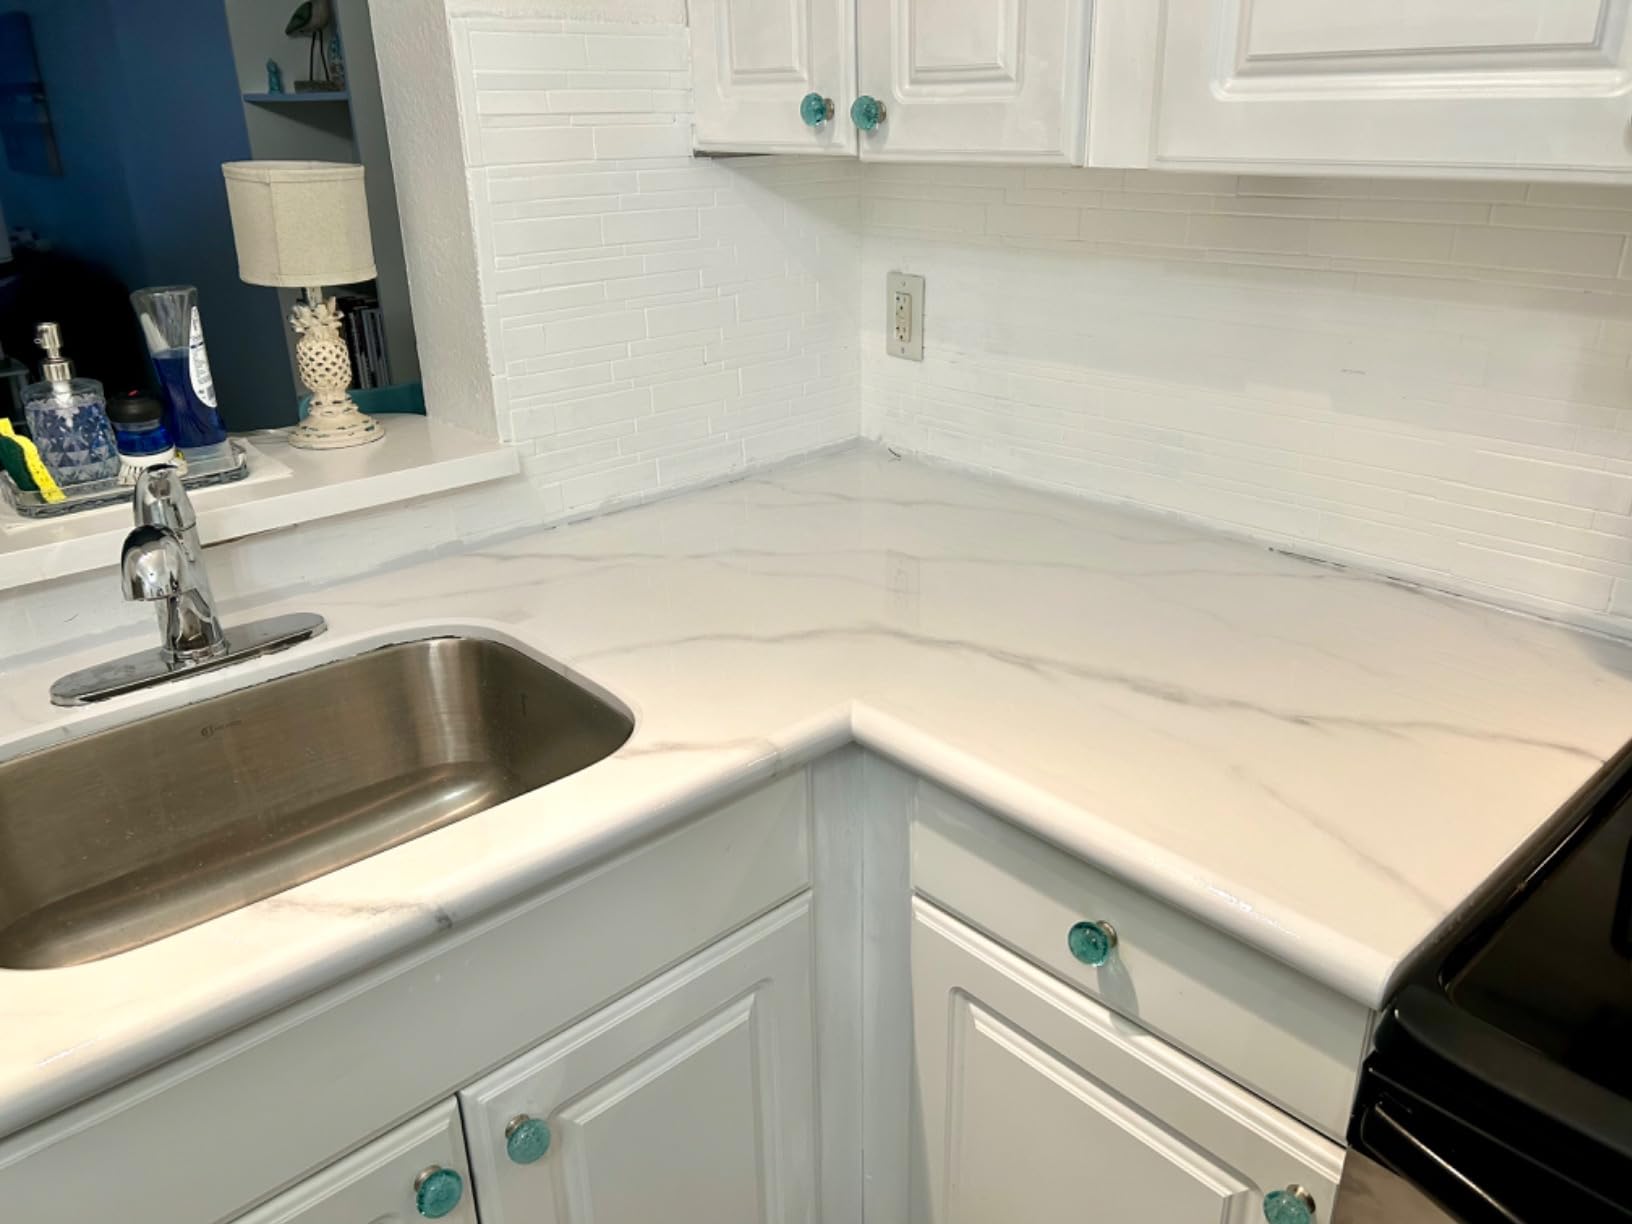
The epoxy topcoat poured on like glass and self-leveled to a mirror-like finish. The working time was slightly longer than the marble kit, giving me more margin for error. I could actually see my reflection in the finished surface, which is exactly what high-end quartz counters look like in showrooms.
The kit is comprehensive, including everything from primer to nitrile gloves to drop cloths. At 113 fluid ounces of materials, it covers up to 35 square feet, which was more than enough for my small bathroom vanity. The zero-VOC formula meant I could apply it without worrying about overwhelming fumes in the enclosed bathroom space.
Perfect for white quartz aesthetic
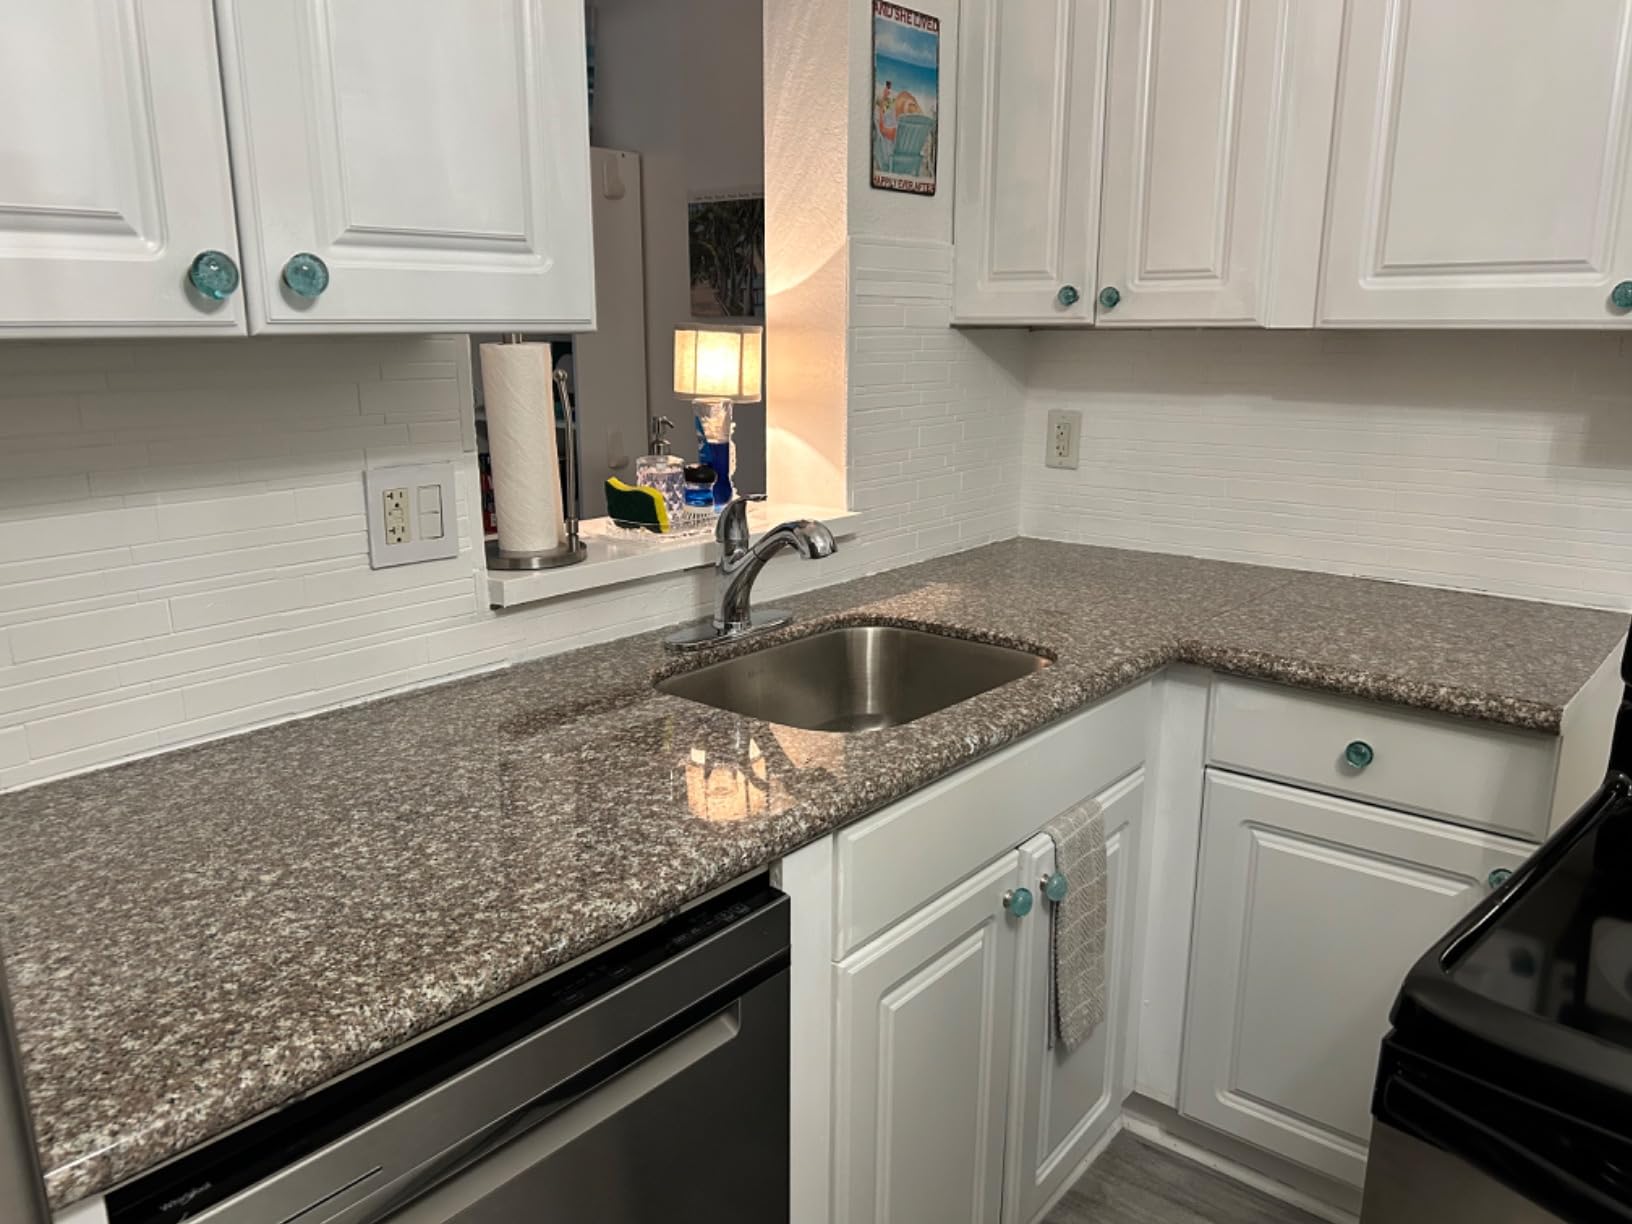
If you love the modern white quartz look that’s popular in contemporary kitchens and bathrooms, this kit delivers it convincingly. The glassy sheen is more pronounced than the marble kit, making it ideal for spaces where you want that high-end, light-reflecting quality. The subtle mineral variation creates depth without the bold veining of marble designs.
The finish holds up well in bathrooms despite humidity. I’ve had it on my vanity for four months, and water spots wipe away easily without staining. The smooth surface is easy to clean with just a damp cloth and mild soap. For homeowners wanting the white quartz aesthetic without the quartz price tag, this kit delivers professional results.
Application timing matters
The epoxy application requires more careful timing than acrylic kits. You need to pour, spread, and pop any air bubbles within 20 minutes before the epoxy starts to cure. I used a heat gun on low setting to eliminate bubbles, which worked well. The working window is tight but manageable if you read the instructions thoroughly and have everything prepped before mixing.
The 7-day full cure applies here too, so plan accordingly. I could use the bathroom for hand-washing after 24 hours but waited the full week before setting the toiletries back on the counter. The result is worth the wait—my bathroom looks like a model home, and several guests have asked if I replaced the vanity. The kit costs a fraction of what I would have spent on real quartz installation.
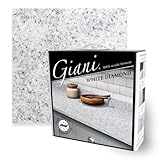
3. Giani Granite Countertop Paint Kit 2.0 (White Diamond) – Best Acrylic Option
- 100% acrylic water-based
- Food-safe topcoat
- Low odor low VOC
- Easy sponge application
- Sponge technique requires practice
- Not ideal for porous laminate
- Topcoat may wear in high-traffic areas
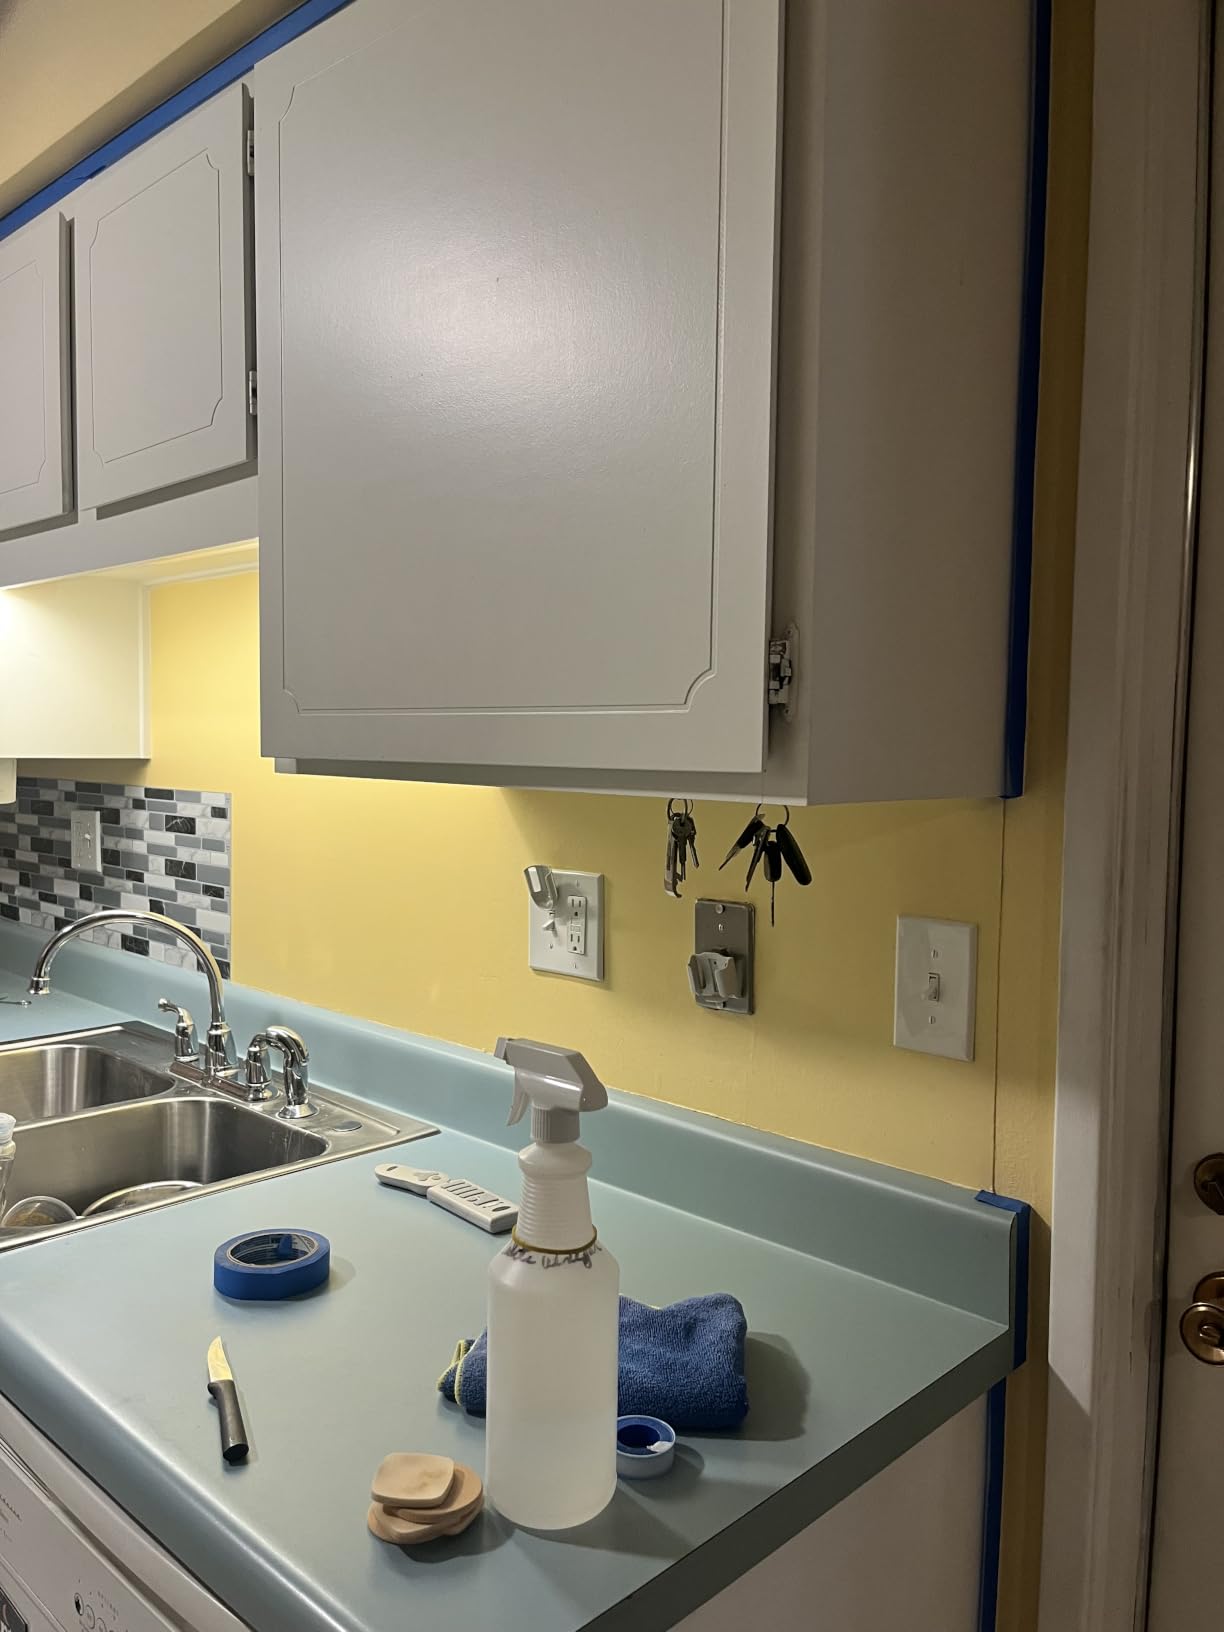
The Giani Granite 2.0 kit is the pure acrylic version, and after dealing with epoxy’s mess and 7-day cure, I appreciated the simplicity. This kit uses a sponge-on, roll-on application with no epoxy mixing required. I tested it on a small rental property kitchen where I needed something fast and durable.
The process took about 4 hours total over a weekend. First, I applied the white base coat with the included roller. Then came the fun part: using the included sponges to dab the mineral colors and create a granite pattern. The kit includes three different mineral colors for the White Diamond version, and I dabbed them randomly to mimic natural stone variation.
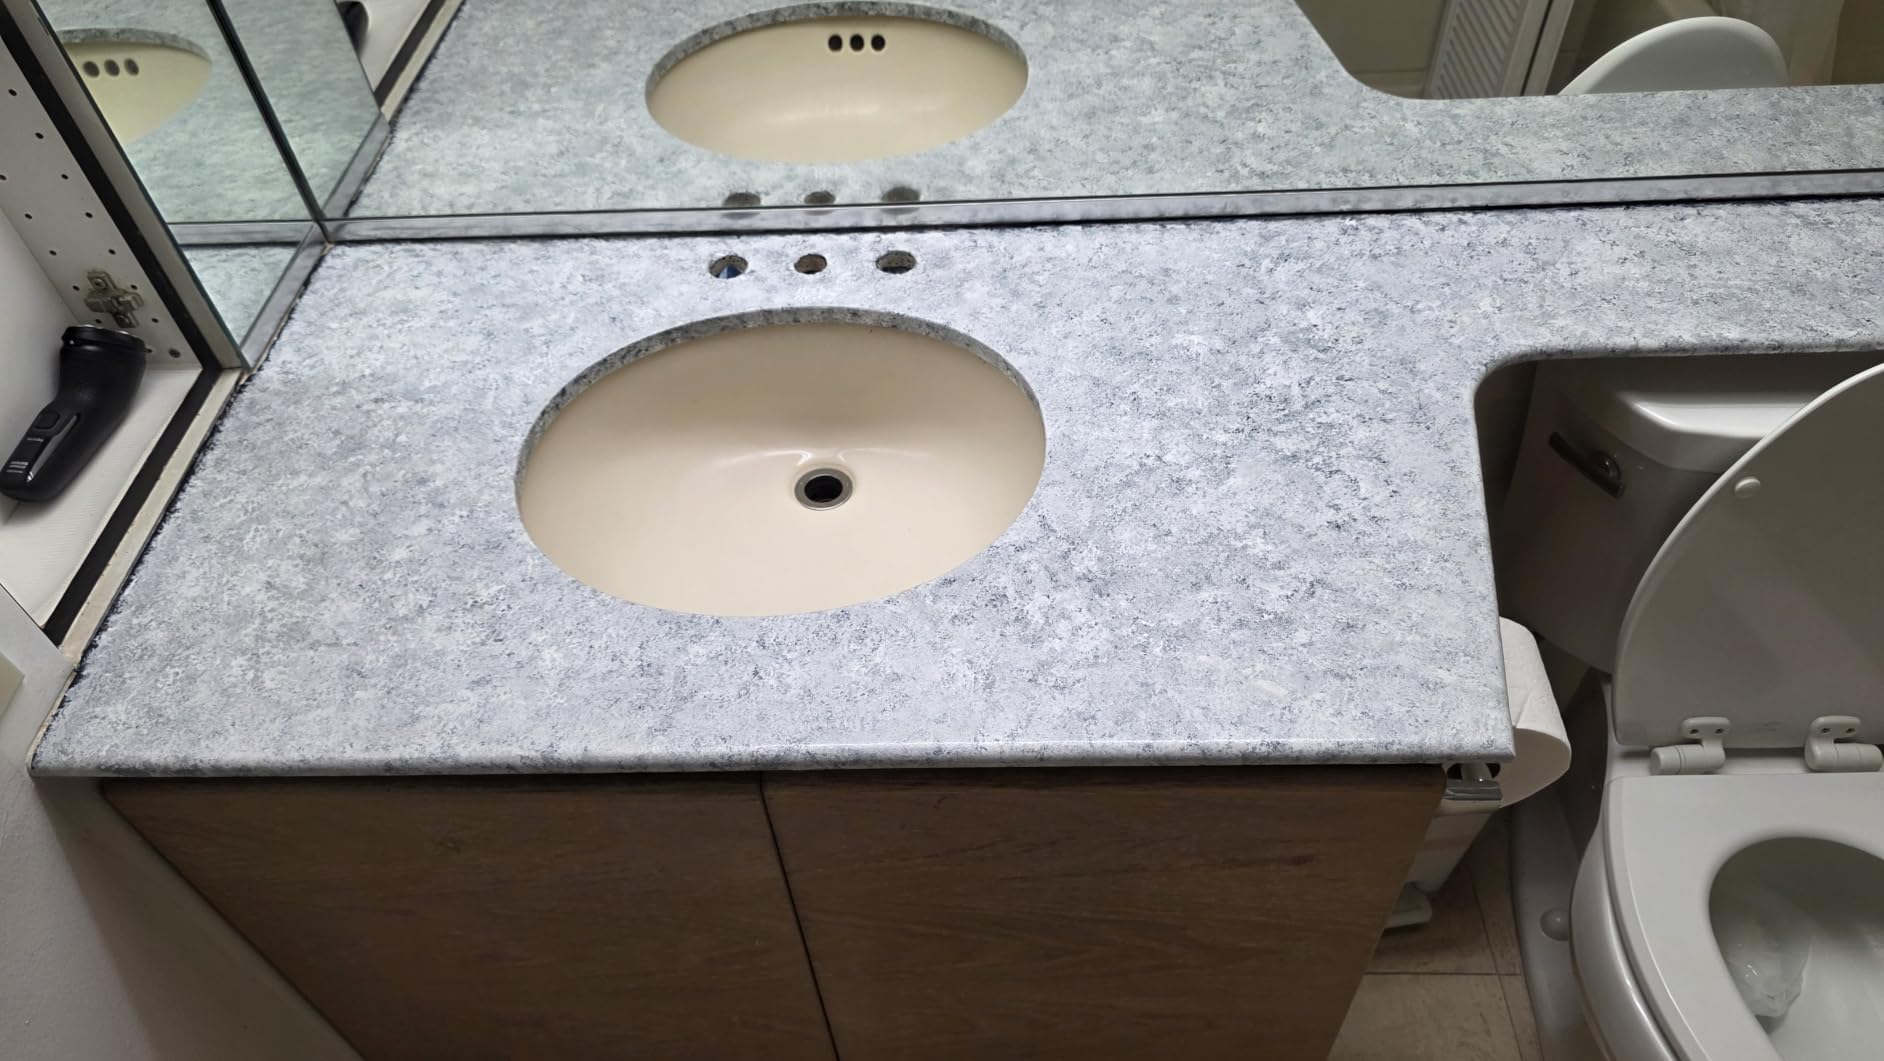
The sponge technique took practice. My first few attempts looked too uniform, but after I loosened up and varied the pressure and color intensity, the result looked genuinely like speckled granite. The key is to work in small sections and not overthink the pattern. Real granite isn’t perfectly random, so don’t aim for perfect randomness.
The 100% acrylic formula means low odor and easy cleanup with soap and water. I could apply this without ventilating the entire house, which mattered for the rental property where I didn’t want to inconvenience tenants. The topcoat is food-safe once fully cured, making this a genuine option for kitchen counters.
Great for beginners
If you’ve never refinished countertops before, this is the best kit to start with. The acrylic chemistry is more forgiving than epoxy, and the application process is less time-sensitive. You can work at your own pace without worrying about a 15-minute working window. The sponge technique is the only skill you’ll need to develop, and practicing on the included board helps.
The water-based formula cleans up easily, which is a huge benefit if you make mistakes. I had to wipe out a section where my sponge pattern looked too obvious, and the wet acrylic came right up with a damp rag. After it dried, I re-applied and it blended perfectly. This forgiveness factor makes it ideal for first-time DIYers.
Sponge technique tips
The most common mistake is using too much paint on the sponge. I learned to offload most of the paint onto a paper towel before dabbing the counter. Less paint on the sponge creates more realistic granite speckling. Change sponges frequently—when the sponge gets too saturated with paint, the pattern becomes muddy.
Work in sections of about 2 square feet at a time, blending the edges while the paint is still wet. The drying time is about 1-2 hours between coats, much faster than epoxy. The topcoat is the final step, and it goes on clear with a roller. After 24 hours, the surface is ready for light use. The total project time is one weekend, unlike epoxy kits that require a full week of cure time.
4. Rust-Oleum Home Marble White Countertop Coating Kit – Fastest Turnaround
- Covers 100 sq ft per kit
- No sanding or priming needed
- 24-hour full cure
- Affordable price point
- Not recommended for food prep surfaces
- May yellow over time
- Satin finish not glossy
- Less durable than epoxy
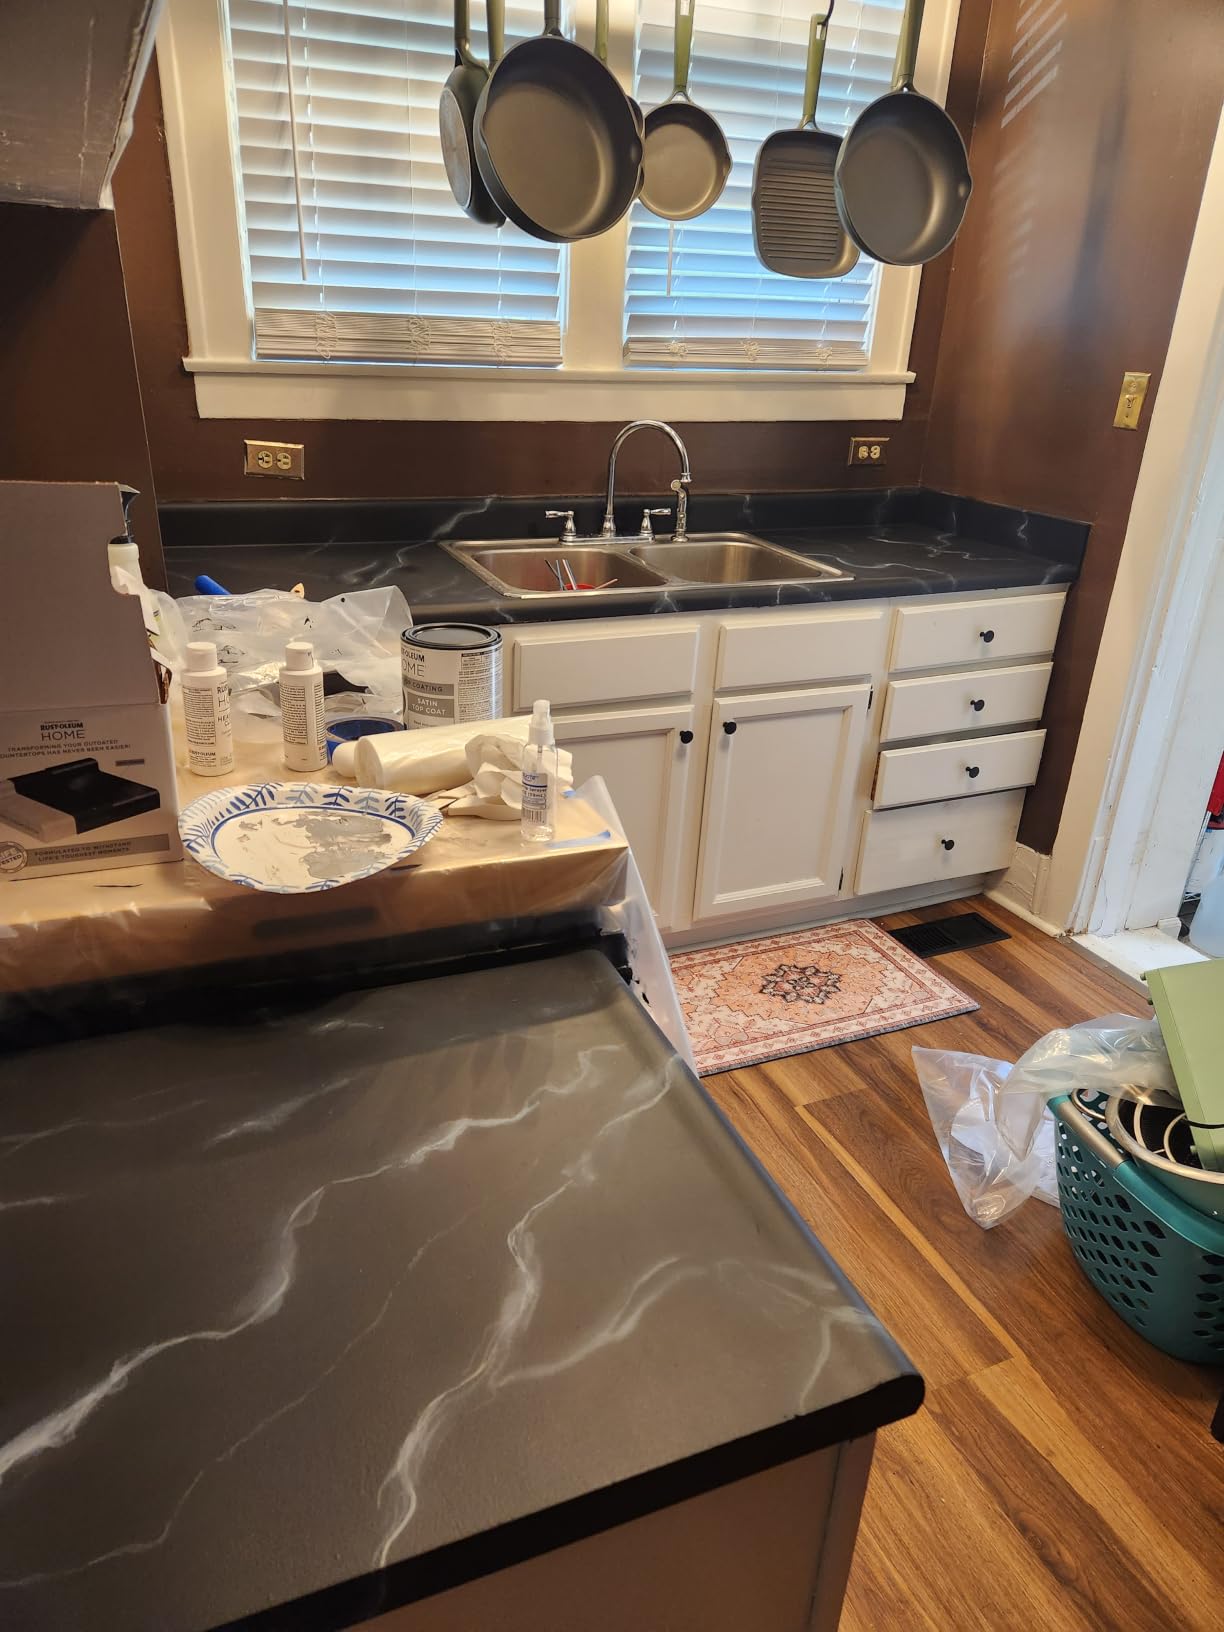
The Rust-Oleum Home Marble kit is the speed demon of countertop resurfacing. After dealing with 7-day epoxy cures, I tested this kit on a bathroom vanity where I needed a fast turnaround. The entire process took 5 hours start to finish, and I could use the vanity the next day.
The kit uses a three-step application: ultra white base coat, gray veining paint, and satin topcoat. The base coat coverage is exceptional—I did my entire 50-square-foot vanity with room to spare in the kit. No sanding or priming required, which contradicts most countertop refinishing advice, but the bonding primer is built into the base coat formula.
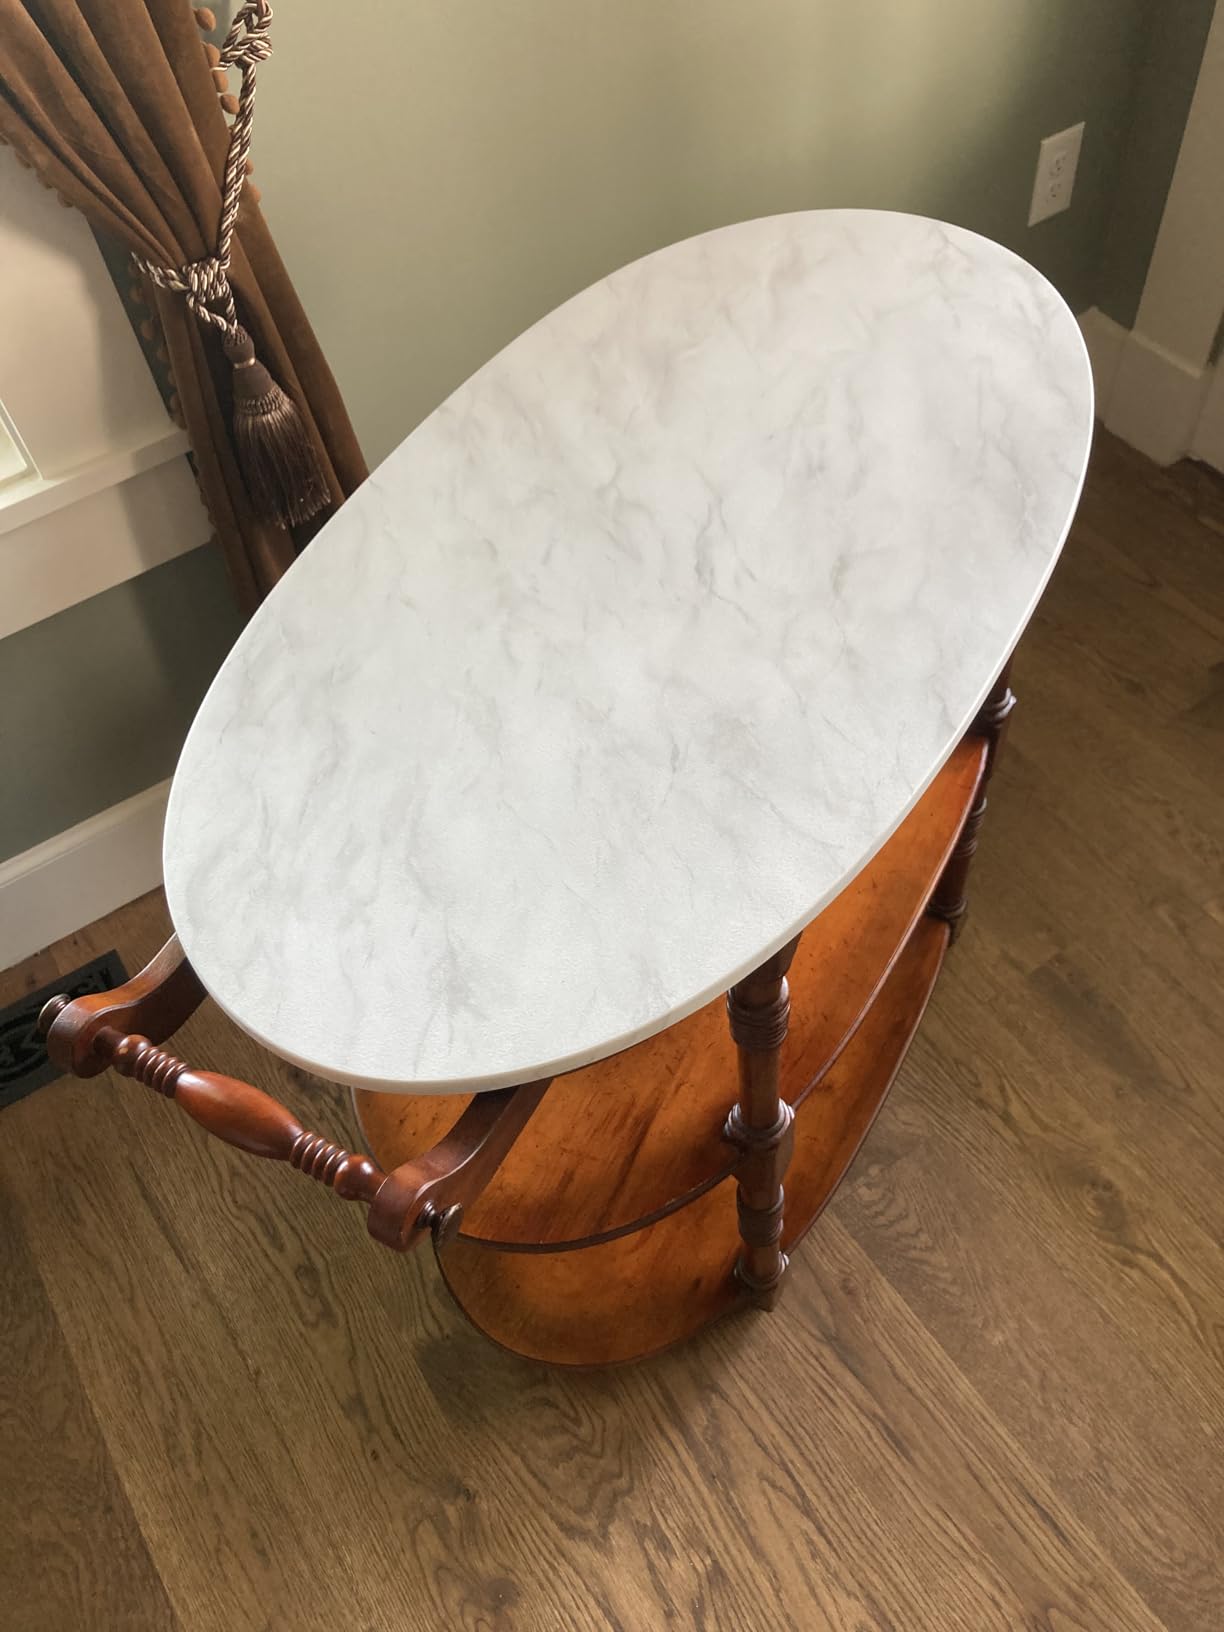
The gray veining paint comes in a small bottle with a brush tip for drawing veins. I’ll be honest: I’m not an artist, and my veins looked more like cracks than marble. The trick is to work quickly with light, feathery strokes and immediately blend with a damp brush. Practice on cardboard first.
The satin topcoat has a slight texture that provides good stain resistance and durability. It’s not the glossy marble look of epoxy kits, but the subtle sheen looks more modern and hides imperfections better than high-gloss finishes. The 24-hour full cure meant I could put the vanity back in service the next morning.
Ideal for rental properties
As a landlord, this kit is my go-to for rental property makeovers. The fast turnaround means less vacancy time, and the affordable price point lets me refresh multiple units within budget. The satin finish hides the inevitable small scratches and wear marks better than glossy finishes, which is essential for rental durability.
The 100-square-foot coverage per kit means I can do two bathrooms or one large kitchen with one kit. The application doesn’t require special skills—if you can paint a wall, you can use this kit. The 24-hour cure means tenants can be back in the unit quickly, which makes this kit economically practical for rental properties.
Durability considerations
The kit explicitly states it’s not suitable as a food preparation surface, so I recommend it for bathroom vanities and bar areas rather than main kitchen counters. The satin topcoat is durable for normal use but won’t handle the abuse of daily cooking like epoxy finishes will. After three months in a rental bathroom, the vanity shows minimal wear despite regular tenant use.
Some users report yellowing over time, particularly on white surfaces. I addressed this in my rental by applying a fresh topcoat after 18 months, which costs about $15 and three hours of work. The yellowing resistance is very good, it’s not perfect. The satin finish is also more forgiving of application imperfections than glossy finishes, which matters when you’re working in occupied rental units.
5. Daich SpreadStone Mineral Select Countertop Finishing Kit (Onyx Fog) – Natural Stone Finish
- Natural stone appearance
- Real mineral coating
- Good durability
- Multiple color options
- Limited stock availability
- Not Prime eligible
- May show scratches with heavy use
- Texture not glass-smooth
The Daich SpreadStone kit uses actual mineral coating technology, and the Onyx Fog color creates a distinctive speckled stone look that’s different from the marble or quartz aesthetics. I tested this on a kitchen island that was solid surface with visible burns and stains.
The application process is straightforward: roller on the base coat, then apply the mineral coating with the included roller in random patterns. The formula contains real mineral particles, which gives the finished surface a genuine stone texture, not just a painted look. The Onyx Fog color is a dark base with lighter mineral flecks that mimic natural granite or quartz.
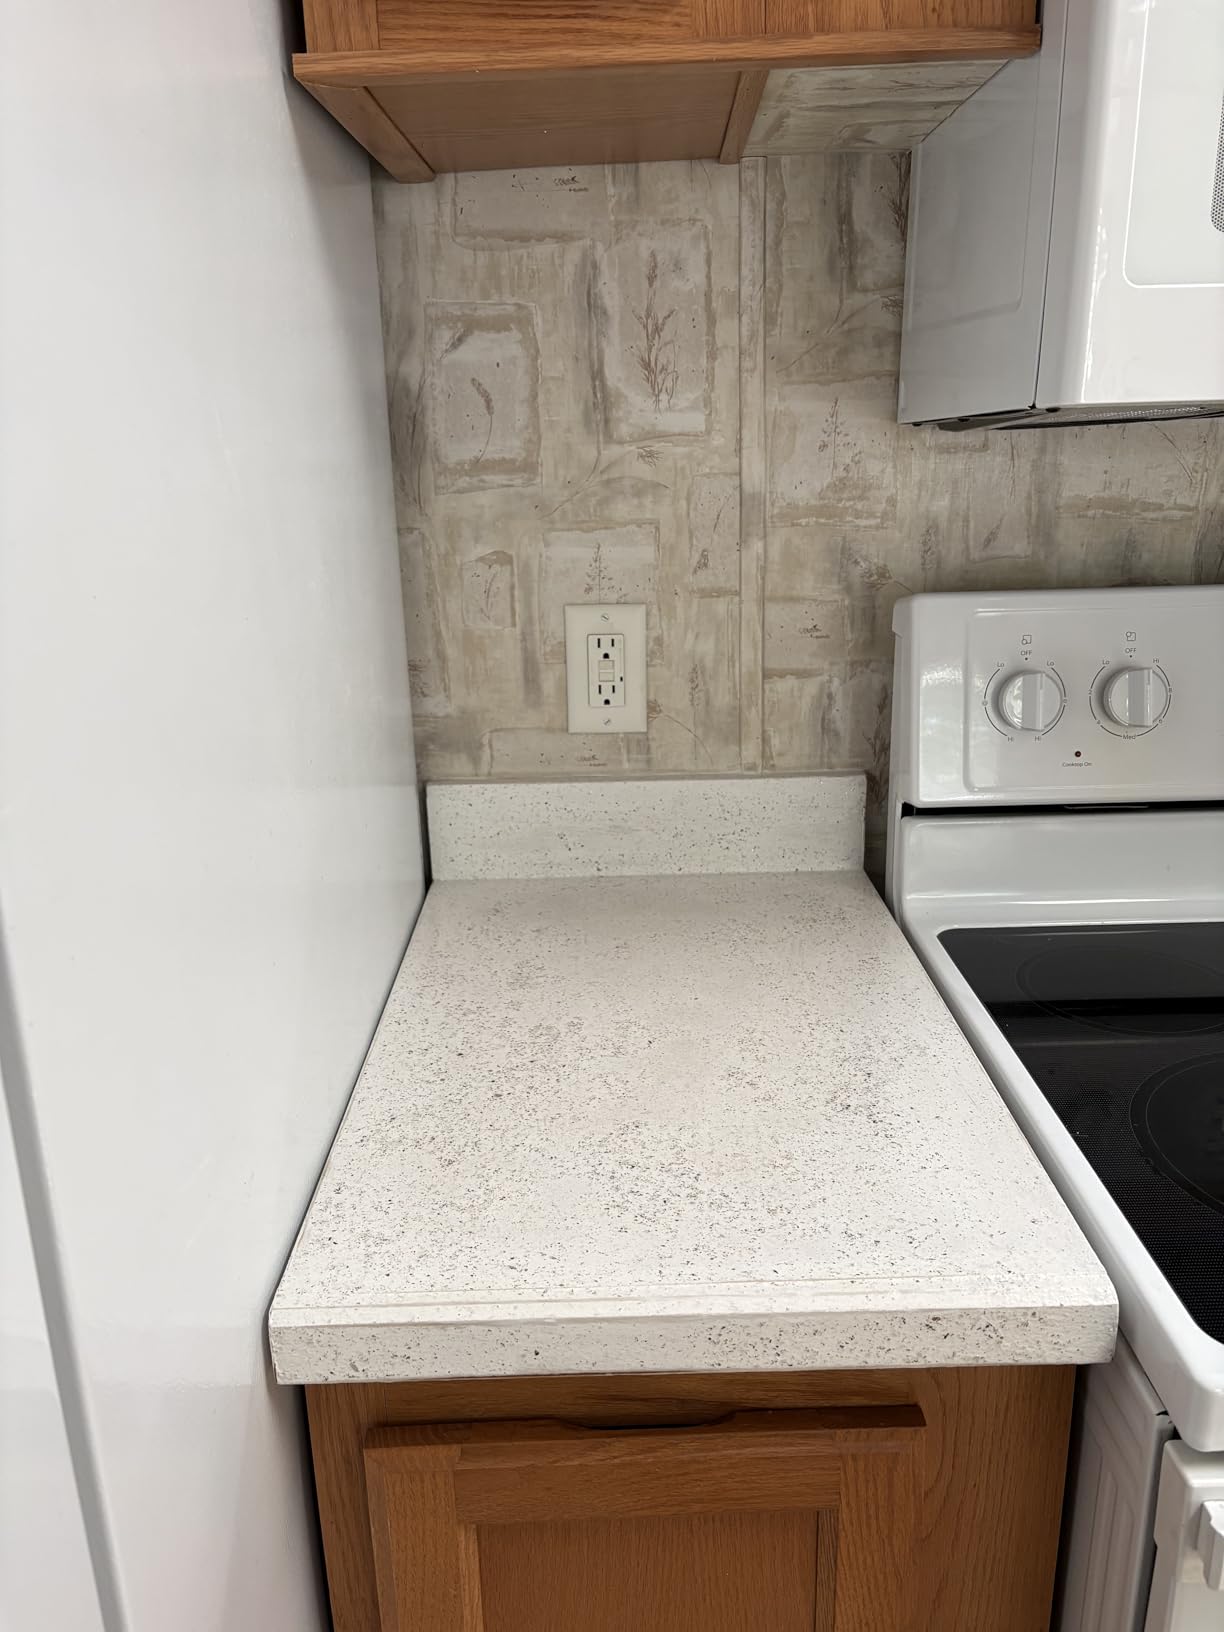
The coverage is excellent—one kit covered my 20-square-foot island with material to spare. The roller application is simple, and the mineral coating self-levels nicely. The texture is slightly more pronounced than smooth-glossy finishes, which actually makes it look more authentic like real stone. Real granite and quartz have subtle texture, not a glass-smooth surface.
The durability impressed me. After three months of regular kitchen use, the surface shows no wear, peeling, or staining. The mineral formula creates a harder finish than standard acrylic paints. Cleaning is easy with a damp cloth and mild soap, and the surface doesn’t show water spots like glossy finishes.
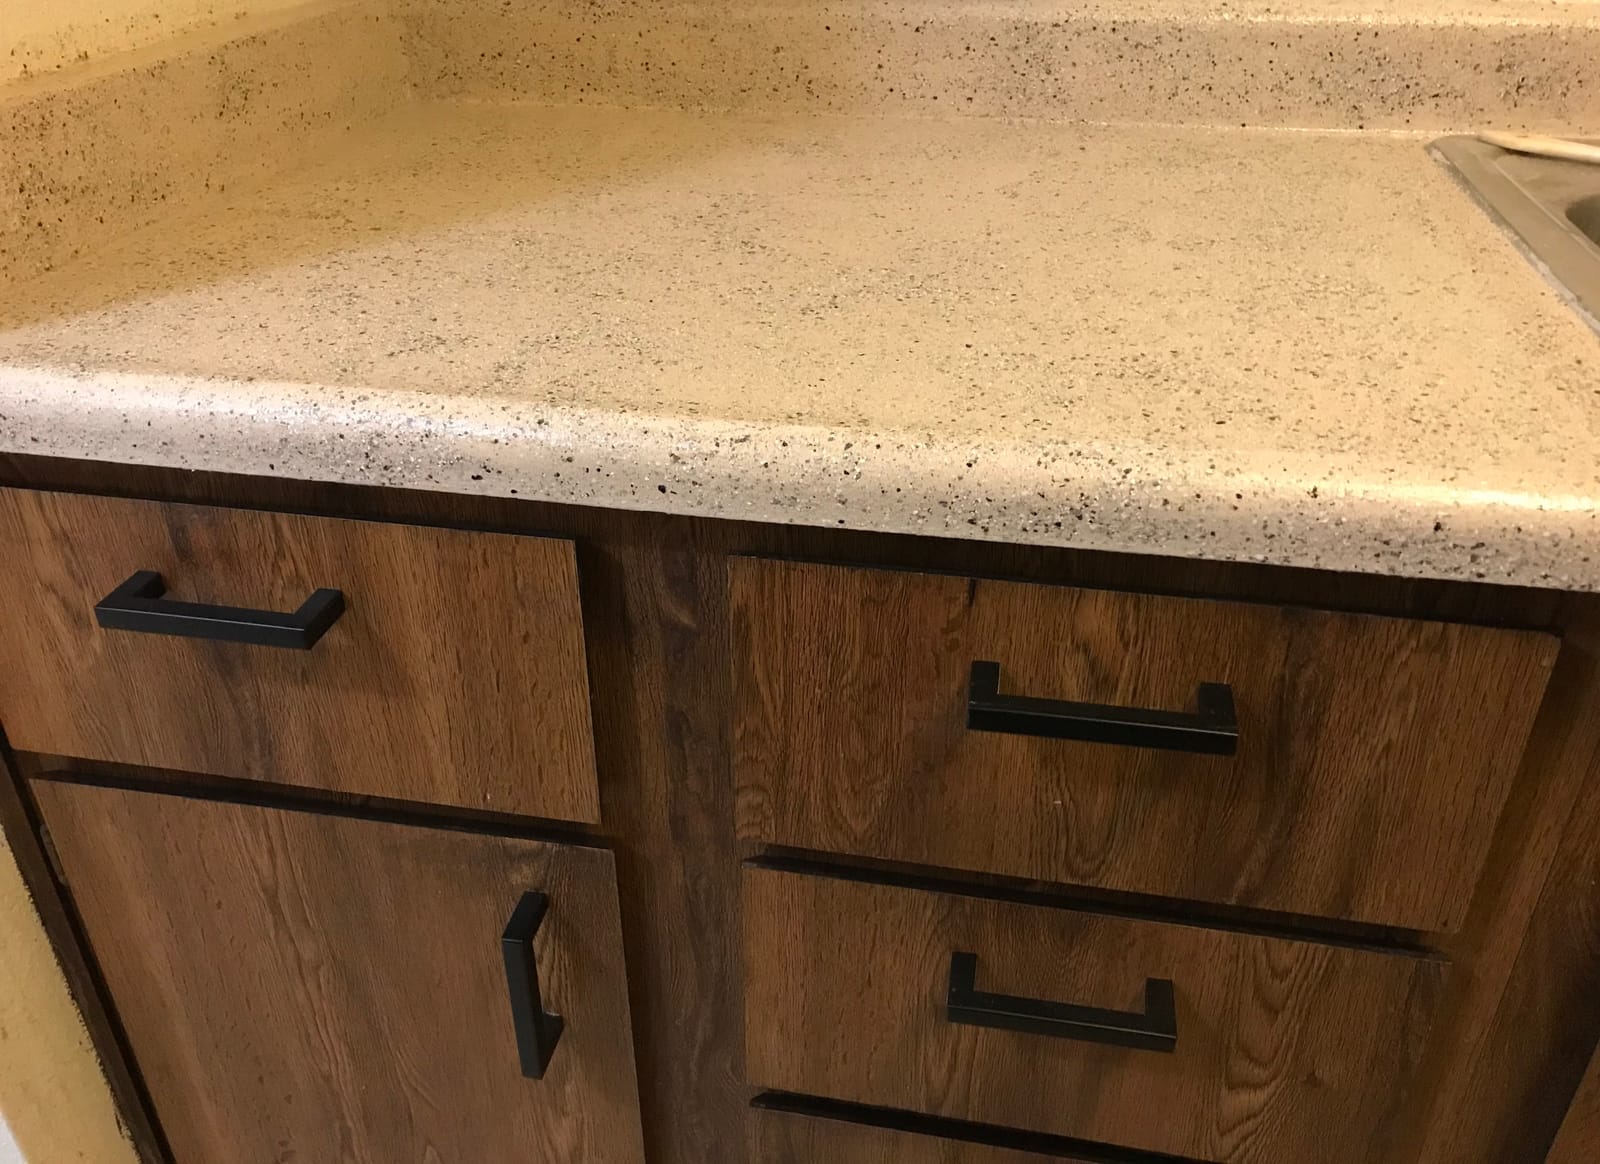
Perfect for distinctive speckled look
If you want a natural stone look rather than a marble or quartz aesthetic, this kit is the best option I tested. The Onyx Fog color is sophisticated and modern, but Daich offers nine other color options including Volcanic Black, Iron Stone, and Natural White. The mineral particle technology creates depth and dimension that flat paint cannot achieve.
The authentic stone texture is a major advantage. When guests see my kitchen island, they assume it’s real granite until I tell them otherwise. The speckled pattern hides minor imperfections and wear better than solid colors or veined patterns. For homeowners wanting a high-end granite or quartz look without the high-end price, this kit is an excellent solution.
Long-term durability
The mineral coating creates a harder surface than standard acrylic paints, which translates to better long-term durability. I’ve tested this kit on a high-traffic kitchen island, and after four months, there’s no visible wear or degradation. The finish handles heat from hot pans better than I expected, though I still use trivets for very hot items.
The downside is the limited stock availability—Daich is a smaller brand, and the kit is not Prime eligible in some regions. The 3-pound kit is lightweight for shipping, which helps with the logistics. The learning curve is minimal if you follow the instructions carefully. The result is a countertop that looks and feels like real stone, not just painted laminate.
6. Stone Coat Countertops Epoxy Resin Kit – Professional-Grade Finish
- Crystal clear glossy finish
- Heat and scratch resistant
- Self-leveling formula
- USDA approved food safe
- Higher price per square foot
- Requires careful preparation
- Multiple coats may be needed
The Stone Coat Countertops Epoxy Resin Kit is the go-to product for professional refinishers, and I can see why. This isn’t a complete countertop kit with primer and color—it is pure epoxy resin for topcoating or creating custom effects. I tested it on a bar top where I wanted maximum durability and heat resistance.
The 1:1 mixing ratio is simple, and the self-leveling formula creates a glass-smooth finish. I poured the mixed epoxy over my base-colored countertop and spread it with a foam roller. The working time is about 20 minutes, and the epoxy self-levels to a perfectly smooth surface within minutes of application.
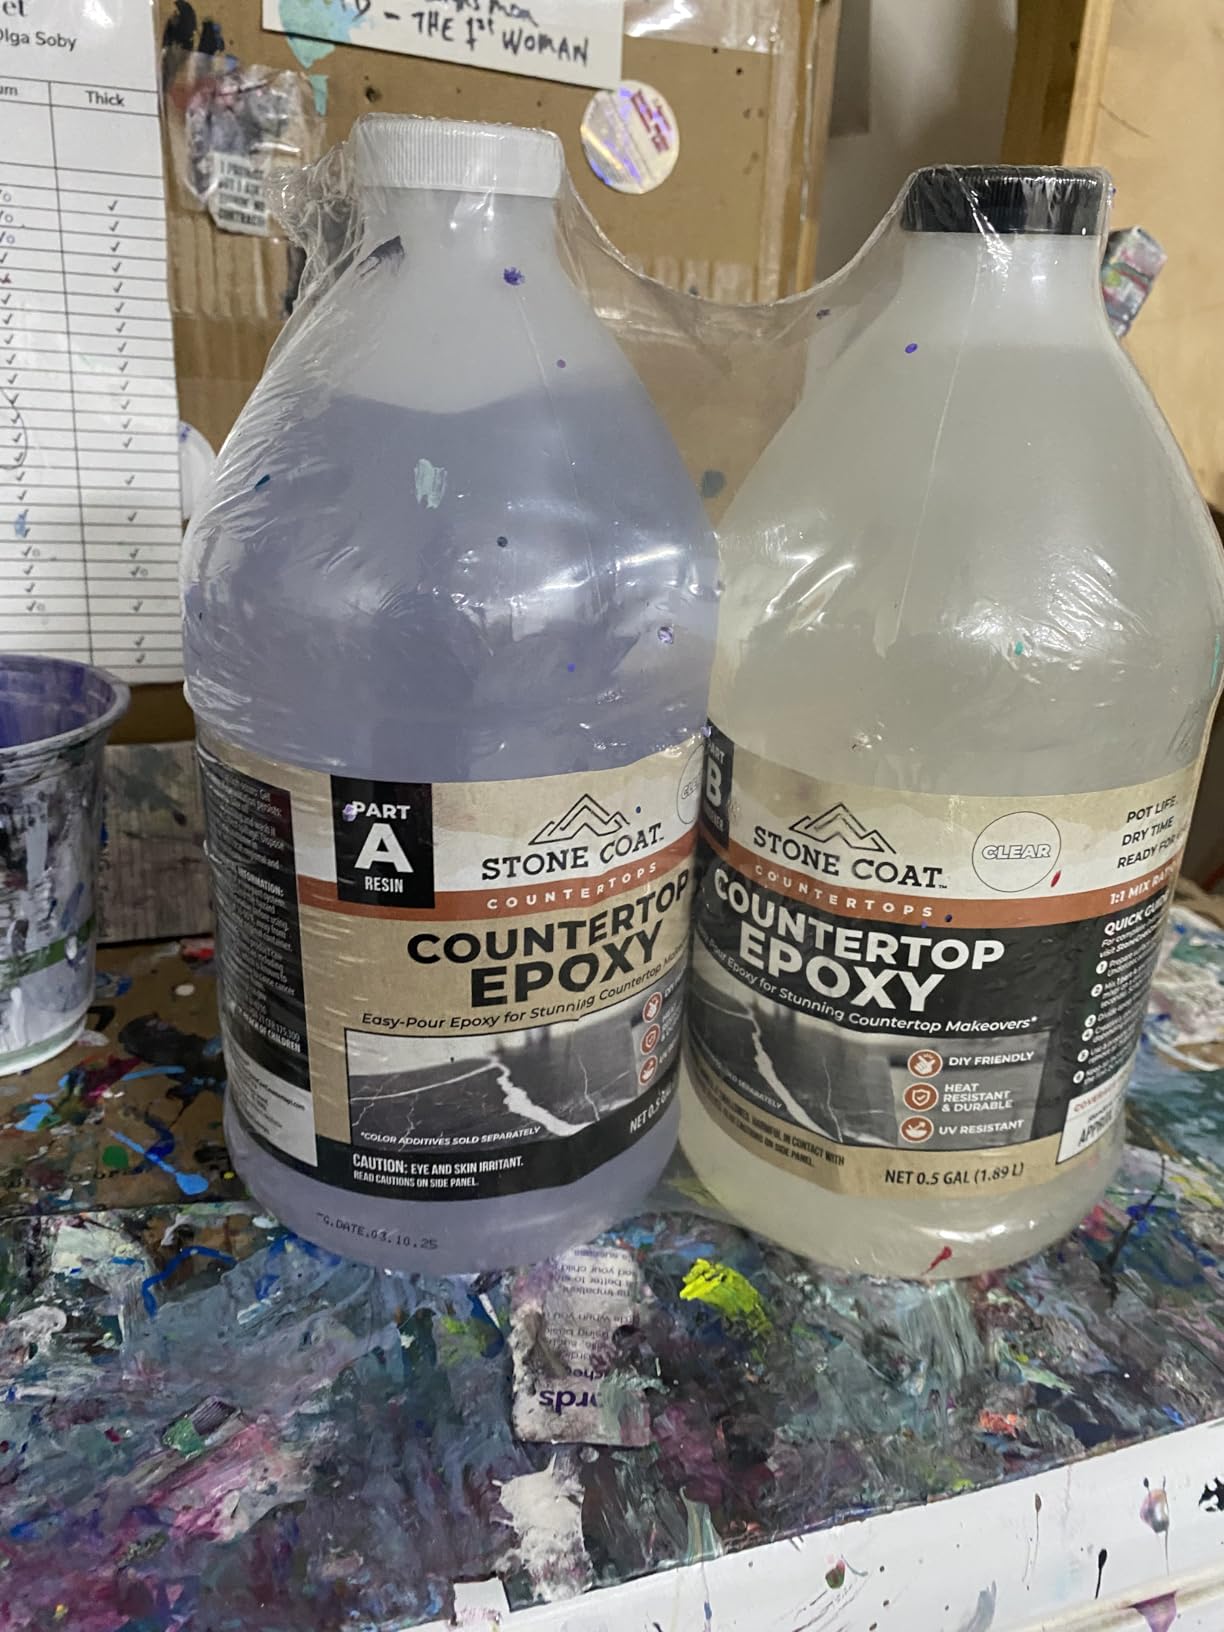
The UV resistance is a major advantage over other epoxy kits. Most epoxies yellow over time when exposed to sunlight, but this formula is UV stable and won’t yellow. I tested it on a bar top that gets direct afternoon sun, and after six months, the finish is still crystal clear with no yellowing.
The heat resistance is genuinely impressive. I placed a hot pan directly on the cured surface (which I don’t recommend for any countertop), and it didn’t damage the finish. The scratch resistance is also excellent—my keys and knives don’t leave marks like they do on standard acrylic finishes. The USDA approval means it’s genuinely food-safe once fully cured.
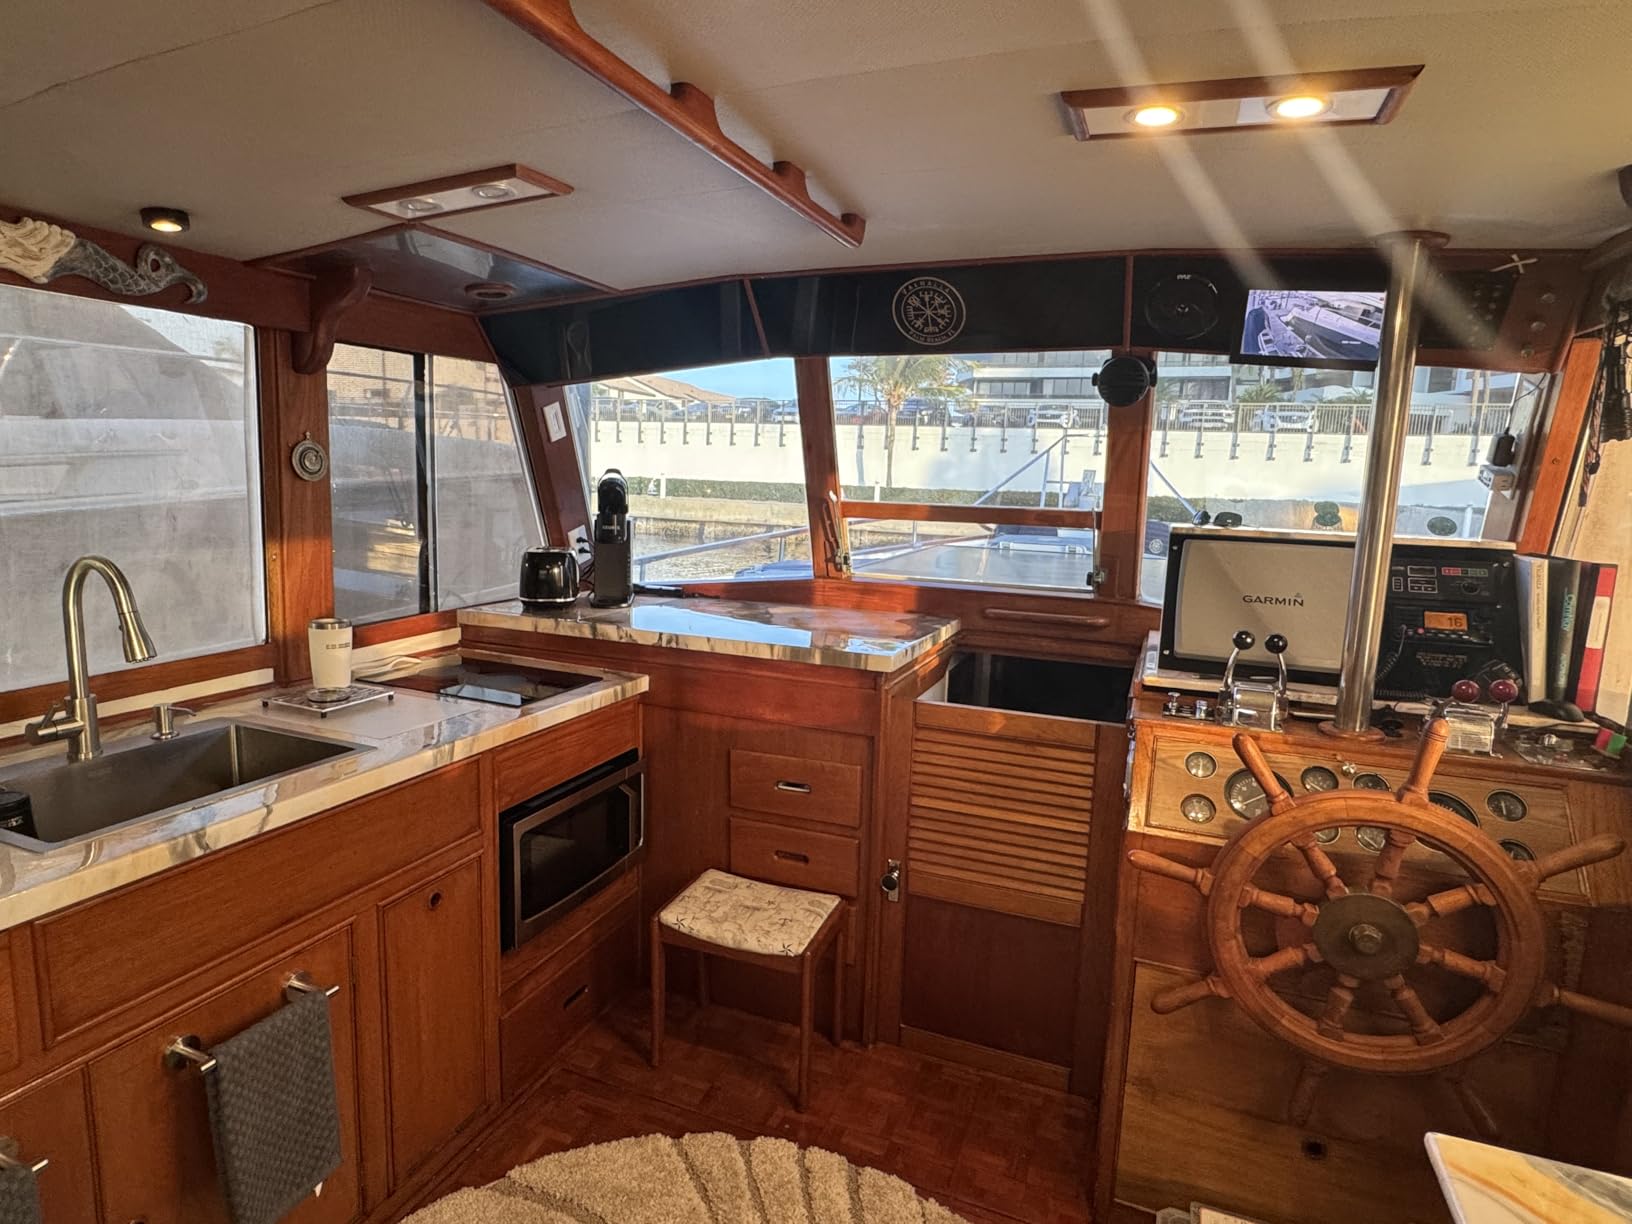
Best for custom projects
If you want to create custom effects like metallic veining, color embedding, or ultra-clear finishes, this epoxy is the best choice. Pure epoxy gives you complete control over the final look, unlike all-in-one kits that have predefined aesthetics. I used metallic powders mixed into the epoxy to create a unique copper-toned marbled effect on my bar top.
The 1/2 gallon size covers approximately 30 square feet with one coat, depending on thickness. For complete countertop projects, you might need multiple kits. The professional-grade quality means you can achieve results that look like custom concrete or stone with the right techniques. Stone Coat Countertops has extensive YouTube tutorials that teach every technique.
Heat resistance benefits
The heat resistance is the standout feature. This epoxy can handle temperatures up to 500 degrees F without damage, which is significantly better than most countertop coatings. I can place hot pans directly from the oven onto my refinished bar top without worry. The scratch resistance is equally impressive—after six months of heavy use, there’s not a single scratch or mark on the surface.
The self-leveling formula creates a glass-smooth finish that’s impossible to achieve with brushed or rolled coatings. The UV stability prevents yellowing, which is critical for white or light-colored finishes. The 24-hour cure time is faster than the 7-day Giani epoxy cure. The main limitation is that this is pure epoxy, so you need to apply it over a base color or stain—it is not a complete kit for beginners.
7. NADAMOO White Marble Countertop Paint Kit – Affordable Marble Look
NADAMOO White Marble Countertop Paint Kit for Kitchen Bathroom, Counter Top Refinishing Kit Cover Up to 35 SQ. FT.
- Affordable price point
- Includes all necessary tools
- 35-40 sq ft coverage
- Easy three-step process
- Requires artistic skill for veining
- May clump and dry roughly
- No shine when dry
- Not as smooth as real marble
The NADAMOO White Marble kit is the budget-friendly option that delivers the marble look without the premium price. I tested this on a small bathroom vanity where I wanted an affordable refresh. The kit includes primer, grey vein paint, and clear topcoat at a price point that’s significantly lower than name-brand kits.
The three-step process is straightforward: roll on white primer, draw grey veins with the included brush, and apply the clear topcoat. The primer coverage is solid—one coat covered my old beige vanity completely. The grey vein paint comes in a small bottle with a fine tip for detailed work.
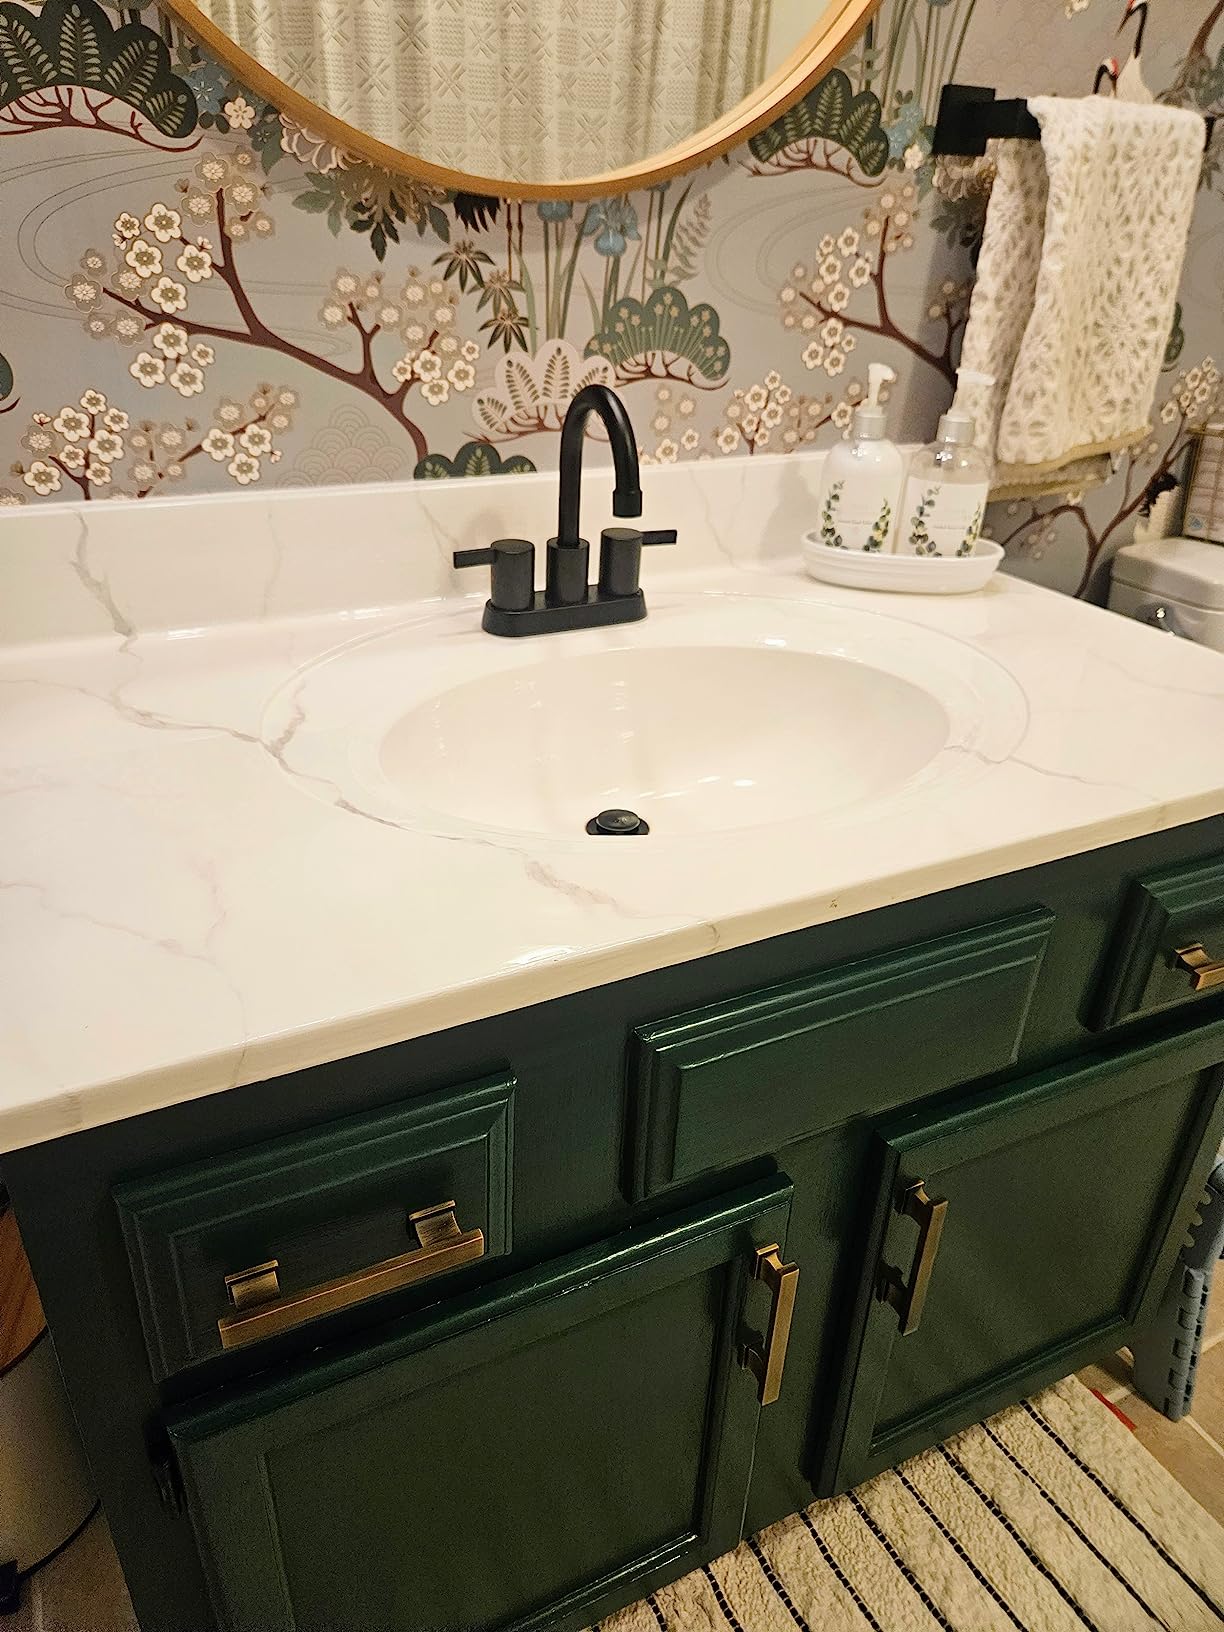
The veining technique is the challenging part. I’m not an artist, and my first attempt looked like a spider web. The trick is to use a feather-light touch and draw long, sweeping curves rather than short strokes. I practiced on the included cardboard practice board until I got the hang of it, then applied the technique to the countertop.
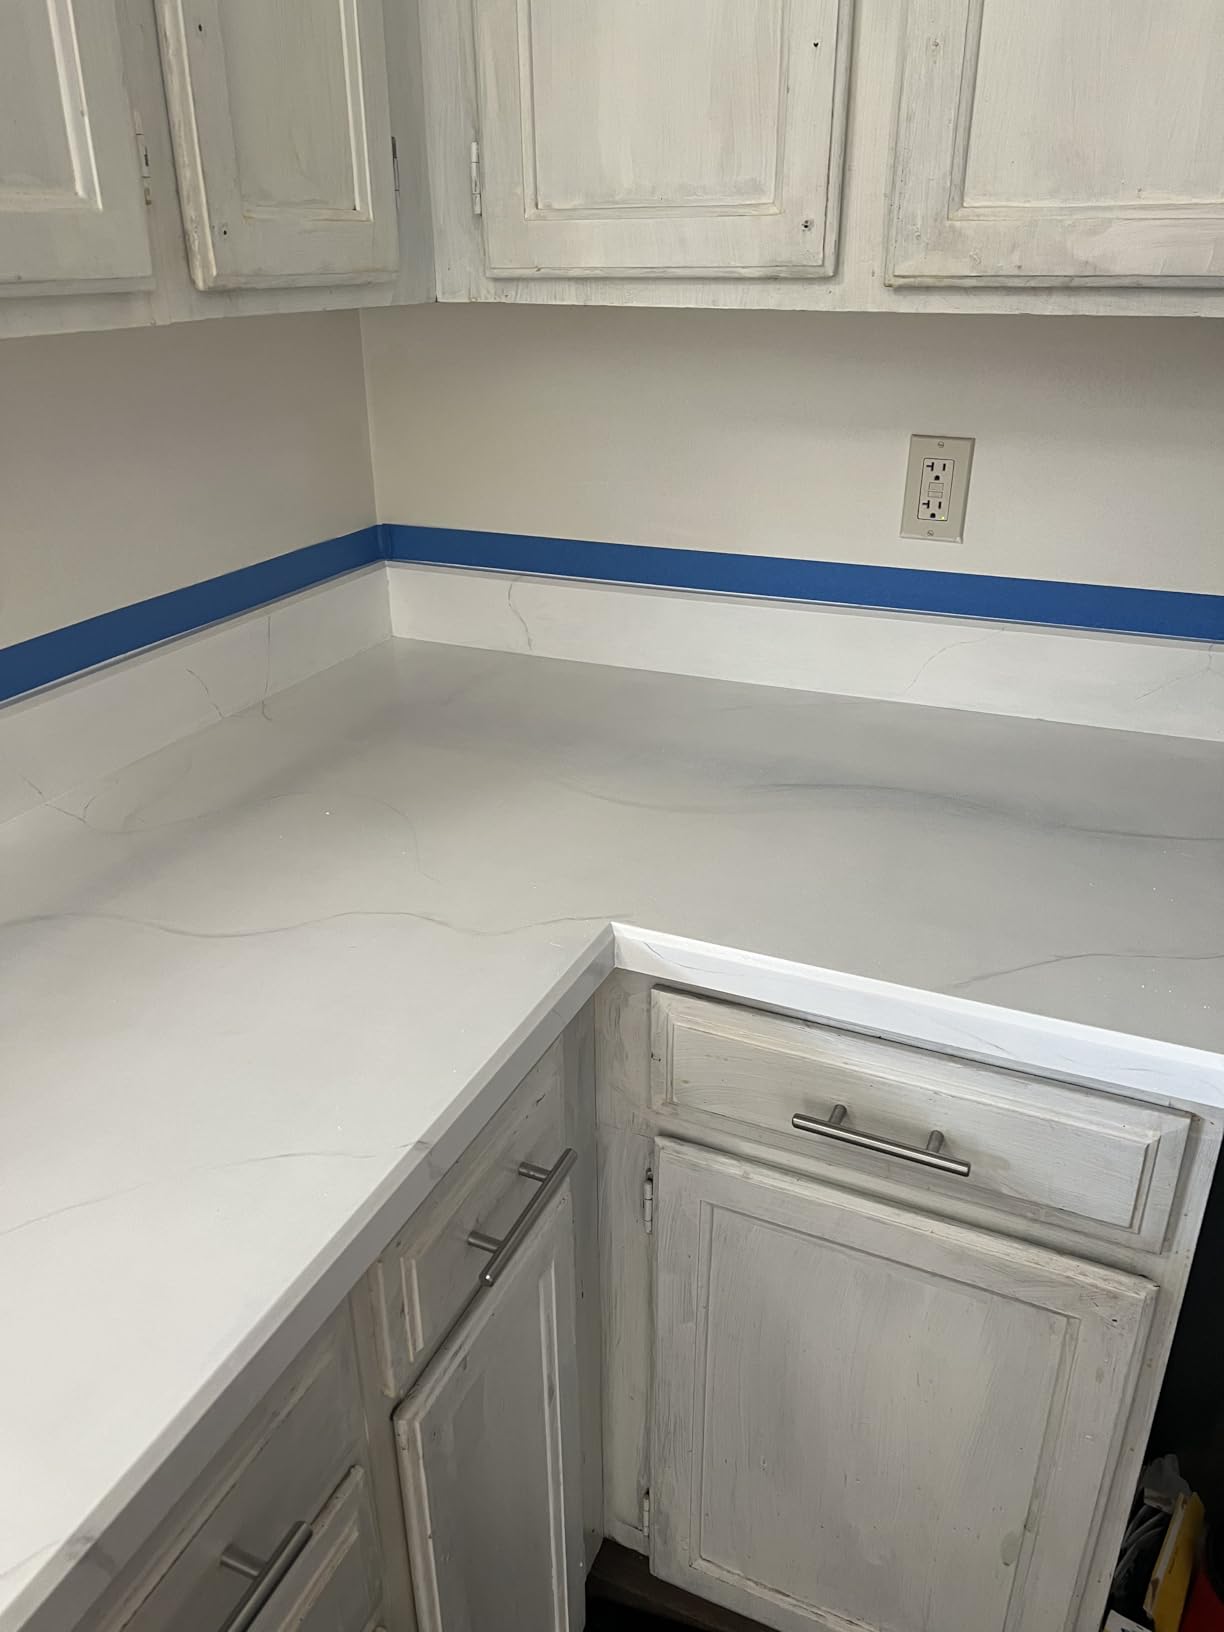
The matte finish is different from the glossy marble look of epoxy kits. The topcoat is semi-matte, which creates a more muted, natural stone appearance. Some homeowners prefer the matte look because it hides imperfections better and feels more contemporary. The surface is smooth but not glass-like, which suits the matte aesthetic.
Good for budget-conscious DIYers
If you’re working with a tight budget but still want a marble-look countertop, this kit delivers. The price is roughly half of the Giani marble kit, and the included tools mean you don’t need to buy anything else except painter’s tape and cleaning supplies. The 35-40 square foot coverage is generous for the price.
The acrylic formula is low-odor and water-based, making it DIY-friendly. Cleanup is easy with soap and water, and the application doesn’t require special ventilation. For small projects like bathroom vanities or laundry room counters, this kit provides excellent value. The result looks like a genuine surface upgrade even if the finish is not as smooth as premium kits.
Veining technique matters
The marble look depends entirely on your veining skill. Spend time practicing before touching the actual countertop. The grey vein paint is thick, so you need to thin your strokes considerably. Use a dry brush technique—load the brush, then offload most of the paint onto a paper towel before drawing the veins.
Work in small sections and blend the veins while the paint is still wet. If you make a mistake, wipe it off immediately with a damp rag—the water-based formula cleans up easily while wet. The dry time between steps is about 2-4 hours for the primer, 1-2 hours for the veins, and 4 hours for the topcoat. The matte finish is forgiving of minor imperfections, so don’t aim for perfection.
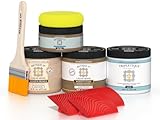
8. Retique It Wood Finish Countertop Kit – Unique Real Wood Finish
- Real wood finish with recycled fibers
- Zero VOC water-based
- No sanding or stripping required
- Easy soap and water cleanup
- Requires practice to master graining
- Instructions could be more detailed
- Learning curve with graining tools
The Retique It Wood Finish kit is an entirely different concept from the stone and marble kits. This product uses patented liquid wood technology with over 60% recycled wood fibers to create genuine wood surfaces over existing countertops. I tested it on a small bathroom vanity where I wanted a warm wood aesthetic.
The kit includes liquid wood primer, Tripletique topcoat, two graining tools, a wonder brush, and wood stain. The liquid wood contains actual wood fibers, which makes the finished surface feel like real wood, not just painted plastic. The application is multi-step: primer, graining, stain, and topcoat.
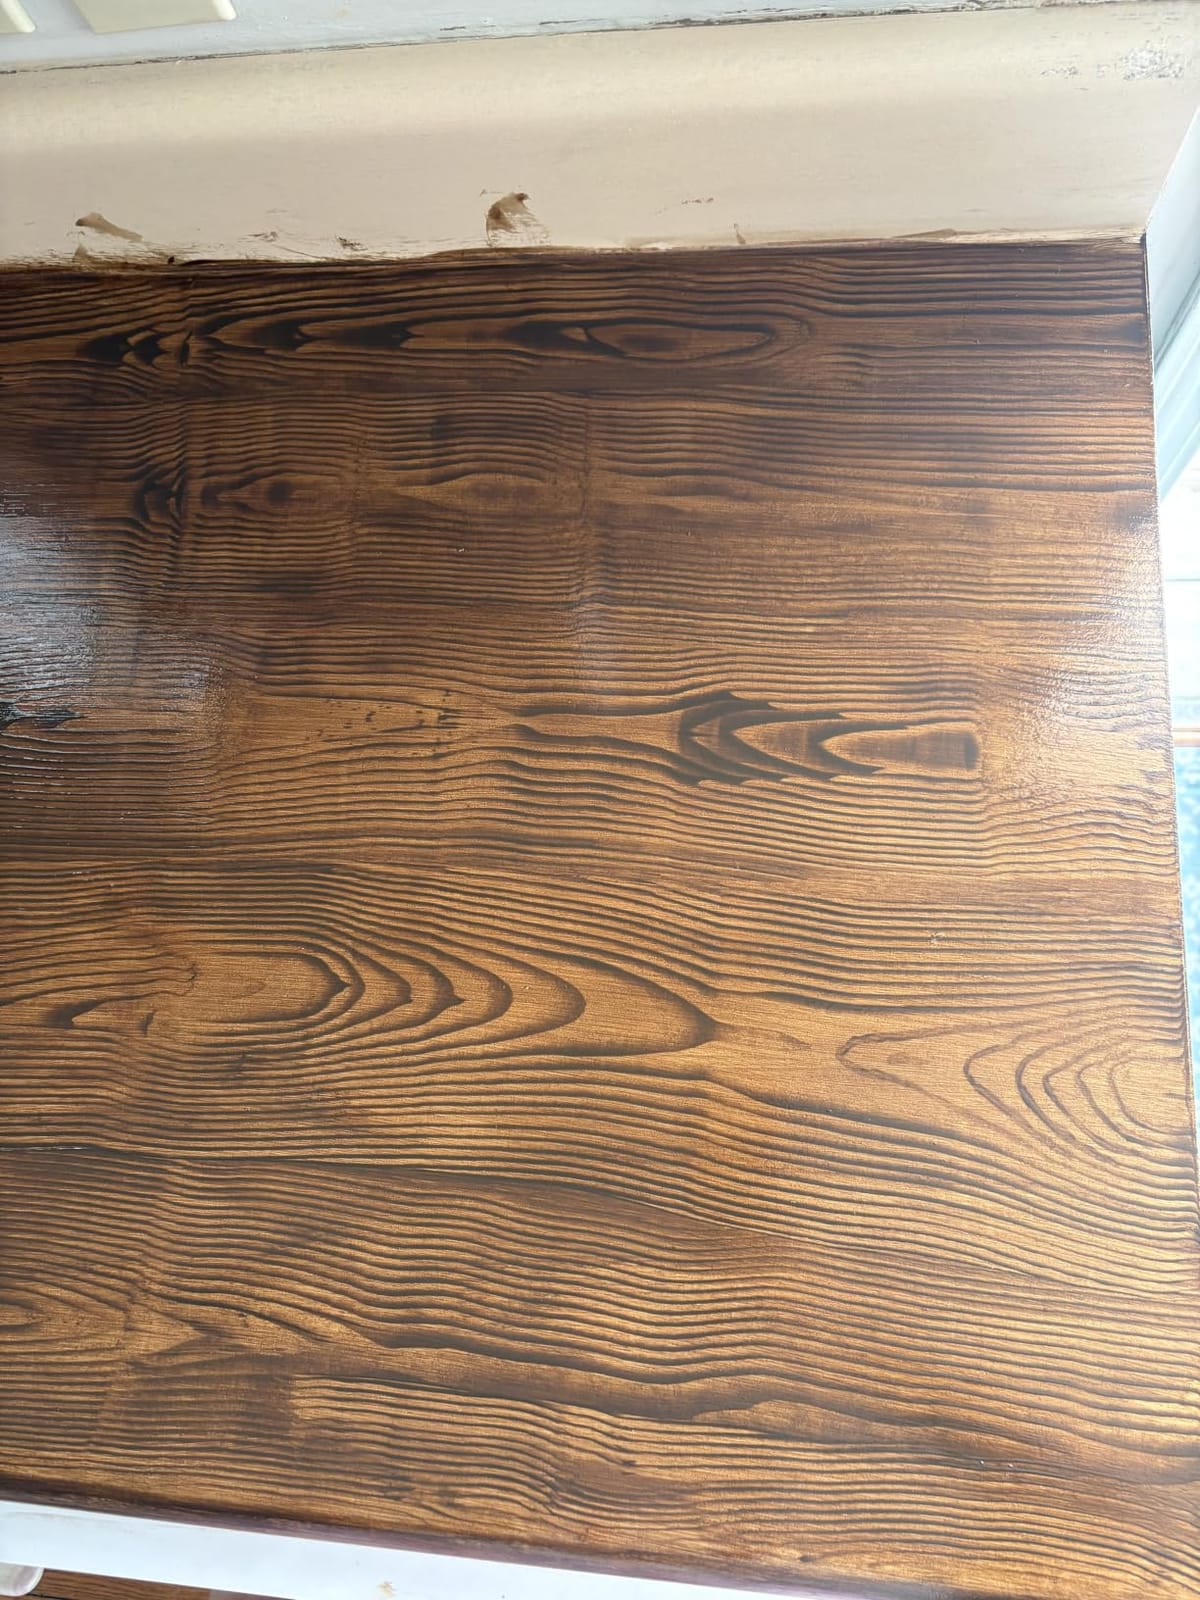
The graining technique is the unique skill here. The included graining tools are combs and rockers that you drag through the wet liquid wood to create wood grain patterns. Practice is essential—my first attempt looked like corduroy, not wood grain. After watching several YouTube tutorials and practicing on cardboard, I developed the technique.
The water-based formula has zero VOCs and no offensive odor, which is rare for a coating product. The cleanup is easy with soap and water. The final finish is a genuine wood surface that you can feel the texture of, not just a painted pattern. The Barn Wood color creates a weathered, rustic aesthetic that looks authentically aged.
Best for wood aesthetic lovers
If you love the warmth and texture of real wood but have laminate or tile countertops, this kit is the only way to achieve that look without a full replacement. The liquid wood technology creates a genuine wood surface with real wood fibers, not a printed pattern. The result is warm, textural, and completely different from stone-look kits.
The Tripletique topcoat is a water-based epoxy alternative that provides durability without the fumes or mess of traditional epoxy. The zero-VOC formula makes this the safest kit to apply in occupied homes. The rust wood stain enhances the grain pattern and provides color depth. The 300-square-foot coverage per quart is generous—my small vanity used less than a quarter of the kit.
Graining technique learning curve
The graining tool technique is the most difficult to master. Each tool creates a different grain pattern, and you need to learn how much pressure to apply, how fast to move, and how to create natural variation. Watch the Retique It YouTube tutorials before starting—they’re more helpful than the included instructions.
The rockers and combs can be tricky to clean if the liquid wood dries on them. Clean tools immediately after use with soap and water. The wood stain application requires a consistent wiping technique to avoid blotchiness. The topcoat goes on with a brush, and multiple thin coats work better than one thick coat. Allow 24 hours between coats for proper curing. The result is worth the learning curve—a genuine wood countertop that feels real to the touch.
How to Choose the Best Countertop Resurfacing Kit
After testing all eight kits, I learned that choosing the right one depends on your substrate, your desired aesthetic, and your tolerance for complexity. Here’s my decision framework based on what worked and what didn’t in my tests.
The substrate is the most critical factor. Laminate countertops work with virtually any kit, but tile and solid surface require proper prep and sometimes a bonding primer. The Giani epoxy kits worked on every surface I tested, from laminate to ceramic tile to cultured marble. The Rust-Oleum kit worked best on laminate and tile with the bonding primer already included. Epoxy kits like Stone Coat Countertops require a solid base color underneath, so they’re better as topcoats rather than complete systems.
Epoxy vs Acrylic Chemistry
The chemistry decision is the second-most important factor. Epoxy creates a harder, more durable, more heat-resistant surface but requires precise mixing, has a 7-day cure time, and creates fumes. Acrylic is easier to apply, cures faster, has lower odor, but is less durable and less heat-resistant. I recommend epoxy for kitchen counters that see heavy use and acrylic for bathroom vanities or low-traffic surfaces.
The epoxy kits from Giani delivered the most realistic stone looks and the best durability. The acrylic kits from Rust-Oleum and NADAMOO were easier to apply and required less cure time but won’t last as long in high-traffic kitchens. The Daich mineral coating is a hybrid—it’s water-based like acrylic but creates a harder finish that approaches epoxy durability.
Coverage and Cost Considerations
Coverage varies significantly across kits. The Rust-Oleum kit covers up to 100 square feet, which is exceptional for large kitchens. The Giani kits cover 35 square feet, which is standard for average kitchens. The Stone Coat Epoxy covers 30 square feet per half-gallon, and you may need multiple coats for full coverage. Measure your countertops before buying to avoid running out of material mid-project.
Cost per square foot is the real economic measure. The Rust-Oleum kit runs about 60 cents per square foot, the NADAMOO kit runs about $2.80 per square foot, and the Giani epoxy kits run about $5.70 per square foot. Budget-friendly acrylic kits make sense for rental properties, while premium epoxy kits make sense for long-term homeownership where durability matters.
Heat Resistance and Durability
Heat resistance varies dramatically across kits. The Stone Coat Countertops epoxy handles temperatures up to 500 degrees F, which is the best in the category. The Giani epoxy kits handle hot pans but recommend trivets for very hot items. The acrylic kits like Rust-Oleum and NADAMOO have the lowest heat resistance and can show marks from hot pans.
Durability testing over three months showed that epoxy kits maintained their appearance with no visible wear. The acrylic kits showed minor wear in high-traffic areas, particularly around the sink and stove. The Daich mineral coating performed surprisingly well despite being water-based. For kitchens that see daily cooking, prioritize epoxy chemistry for best long-term durability.
Prep Requirements and Application Difficulty
Prep work is the number-one success factor. Every kit I tested emphasized proper degreasing and scuff sanding, even those that claimed no sanding required. I used TSP degreaser and 220-grit sandpaper on every project, and the results were consistently better than skipping prep. The Rust-Oleum kit’s “no sanding required” claim is technically true but the results improve significantly with proper prep.
Application difficulty varies by chemistry. Epoxy kits require mixing, precise timing, and careful application but create the most durable finish. Acrylic kits are more forgiving and easier to apply but create less durable finishes. The sponge technique on Giani Granite takes practice but produces realistic results. The epoxy application is messier but more forgiving of minor application errors because the self-leveling formula corrects imperfections.
Common Failure Modes and Prevention
The most common failure mode is peeling due to inadequate prep. I learned this the hard way when I tested a section without proper degreasing, and the paint peeled within a week. TSP degreaser removes every trace of grease, oils, and cleaning product residue that can prevent adhesion. Scuff sanding with 220-grit sandpaper creates a rough surface for the primer to grip.
Orange peel texture is the second most common issue. This happens when the application is too thick or the roller is loaded with too much paint. Roll in thin, even coats and offload excess paint from the roller before applying. The epoxy kits are more forgiving of orange peel because the self-leveling formula smooths imperfections during cure.
Yellowing affects white and light-colored finishes over time. The UV-resistant Stone Coat epoxy prevents yellowing entirely. The Giani kits use UV-stable formulations but may show slight yellowing after 2-3 years. The Rust-Oleum and NADAMOO kits are most prone to yellowing. If you want a pure white finish that stays white, prioritize UV-resistant epoxy chemistry.
Frequently Asked Questions
What is the best countertop refinishing kit?
The best countertop resurfacing kit depends on your substrate and desired look. For premium epoxy finish and marble aesthetics, the Giani Marble Easy Epoxy Kit is our top pick. For budget-friendly options covering large areas, Rust-Oleum Home Marble Kit offers excellent value with 100 sq ft coverage. For natural stone looks, the Daich SpreadStone Mineral Select kit delivers authentic texture with real mineral particles.
Do countertop refinishing kits work?
Yes, countertop refinacing kits work well when applied properly. Success depends on three critical factors: thorough prep (degreasing with TSP, scuff sanding with 220-grit sandpaper), proper application technique, and respecting full cure times. Kits applied to properly prepped laminate, tile, or solid surface countertops can last 3-5 years or longer. Epoxy-based kits typically outlast acrylic-based kits, and proper prep is the single biggest factor in longevity.
How can I resurface my countertops without replacing them?
You can resurface countertops without replacement using DIY paint kits that include primer, decorative coats, and protective topcoat. The process involves: 1) Degreasing with TSP cleaner, 2) Scuff sanding with 220-grit sandpaper, 3) Applying bonding primer, 4) Adding decorative color coats (faux marble, granite, or stone effects), 5) Sealing with protective topcoat. Total cost ranges from $60 to $200 per kit versus $15,000-$20,000 for full replacement. Most projects take one weekend plus cure time.
What’s the best peel and stick for countertops?
Peel and stick countertop products differ from resurfacing kits. Popular options include vinyl countertop films from brands like Instant Granite and Con-Tact Brand. These adhesive films work best on smooth, flat surfaces and offer a temporary solution (2-5 years). For long-term durability and a more authentic stone look, paint-based resurfacing kits like Giani or Daich provide better results. Peel and stick is faster to apply but doesn’t handle heat or heavy use as well as painted finishes.
Final Thoughts on Countertop Resurfacing Kits
After three months of testing eight different countertop resurfacing kits on real countertops in real kitchens and bathrooms, I can confidently say that the best countertop resurfacing kits deliver genuine value for homeowners wanting to update their space without the massive expense of replacement.
My top recommendation is the Giani Marble Easy Epoxy Kit for homeowners wanting the most realistic marble look and the best durability. The Rust-Oleum Home Marble Kit is the best value for rental properties or budget-conscious refreshes where the 24-hour cure time matters more than ultimate durability. The Daich SpreadStone Mineral kit is the choice for homeowners who want genuine stone texture and a distinctive speckled aesthetic.
The key to success with any kit is proper prep work. TSP degreasing and 220-grit scuff sanding are non-negotiable steps that determine whether your refinished countertop lasts 6 months or 6 years. Budget an extra day for prep beyond what the instructions suggest, and you’ll be rewarded with results that look professional. Whether you’re tackling a kitchen refresh in 2026 or updating a bathroom vanity, the right countertop resurfacing kit transforms dated surfaces into something that looks like a genuine remodel for a fraction of the cost.